I had this Precision 18 from October 2017 until Aug 2019.

Here is the details for the refurb I did on this Sailboat
It’s a 1989 Precision 18 and here some pictures as it was delivered to me on October 7, 2017.


10/09/2017 – The first project was to scrub the hull and remove the Ohio registration numbers and stickers. This was done with a plastice putty knife and Brillo pads. Post removal picture below

10/11/2017
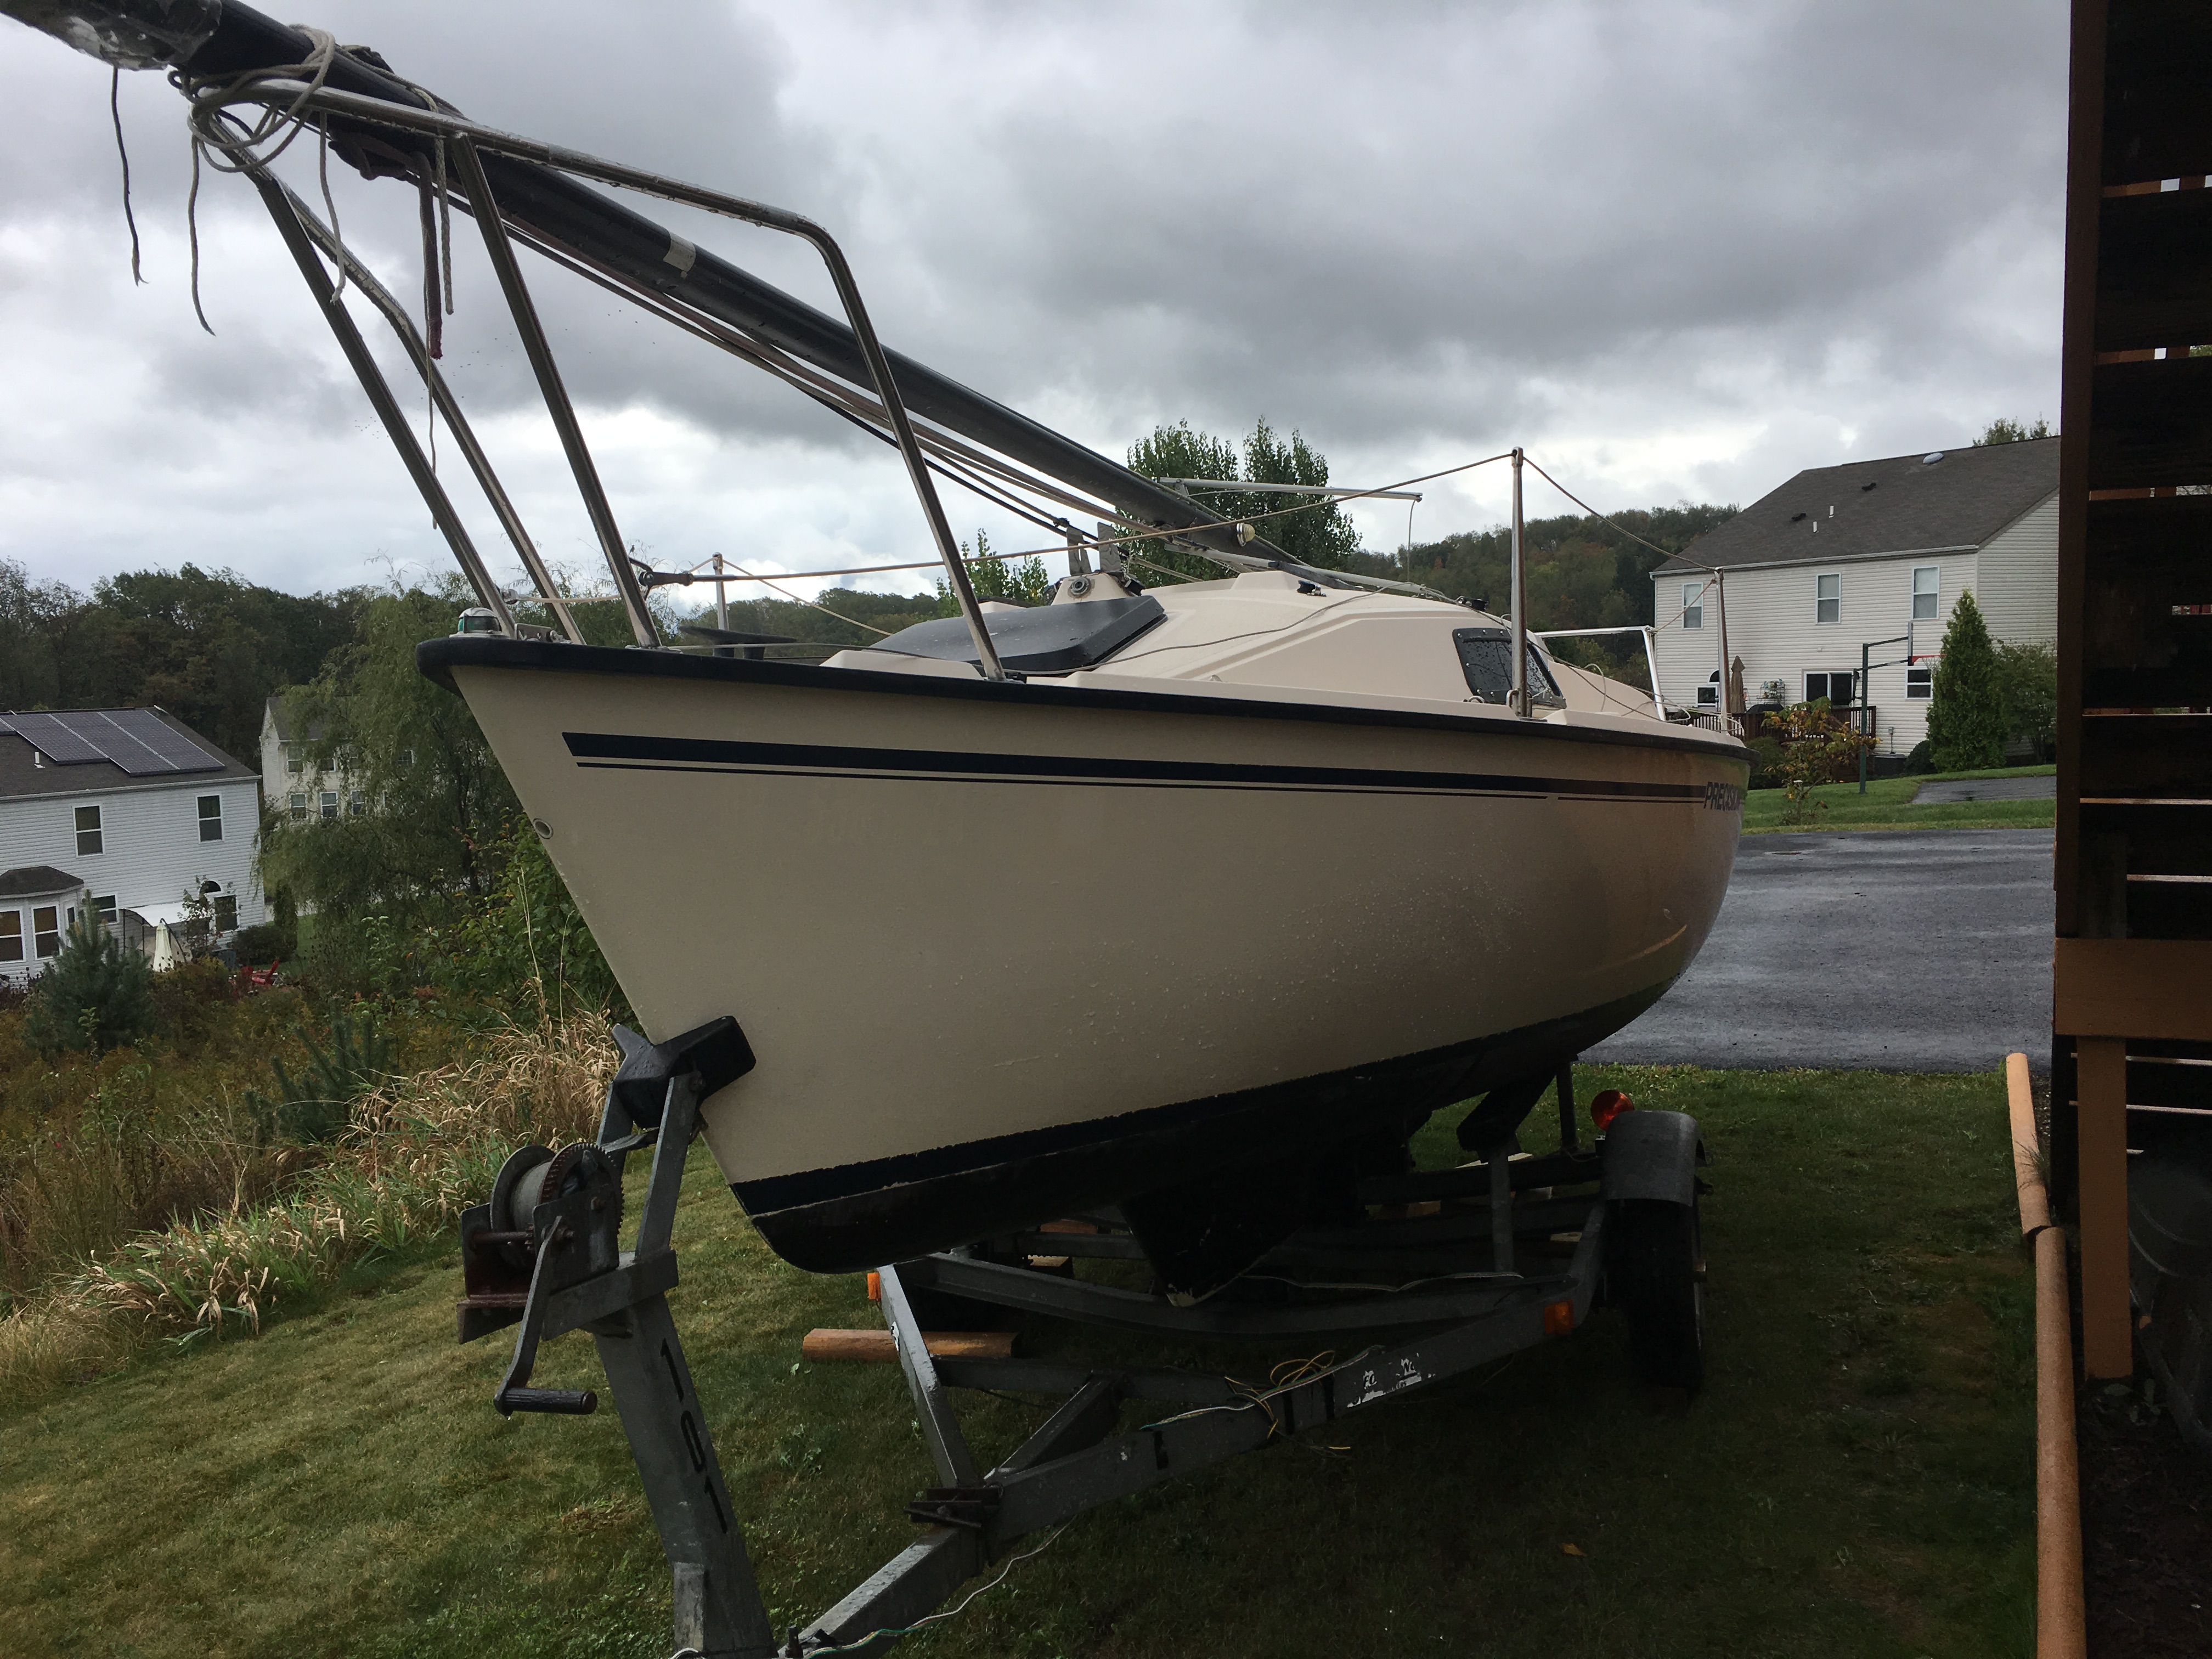
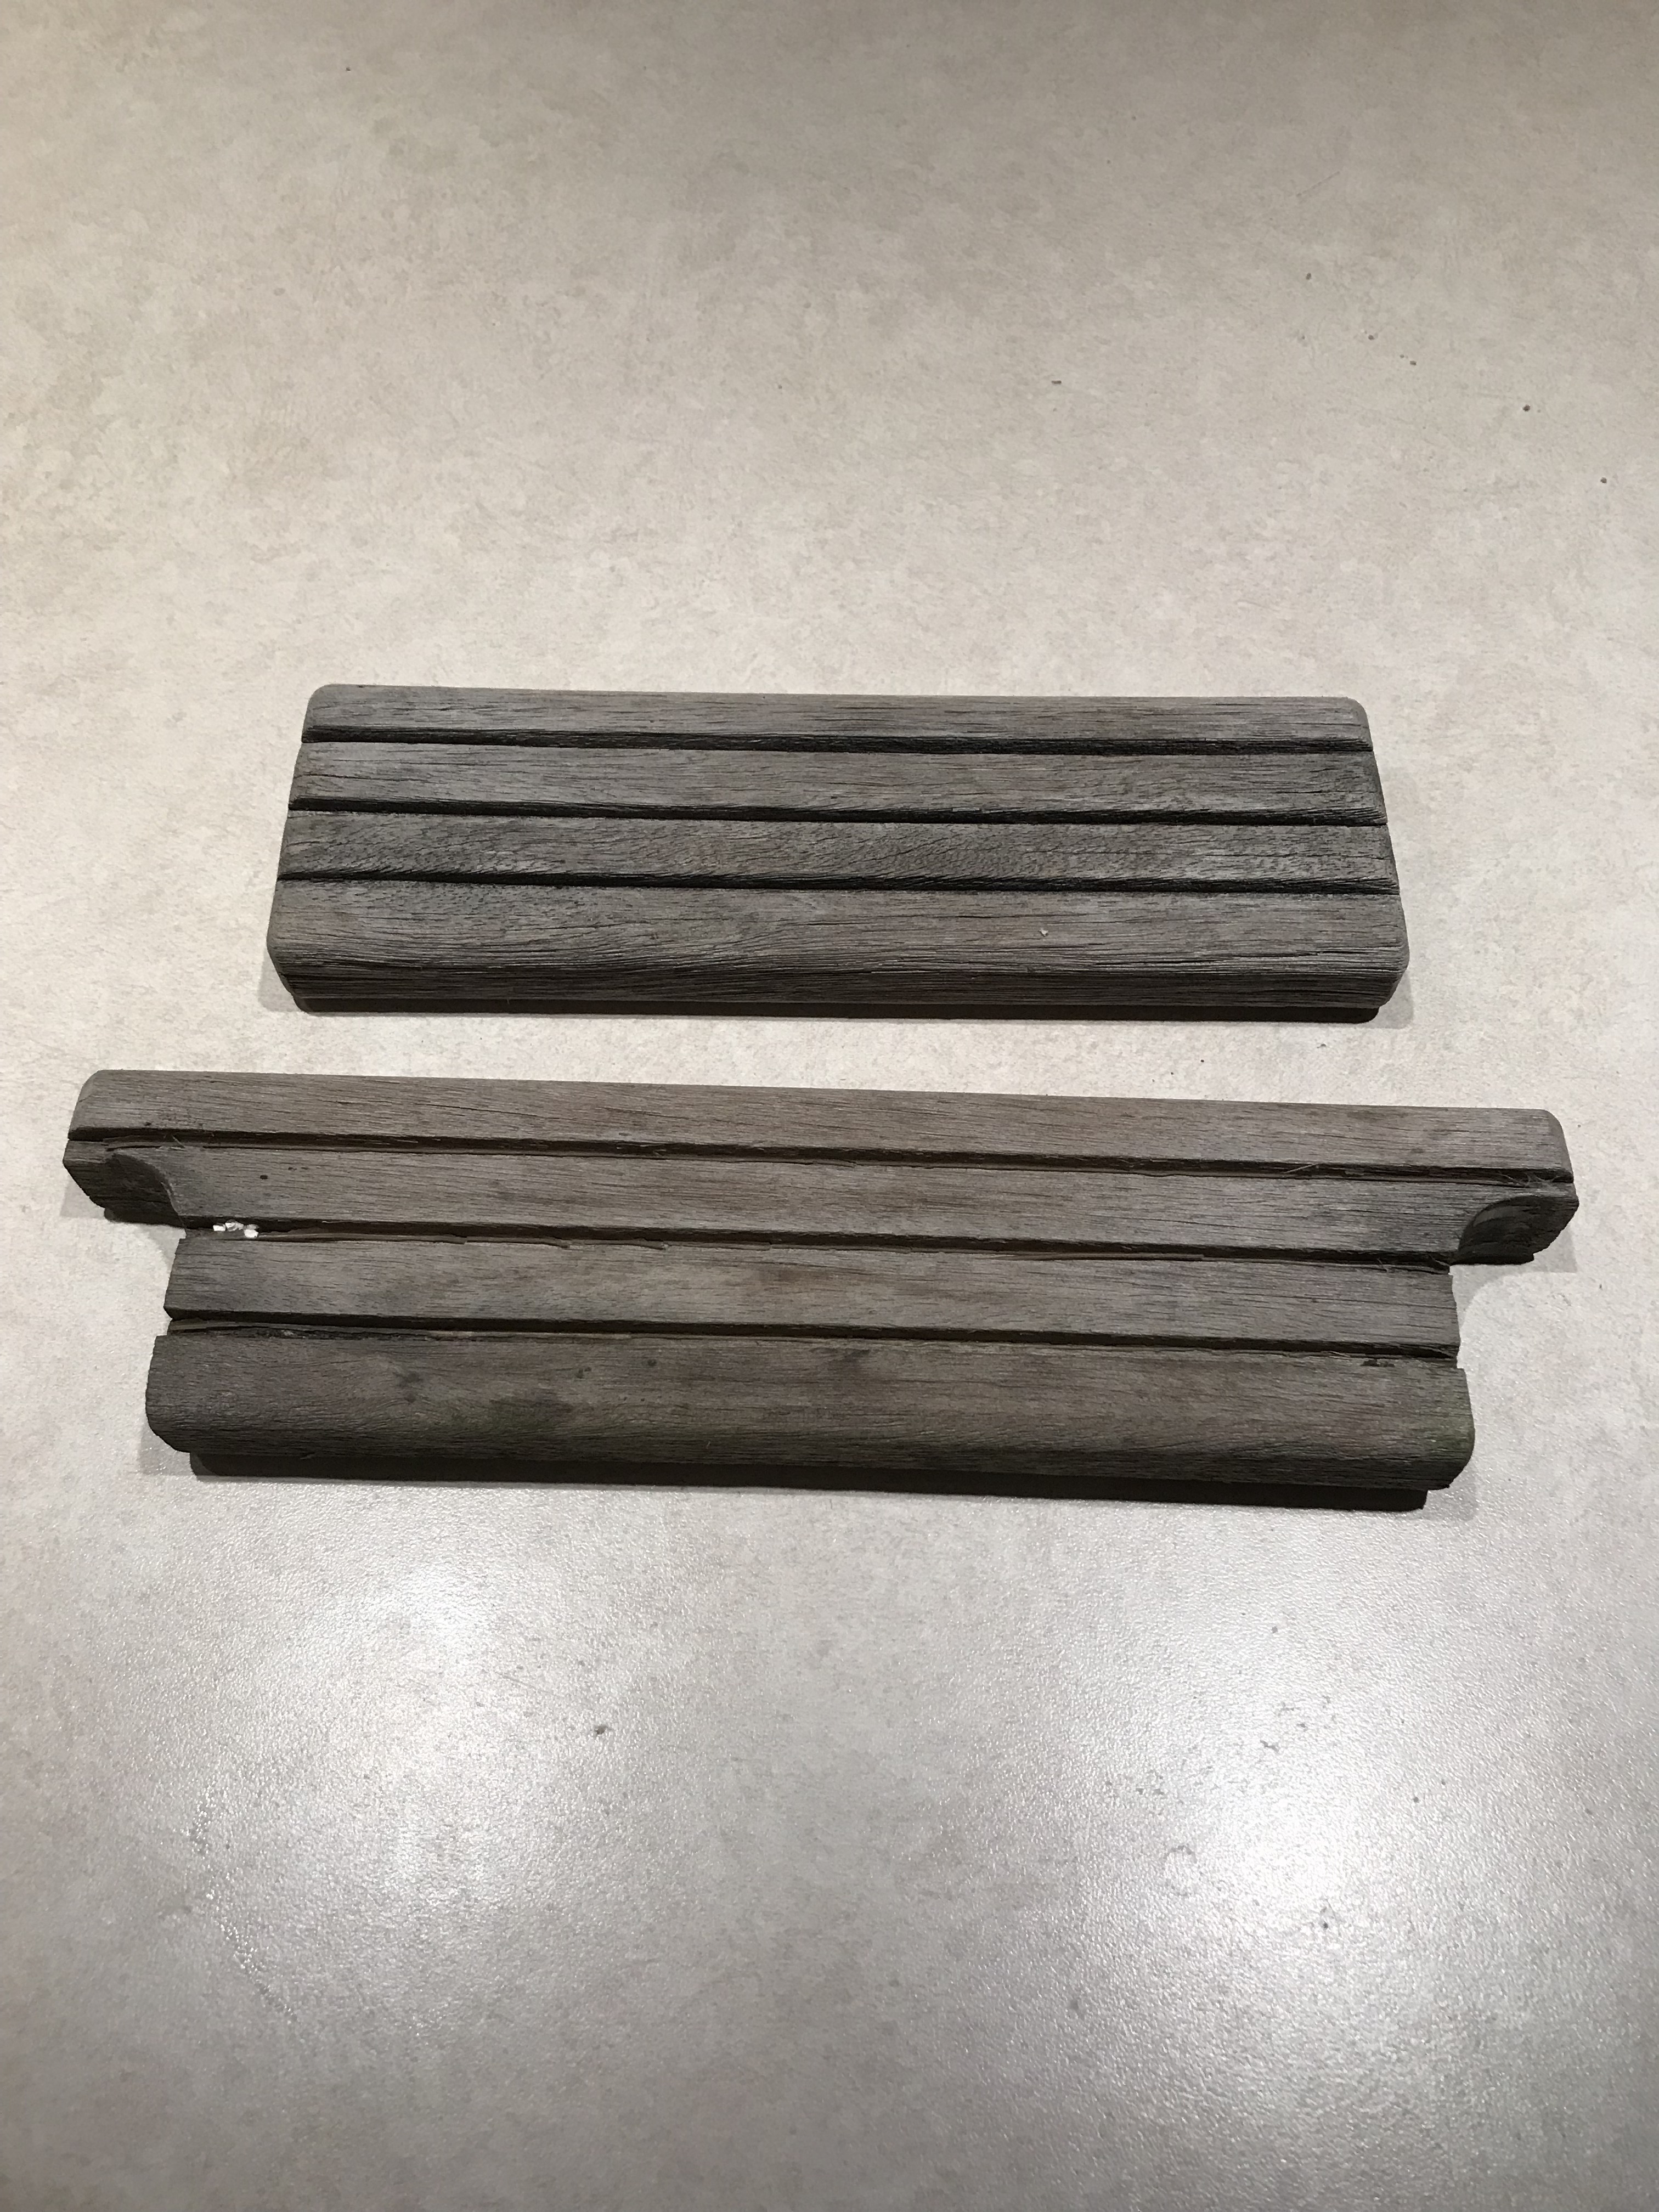
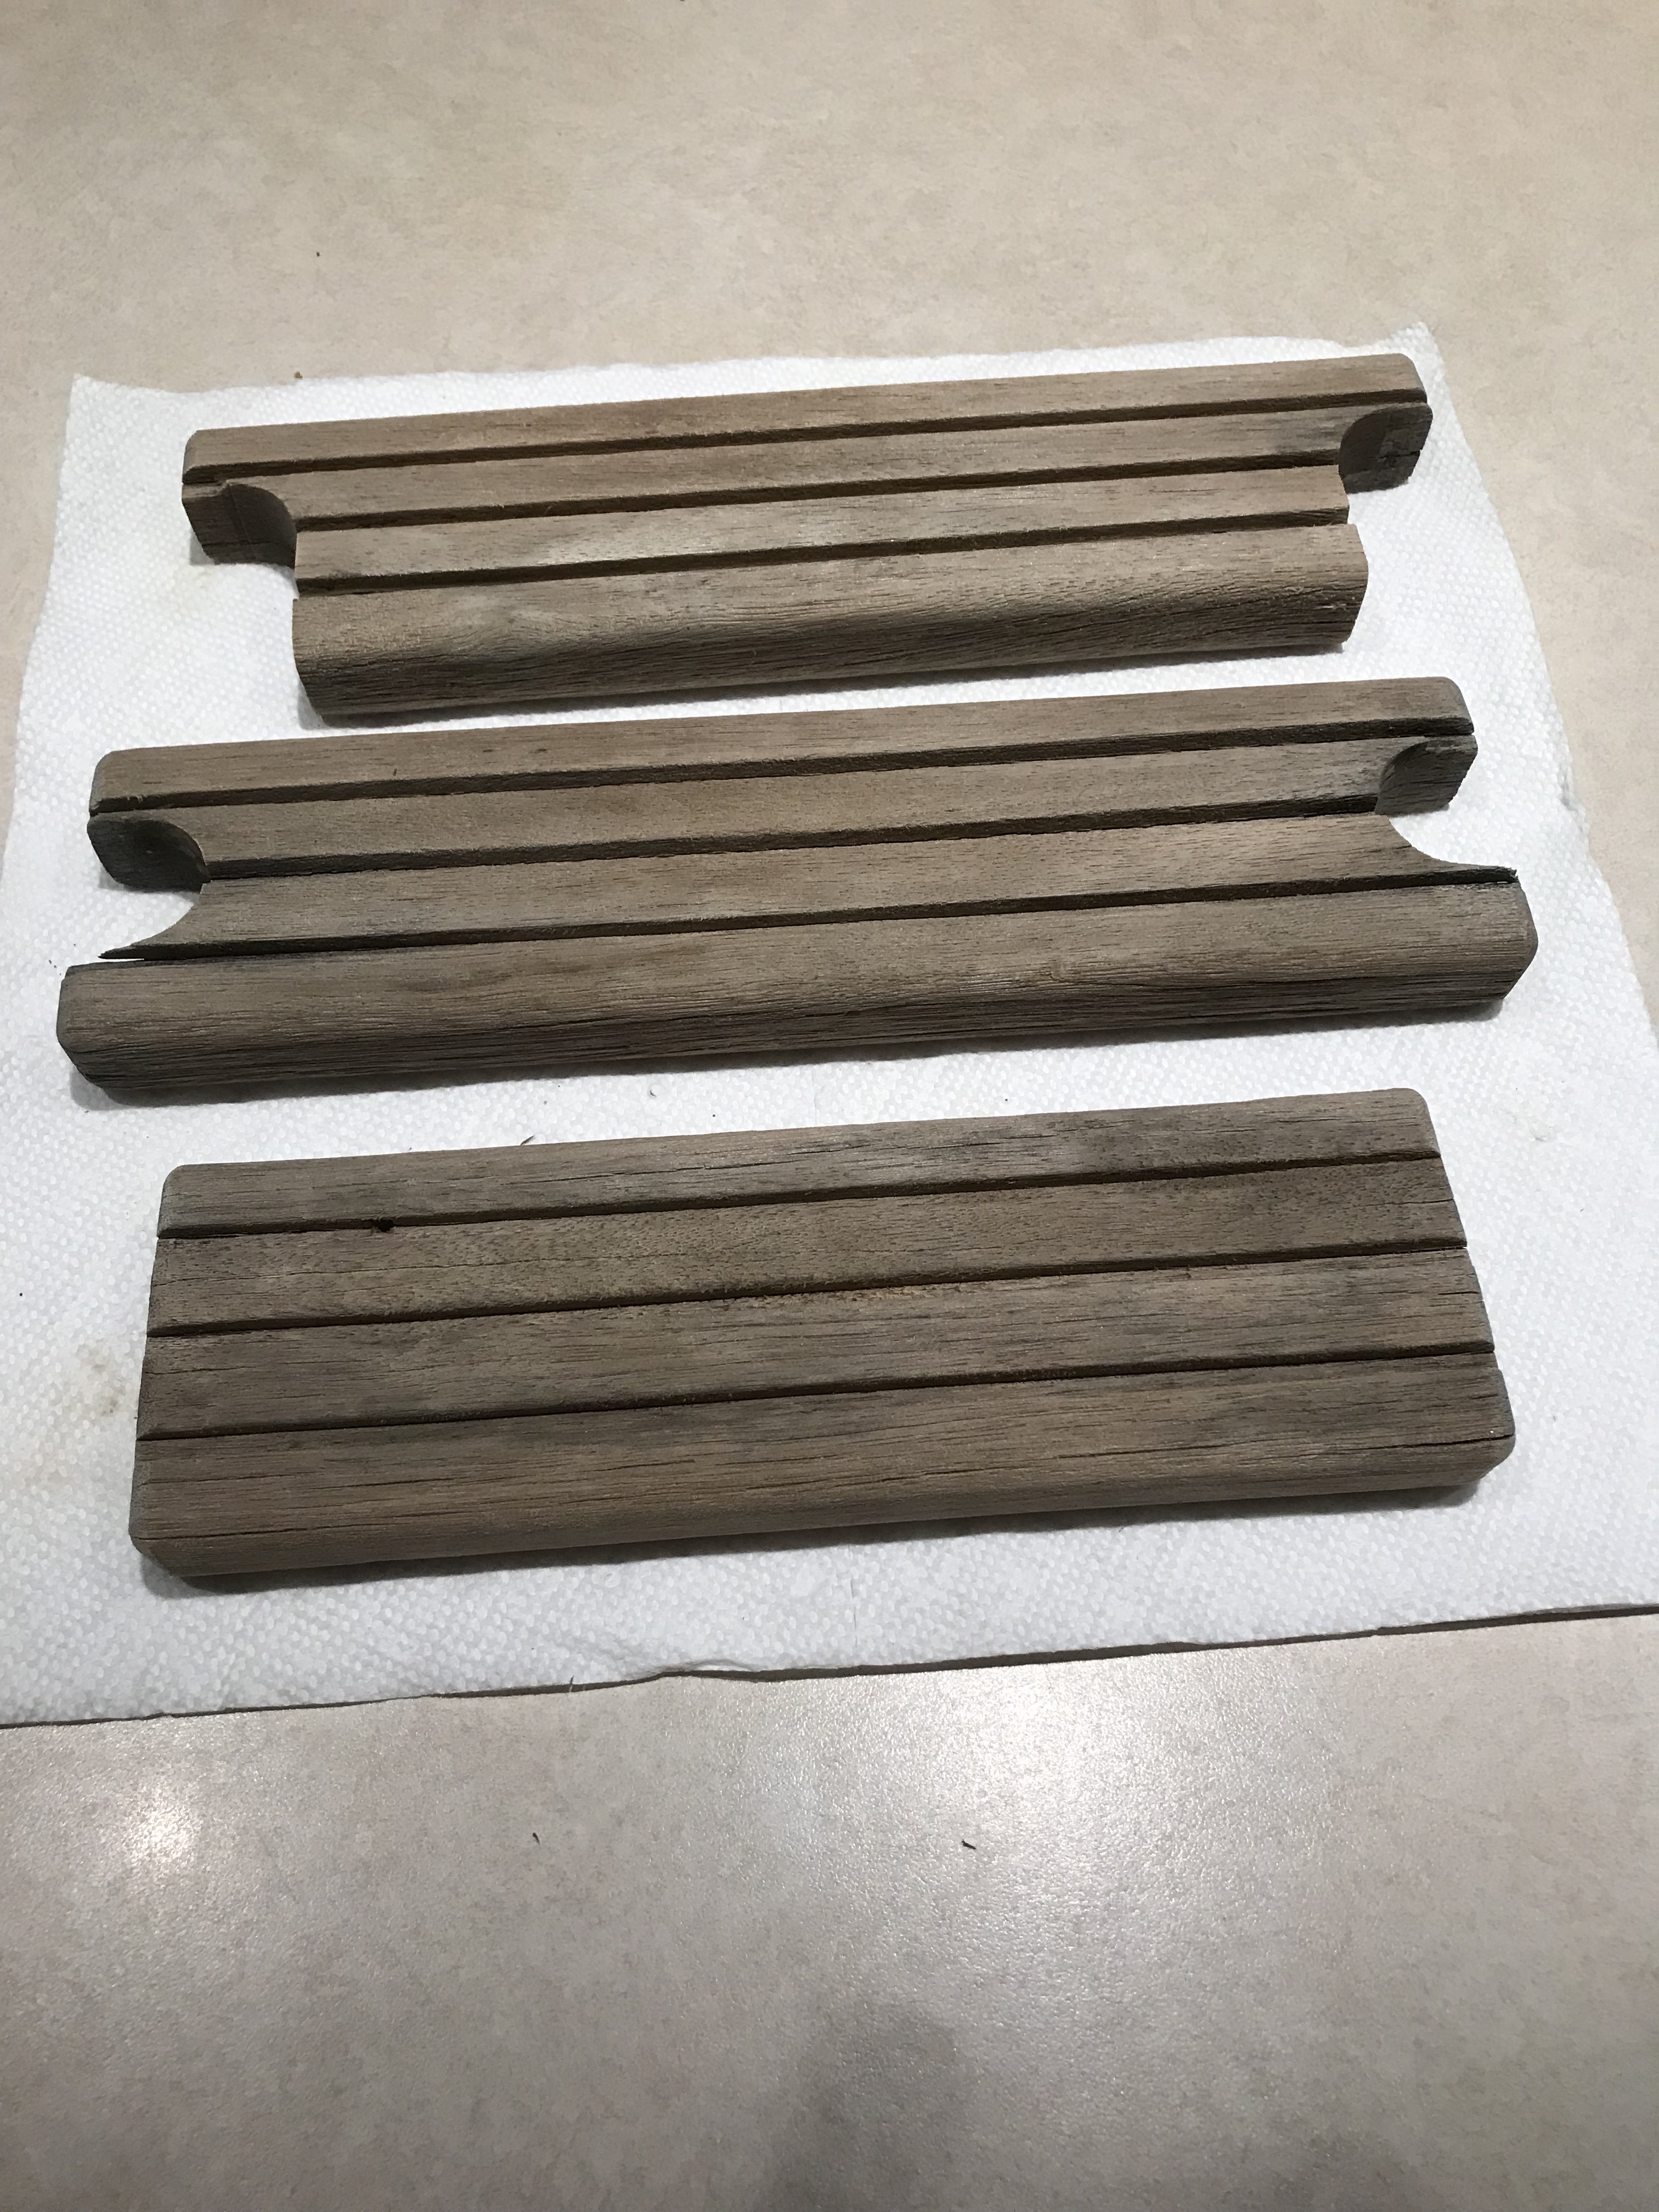
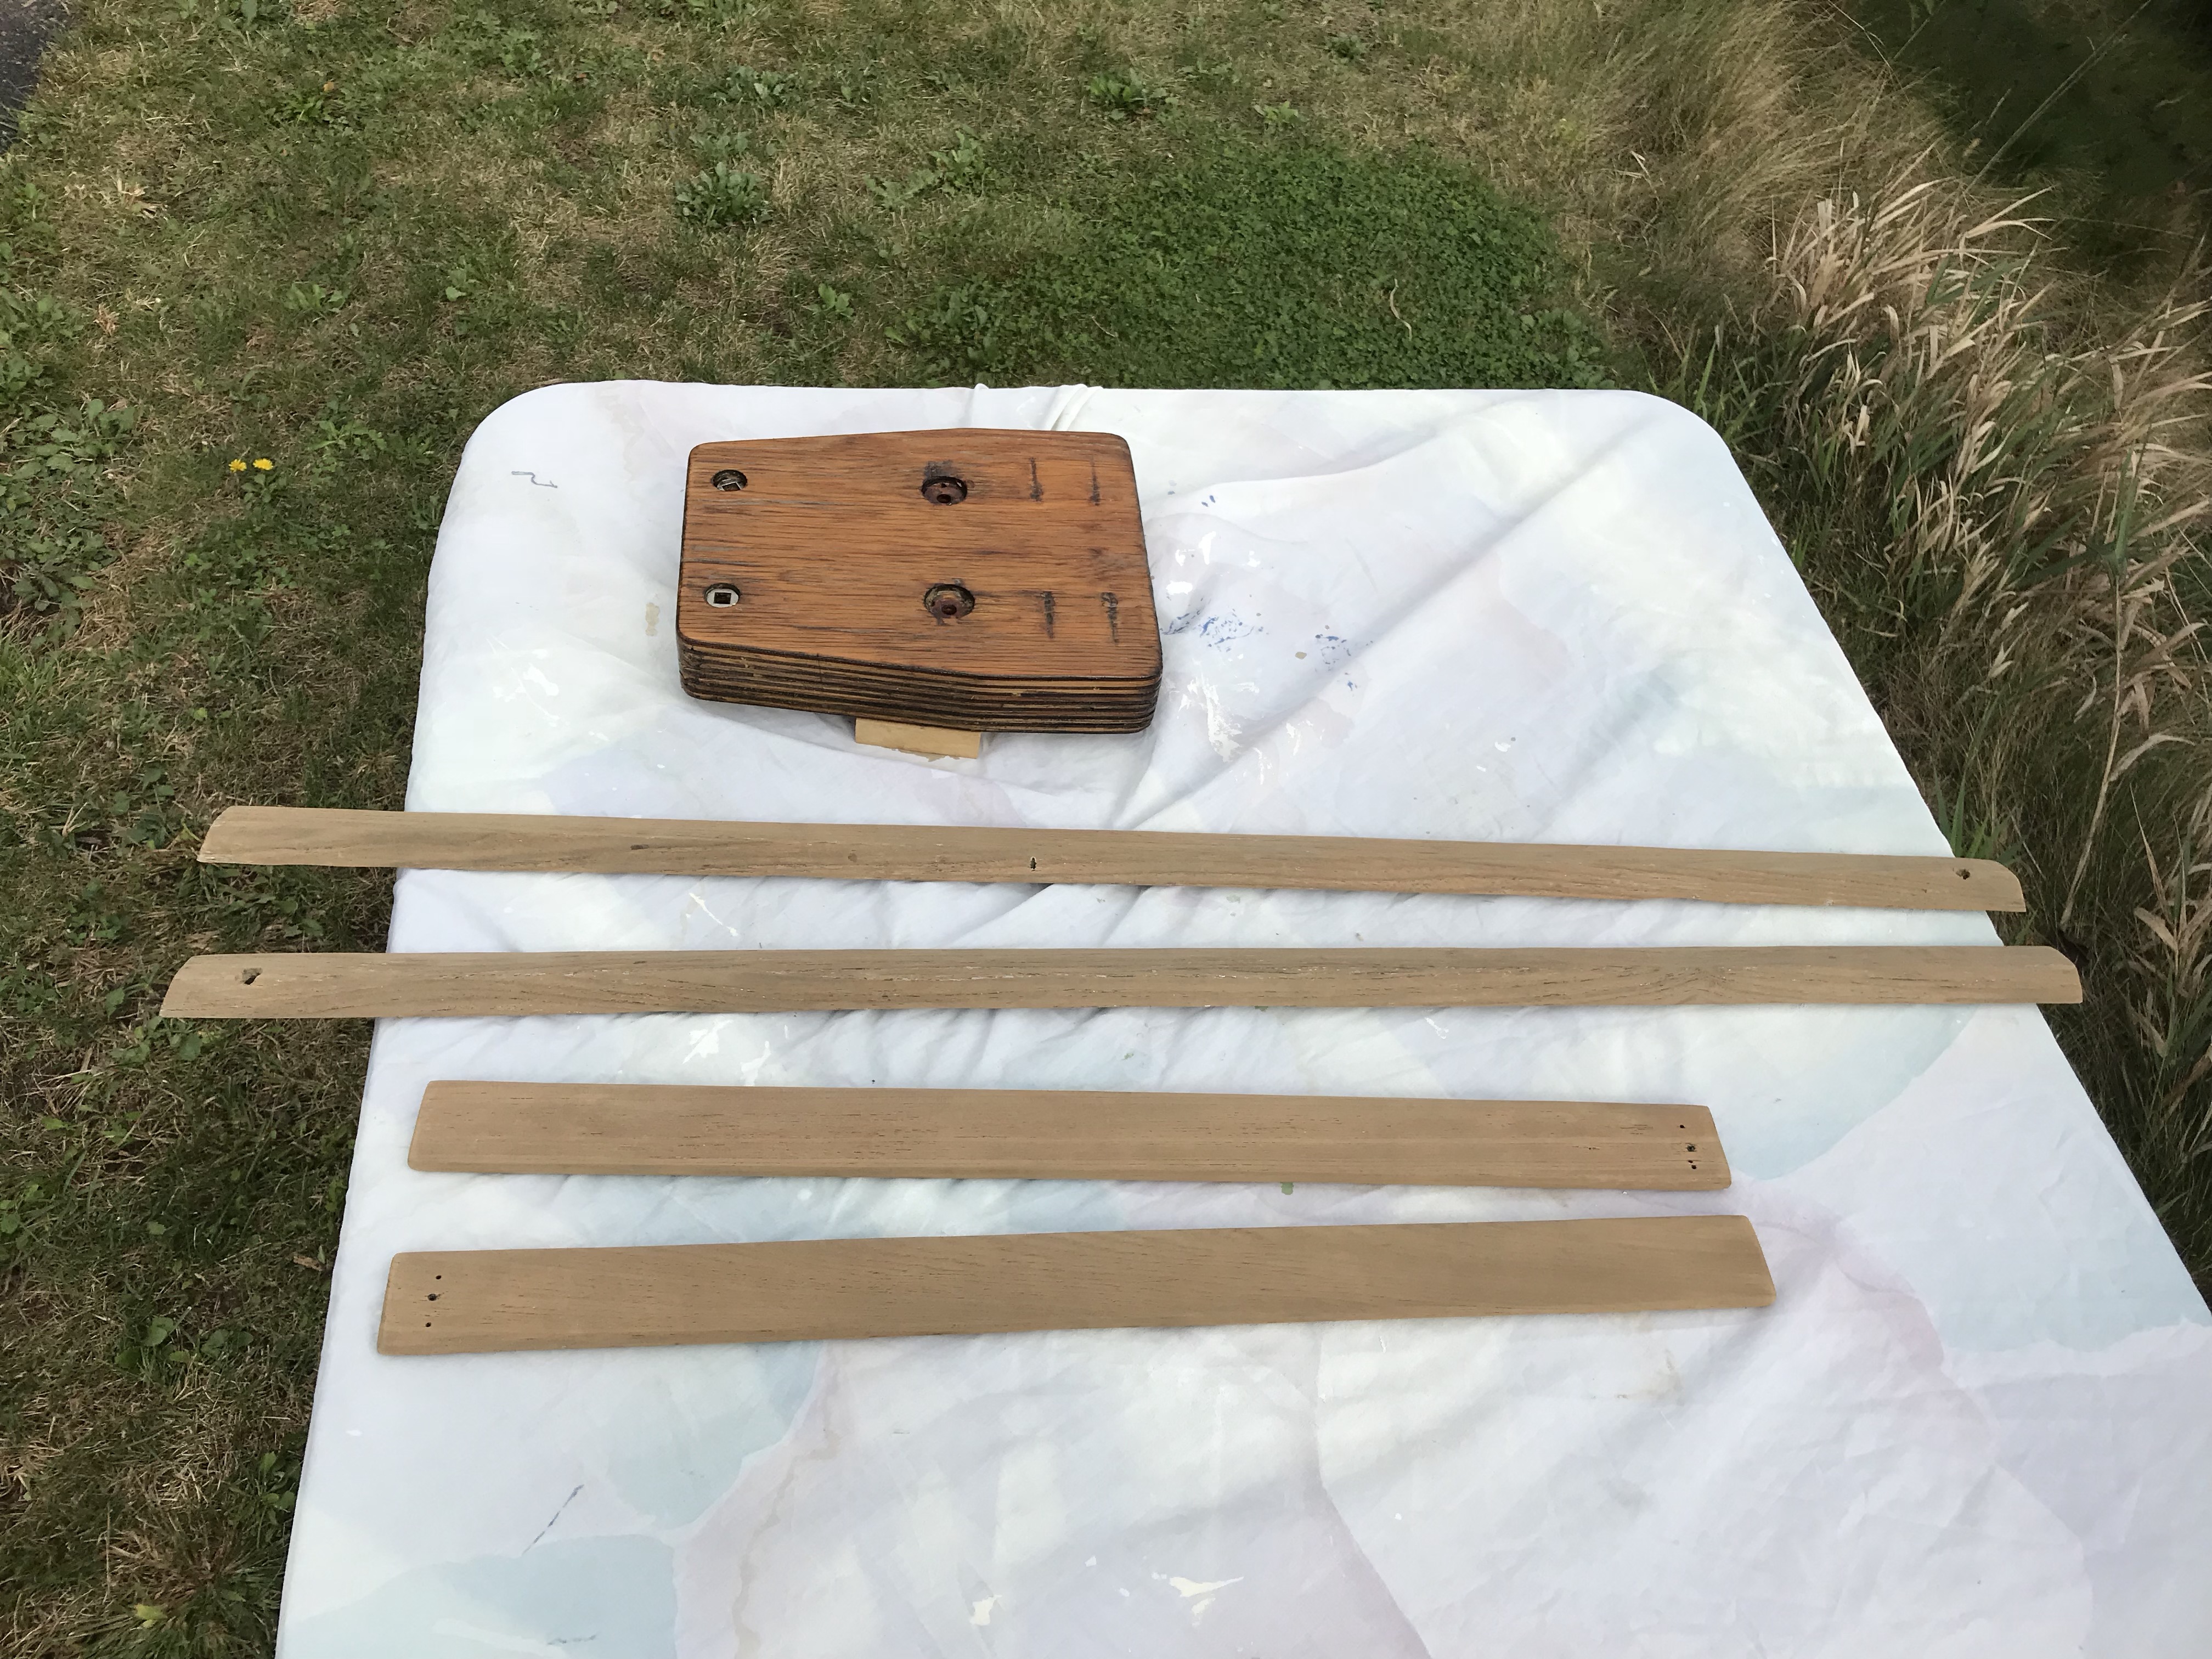
The swim ladder on Purjekas has aftermarket teak steps. Unfortunately they were attached with metal brackets that have rusted and marked the stainless ladder and the teak treads. Additionally the teak has not been cleaned or finished in some time. You can see the rust stains on the ladder below and the greyish steps.
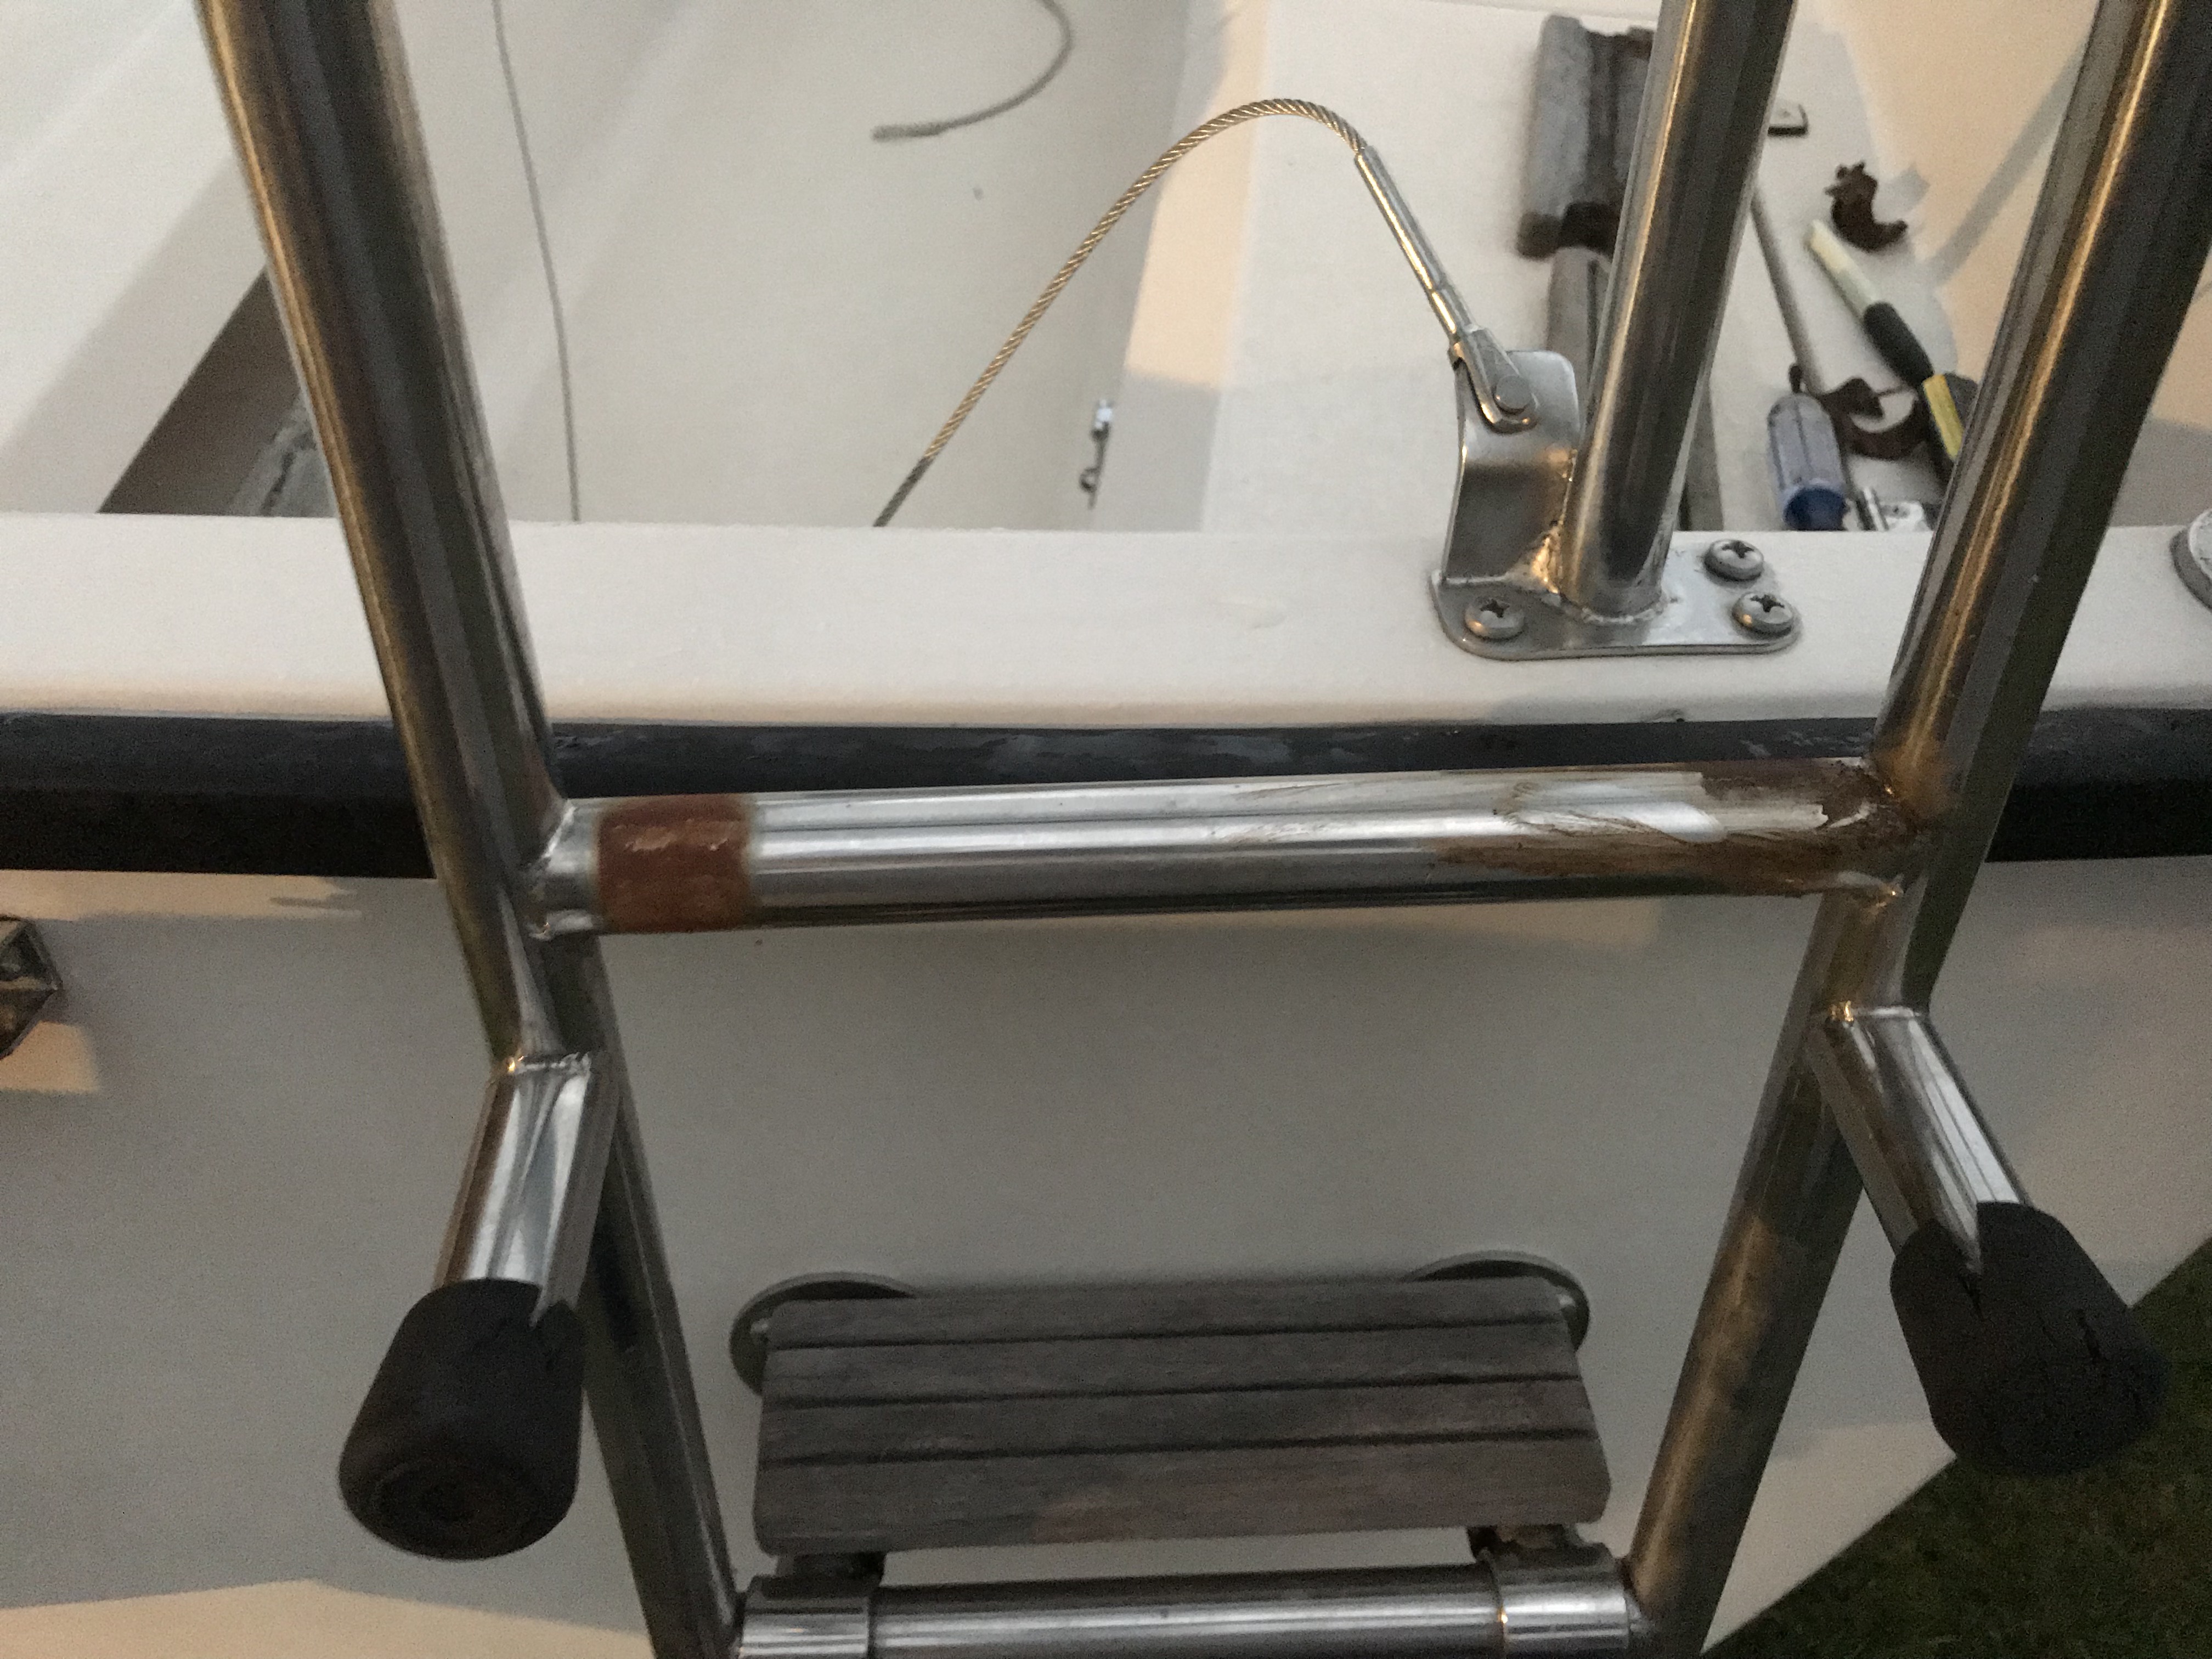
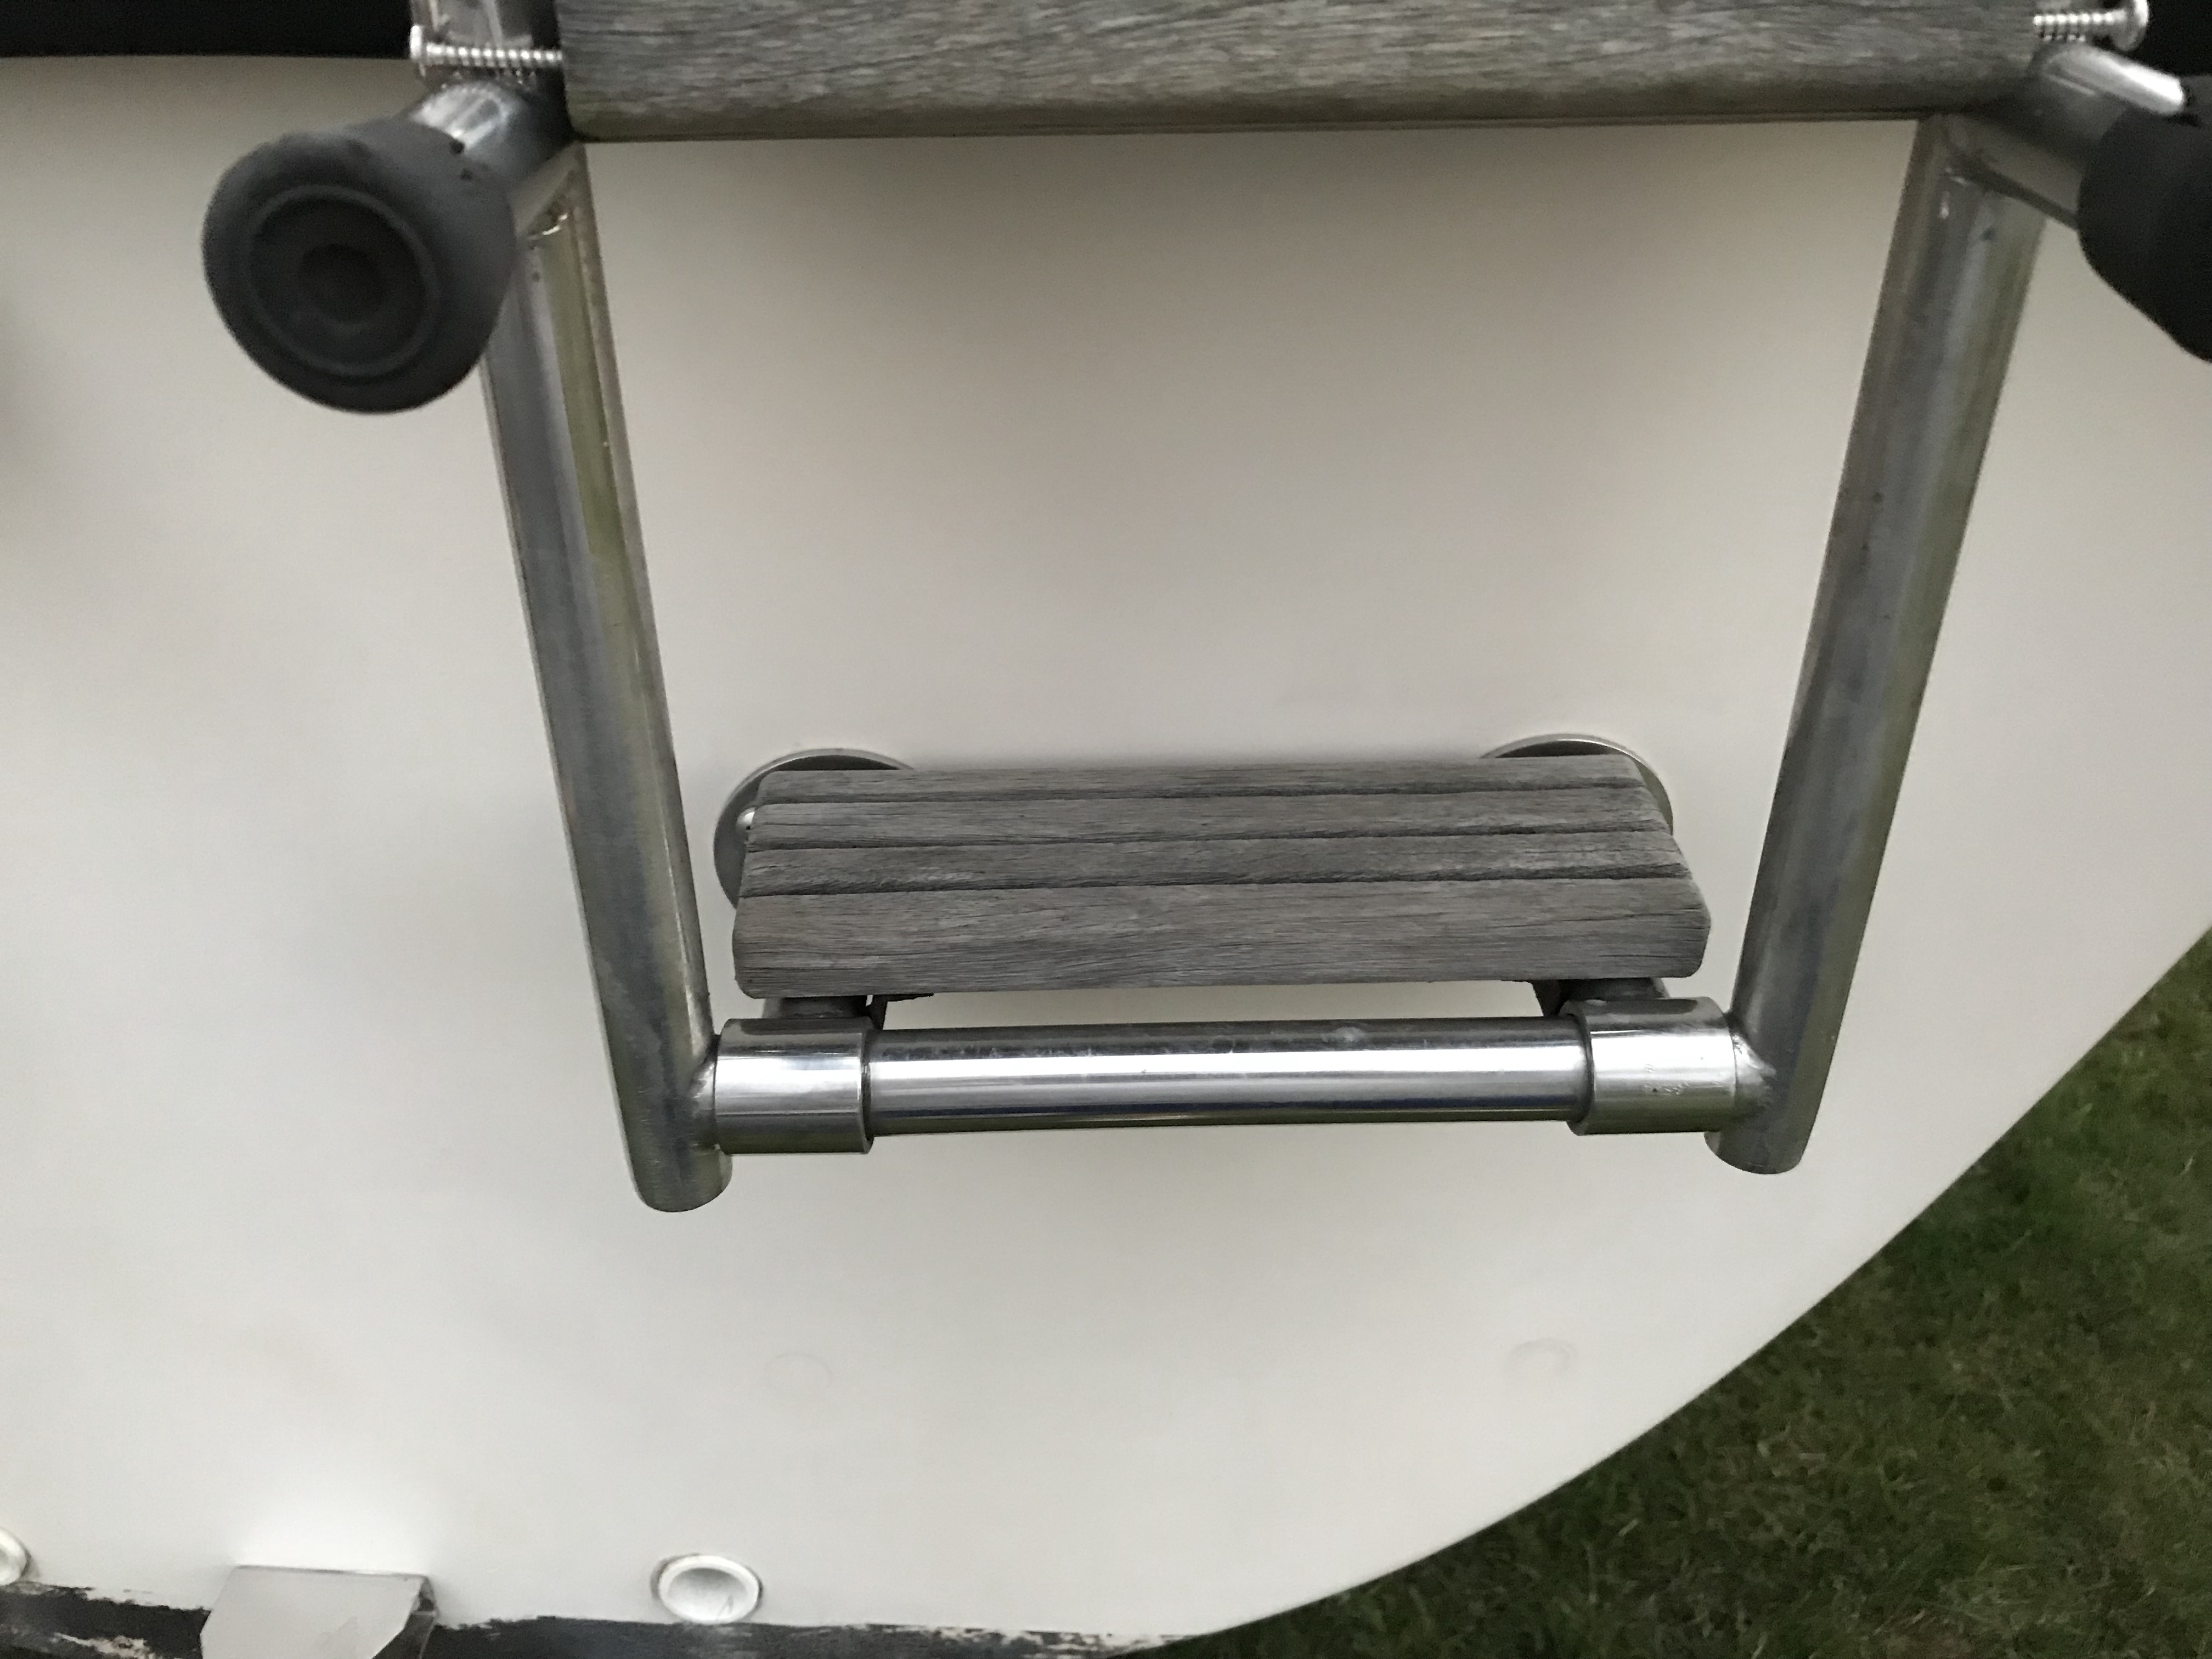
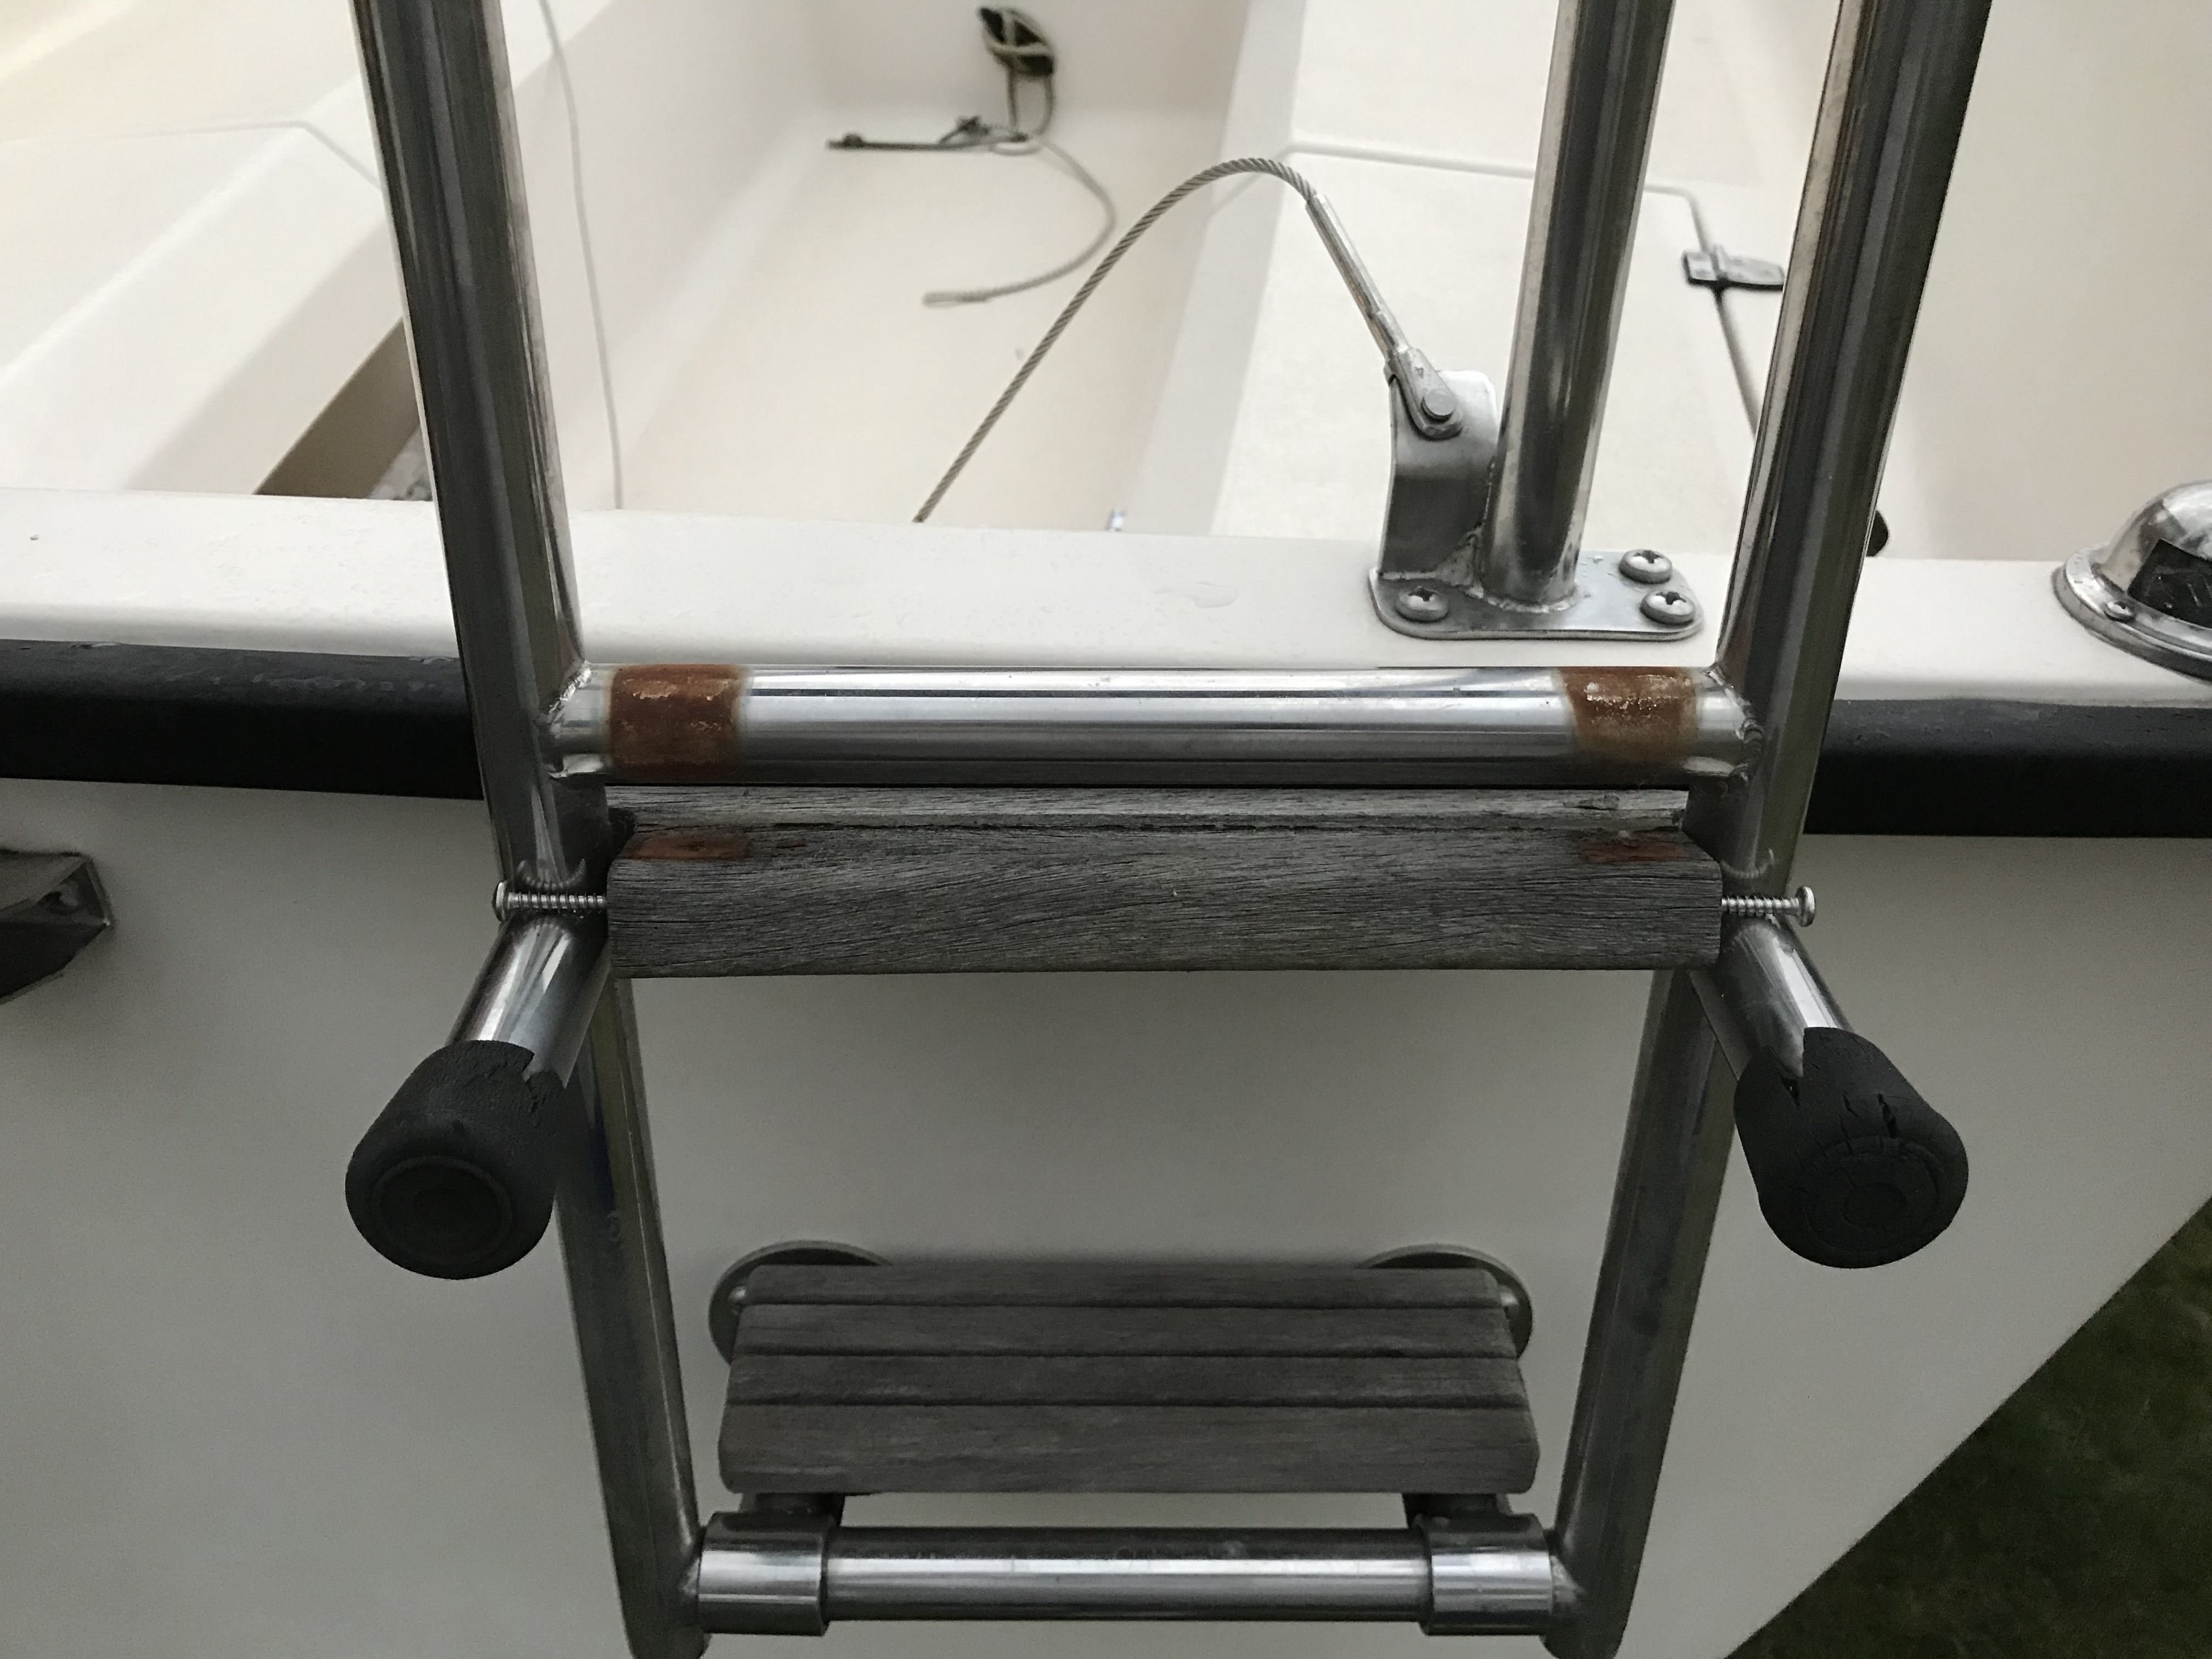
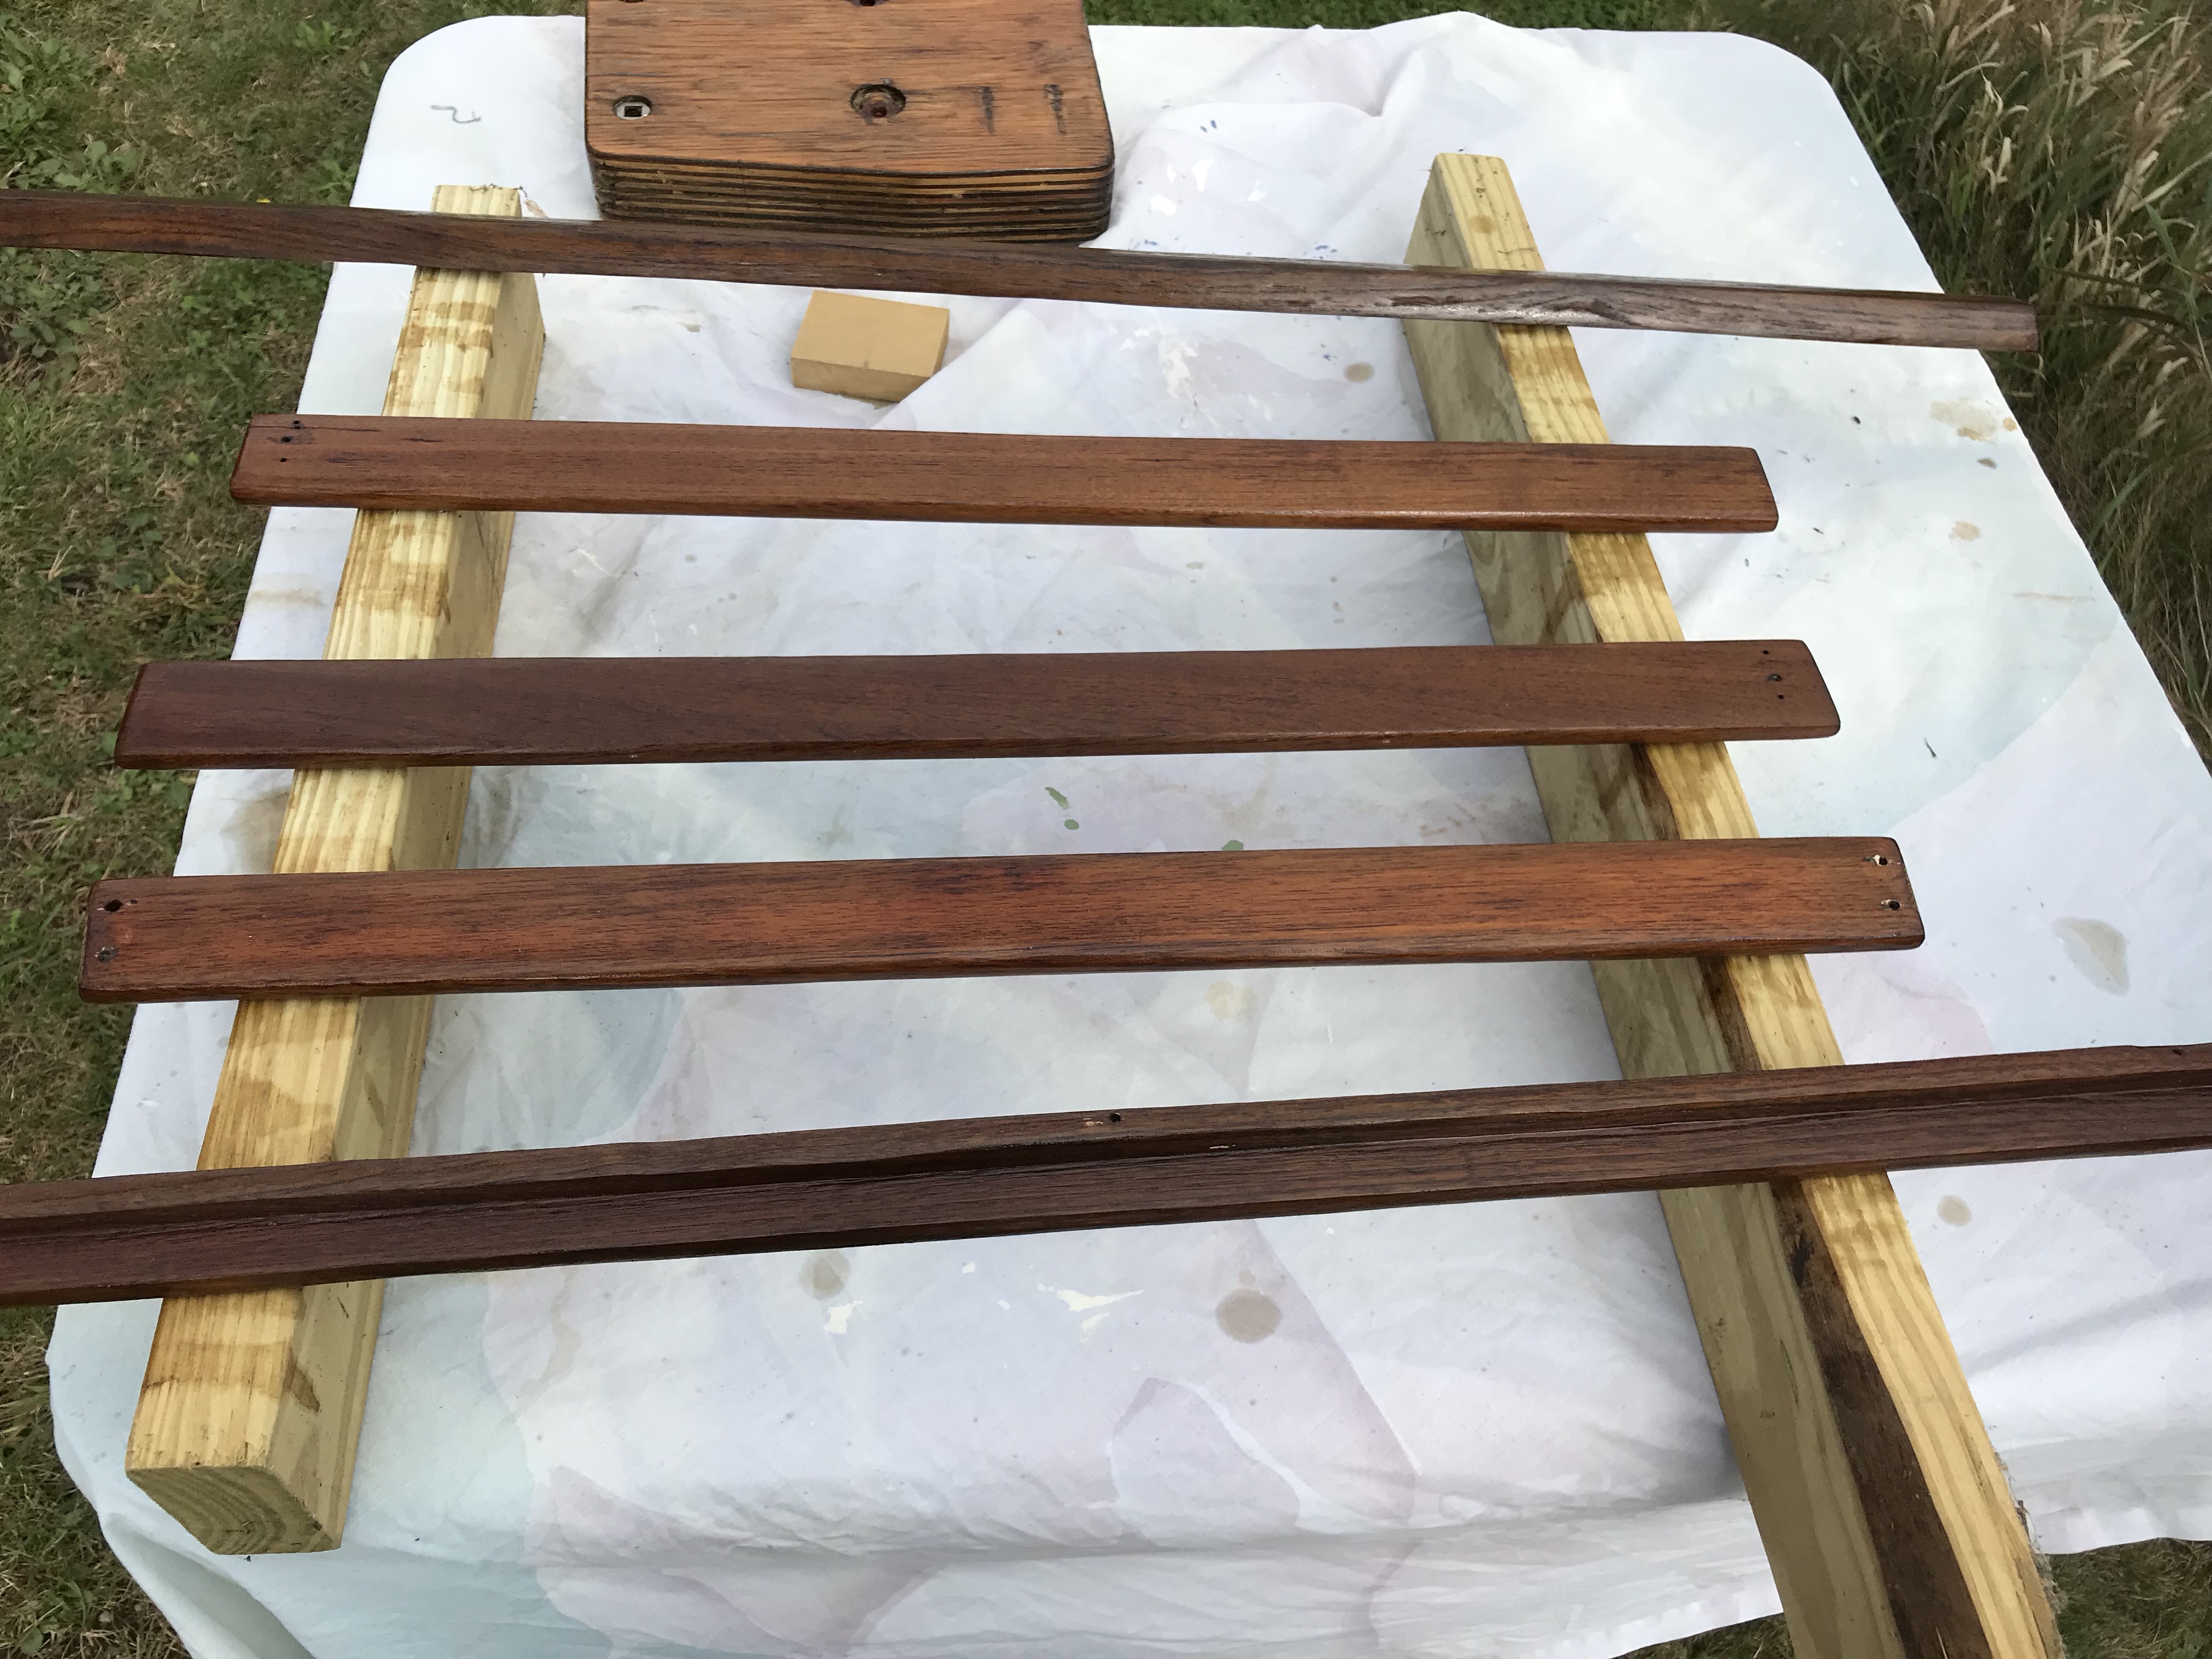
I have removed the treads and cleaned the ladder with Brillo pads and I will follow with a cleaning/polishing with “Never Dull Magic Wadding Polish” . The teak I have cleaned with a good brushing and West Marine Teak Cleaner. The before and after are shown below. I’m not sure the pictures from my IPhone do justice to the change from grey to a more golden brown color. Next up is generous dose of teak oil and some type of paint or coating for the brackets, or perhaps replace with a stainless steel alternative.
I have also begun cleaning/waxing the hull. I had purchased West Marine’s Cleaner wax and have treated the forward half of the starboard side of the hull. Doing it by hand is providing marginal results. Granted an all in one product is a easier approach, but will not result in a “yacht” finish, but for a 30 year old production boat, that will sit at a dock at the state park next summer, I can live with that. Though I may invest in a buffer to see if that has any benefit. Pictures to come in a future post.
Finally today I gave the freshly washed rub rail a wipe with 303 Protectant. It now has a nice shine, pretty good for it’s age.
Before
During
After
Thinking an almond color might be better…

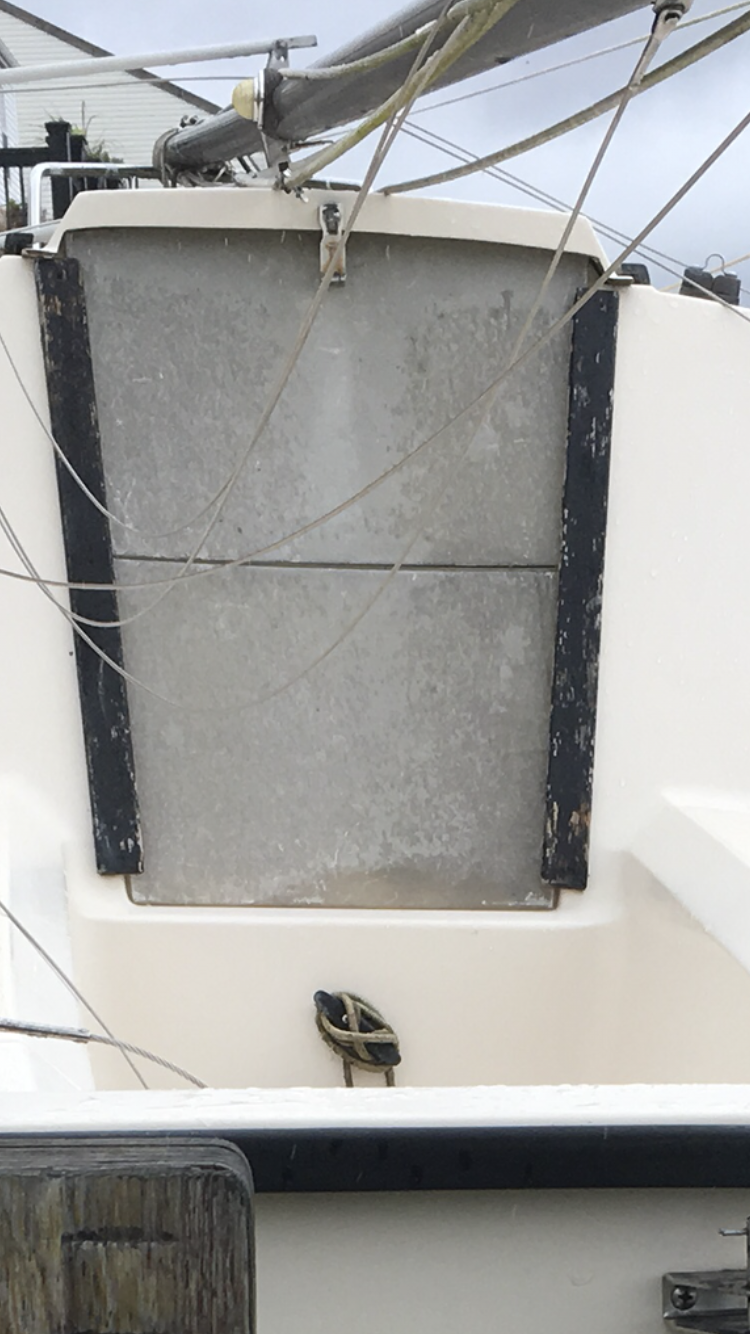
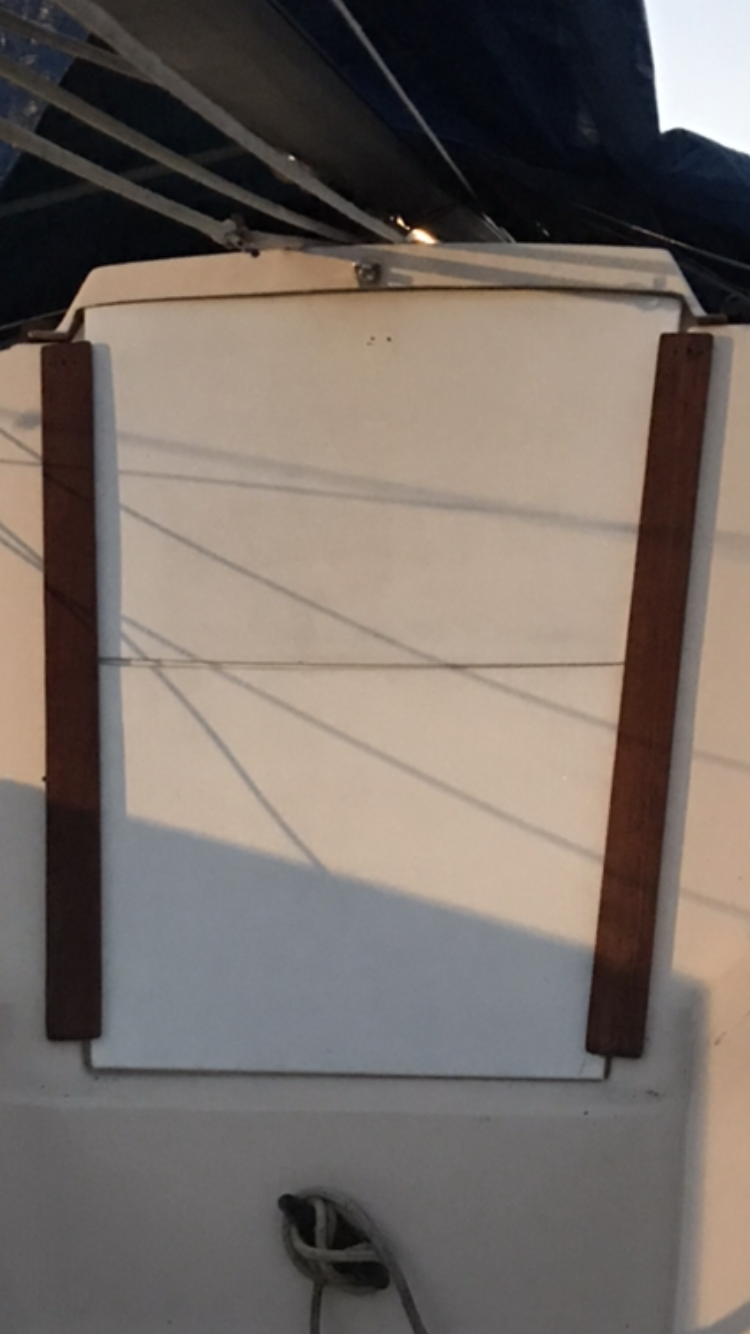
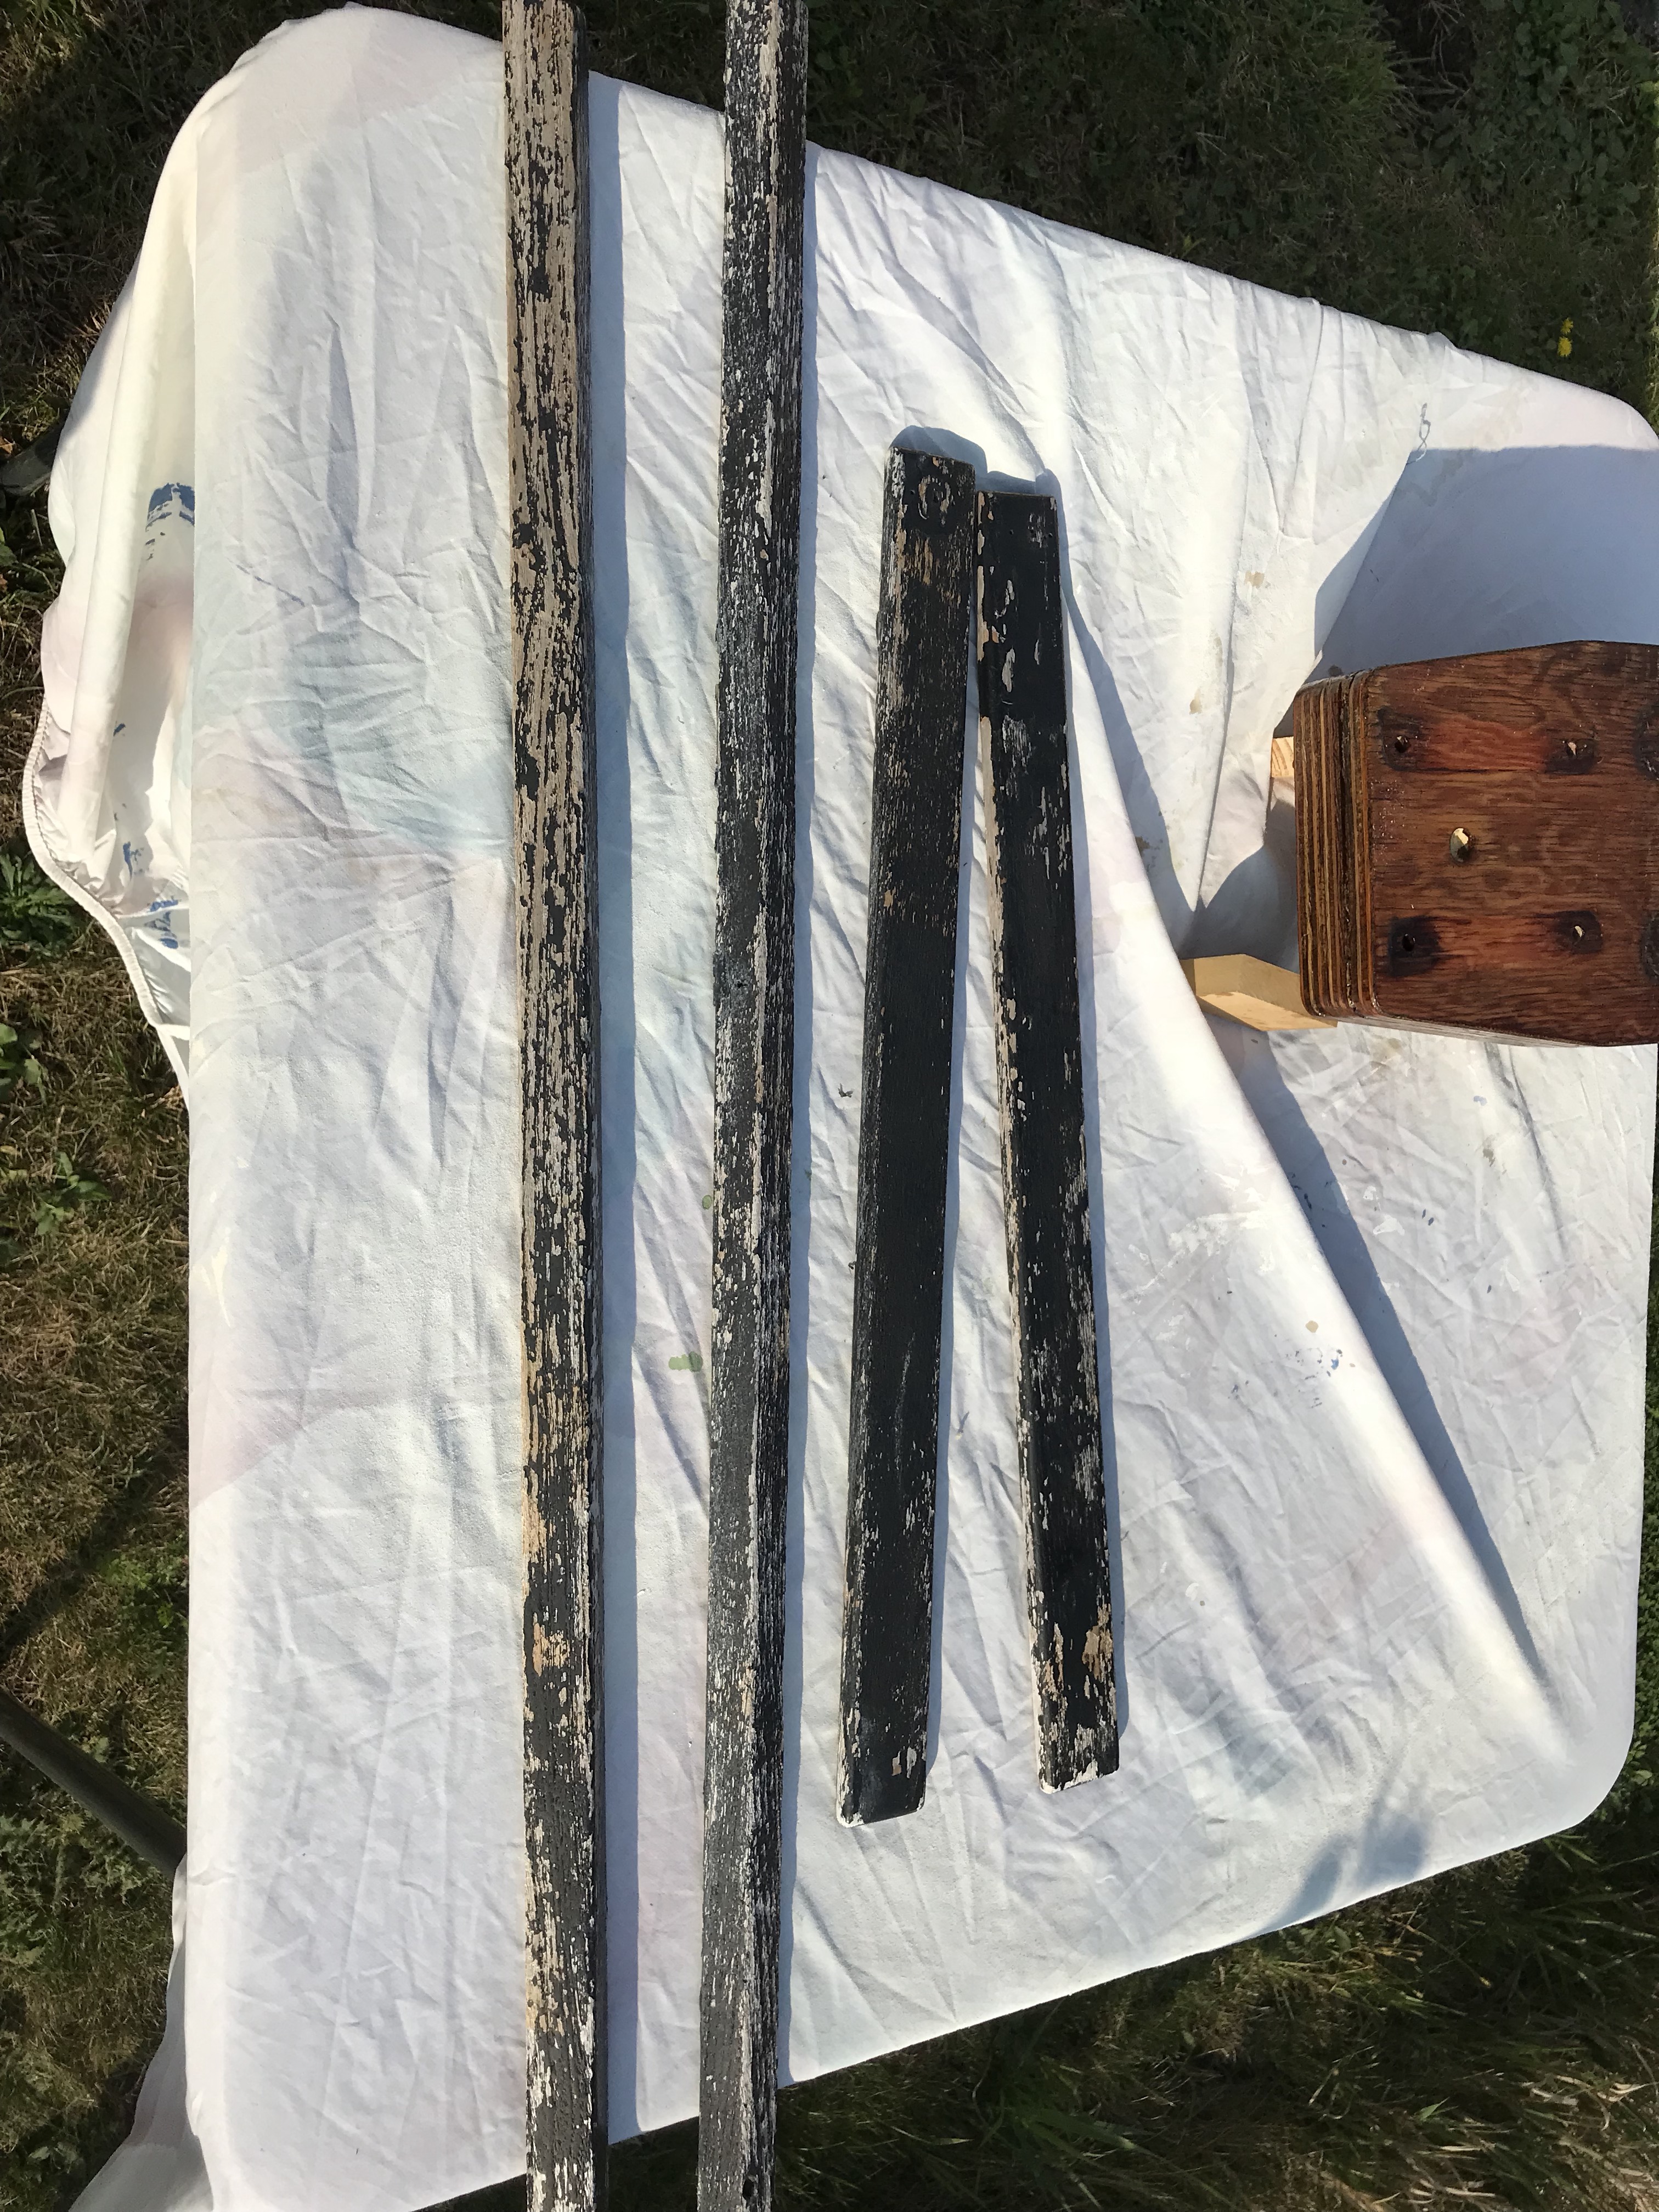
Now to remove the black painted teak and restore to orignal.
Stripped
Teak Oiled
They need to dry 10 hours now…
And installed
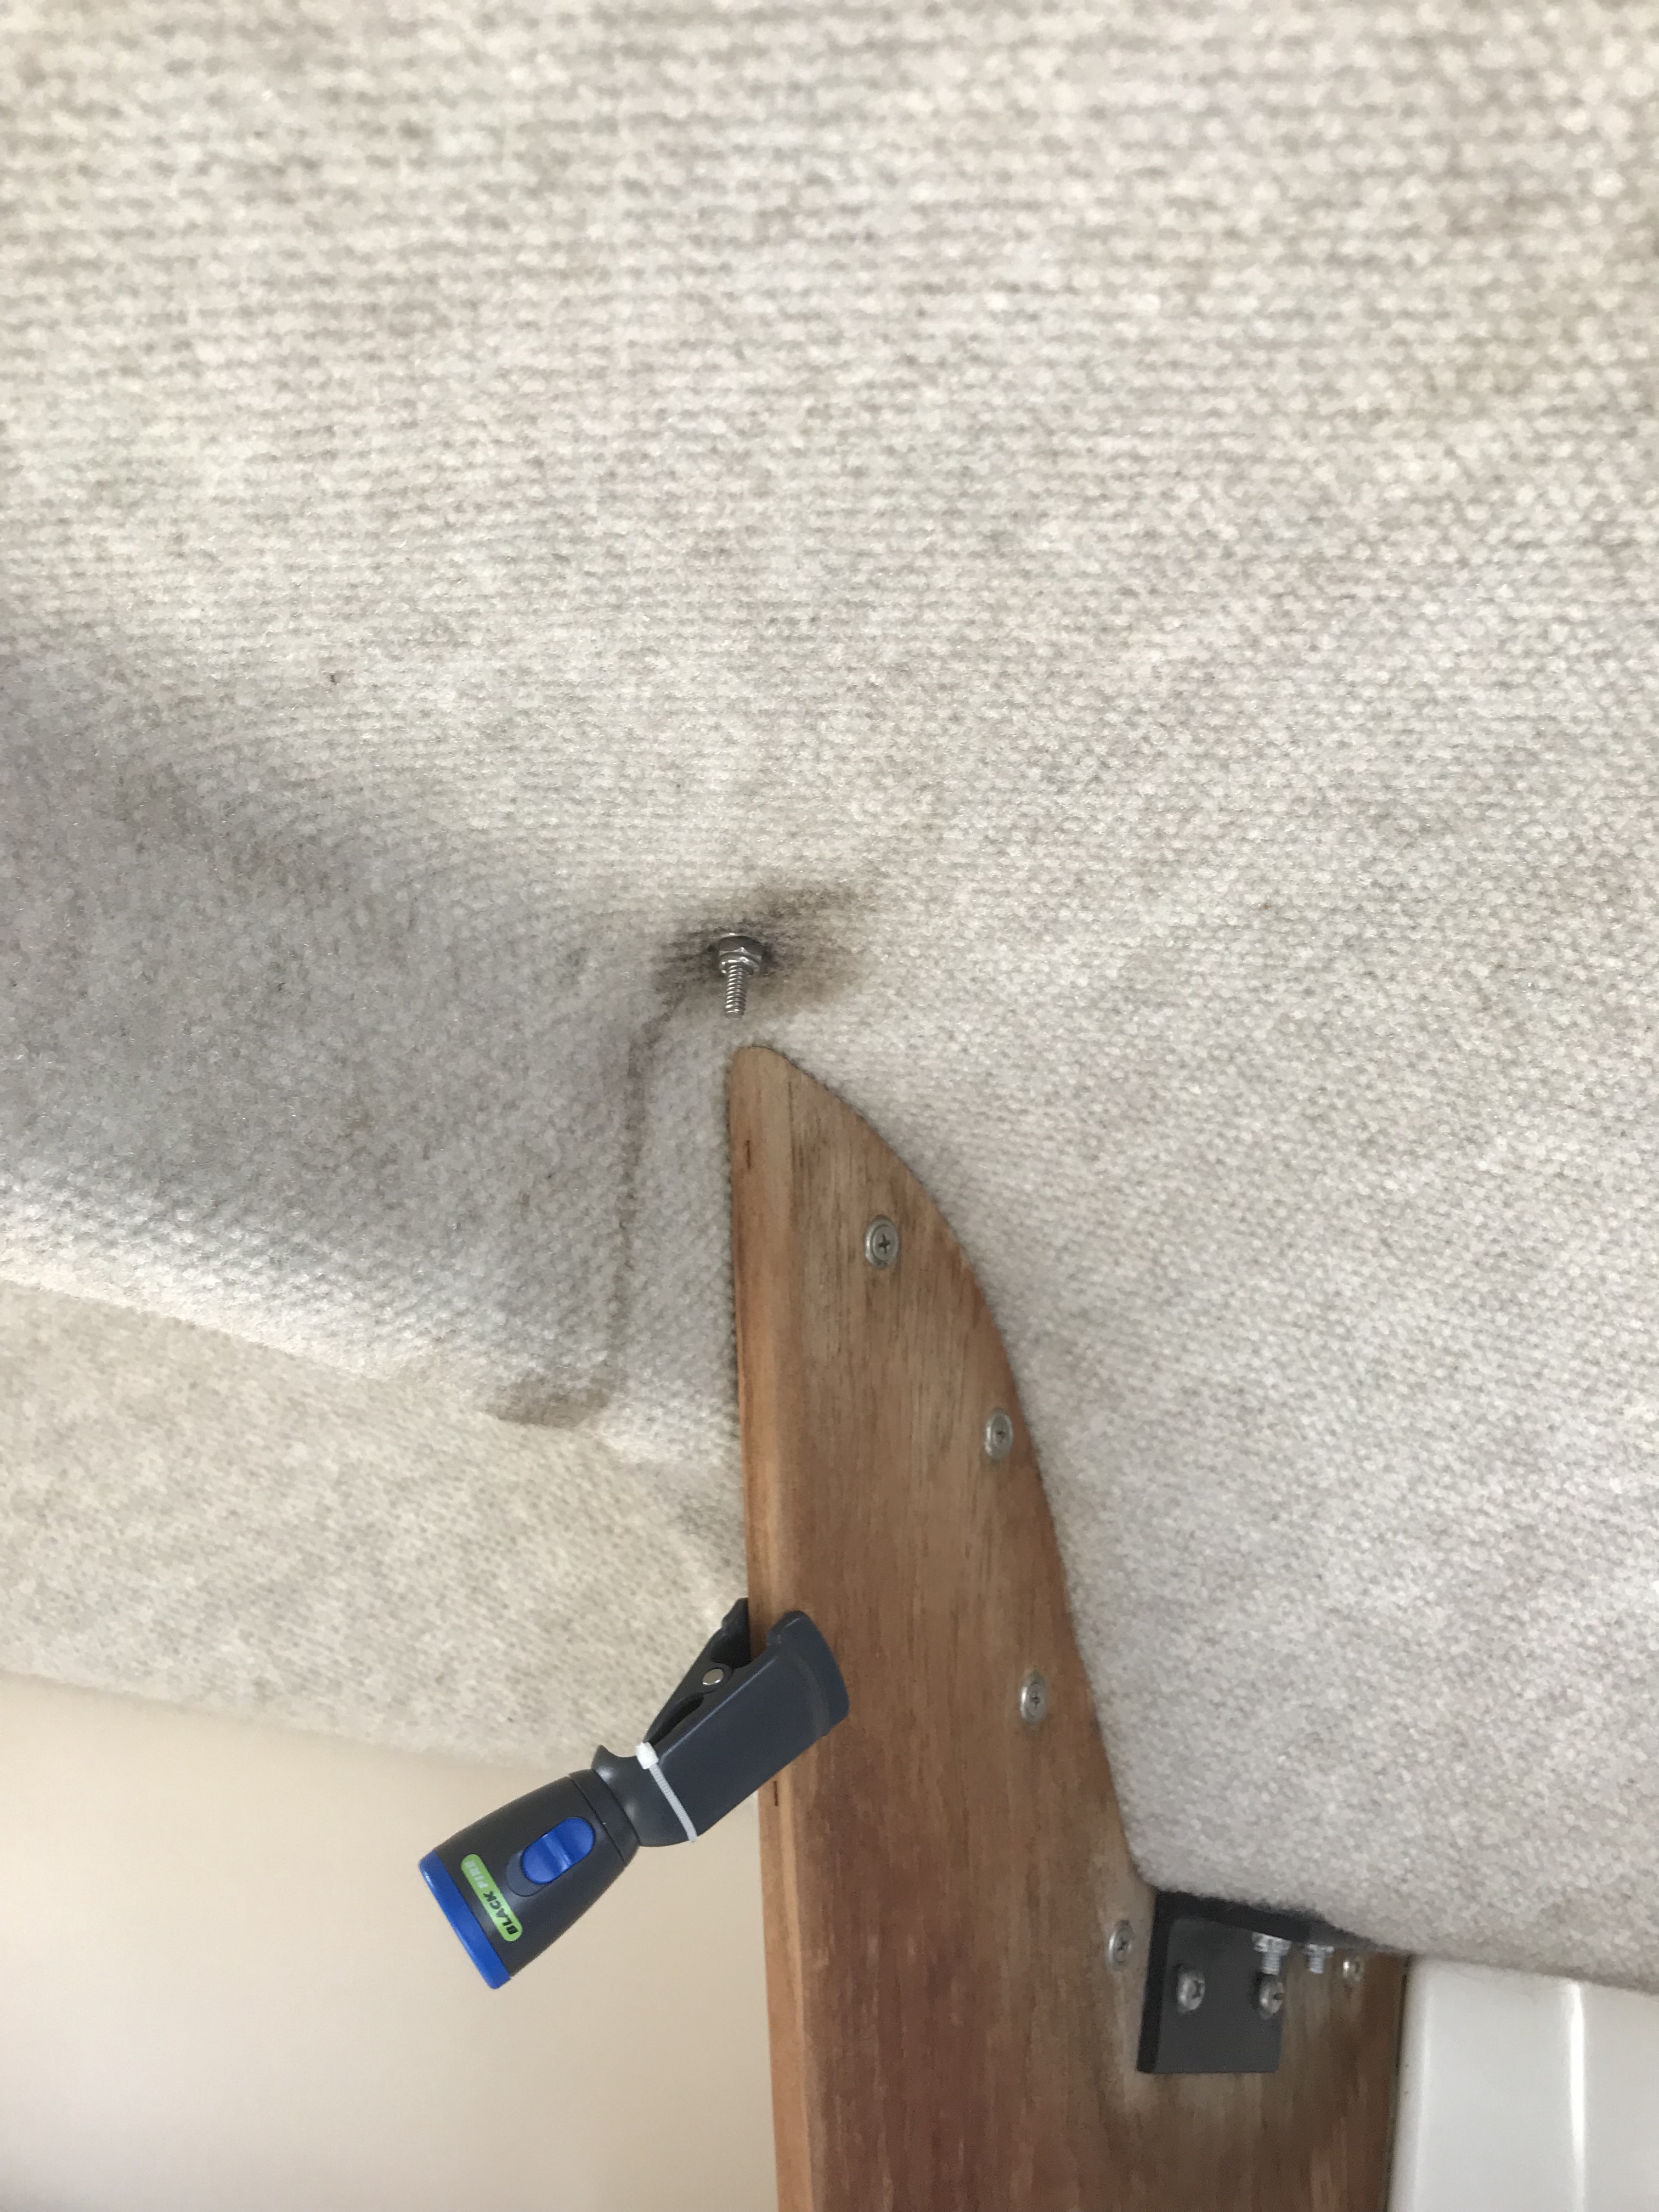
Spent some time cleaning the cabin today, started with pulling out the cushions and then cleaned the headliner. To clean the headliner I used two different solutions, one dilute bleach and the other an with dissolved oxyclean. I sprayed and blotted, sprayed again gently rubbed, and an third time spray and blot. It did a pretty good job of getting out most of the stains and some dirt, I don’t know if it had ever had been cleaned before.
A couple sets of before and after :
After
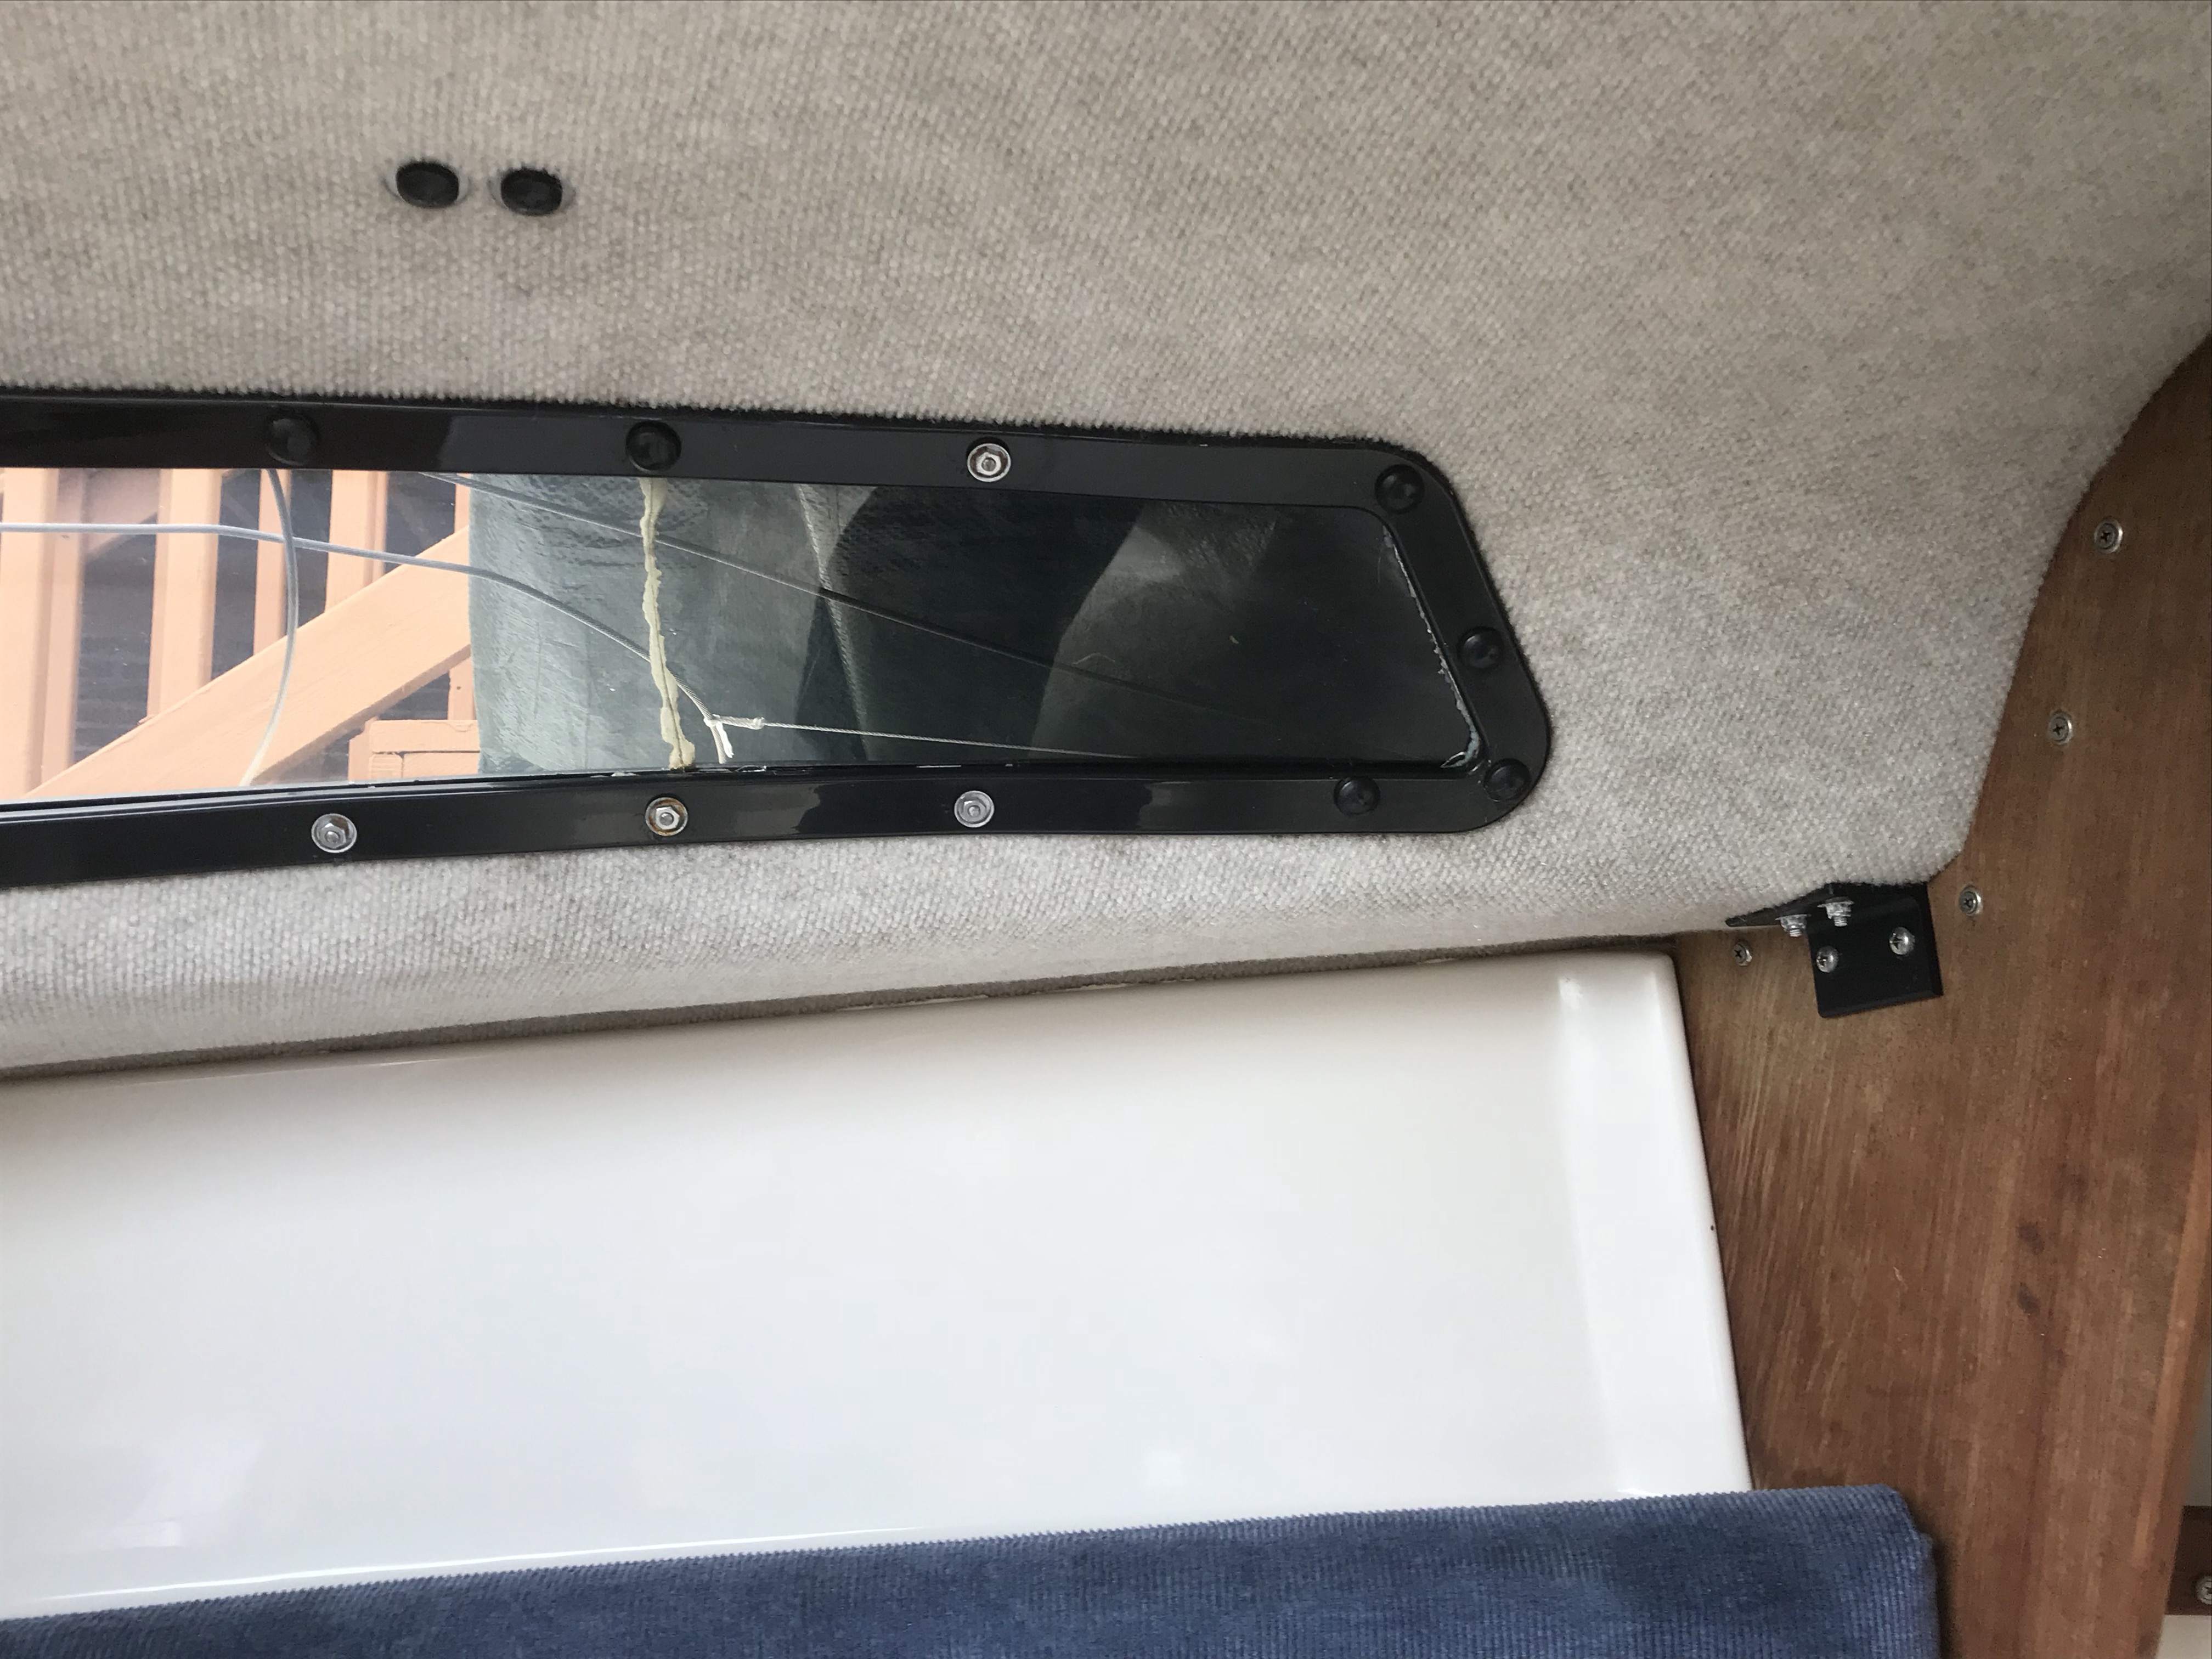
Before
After:
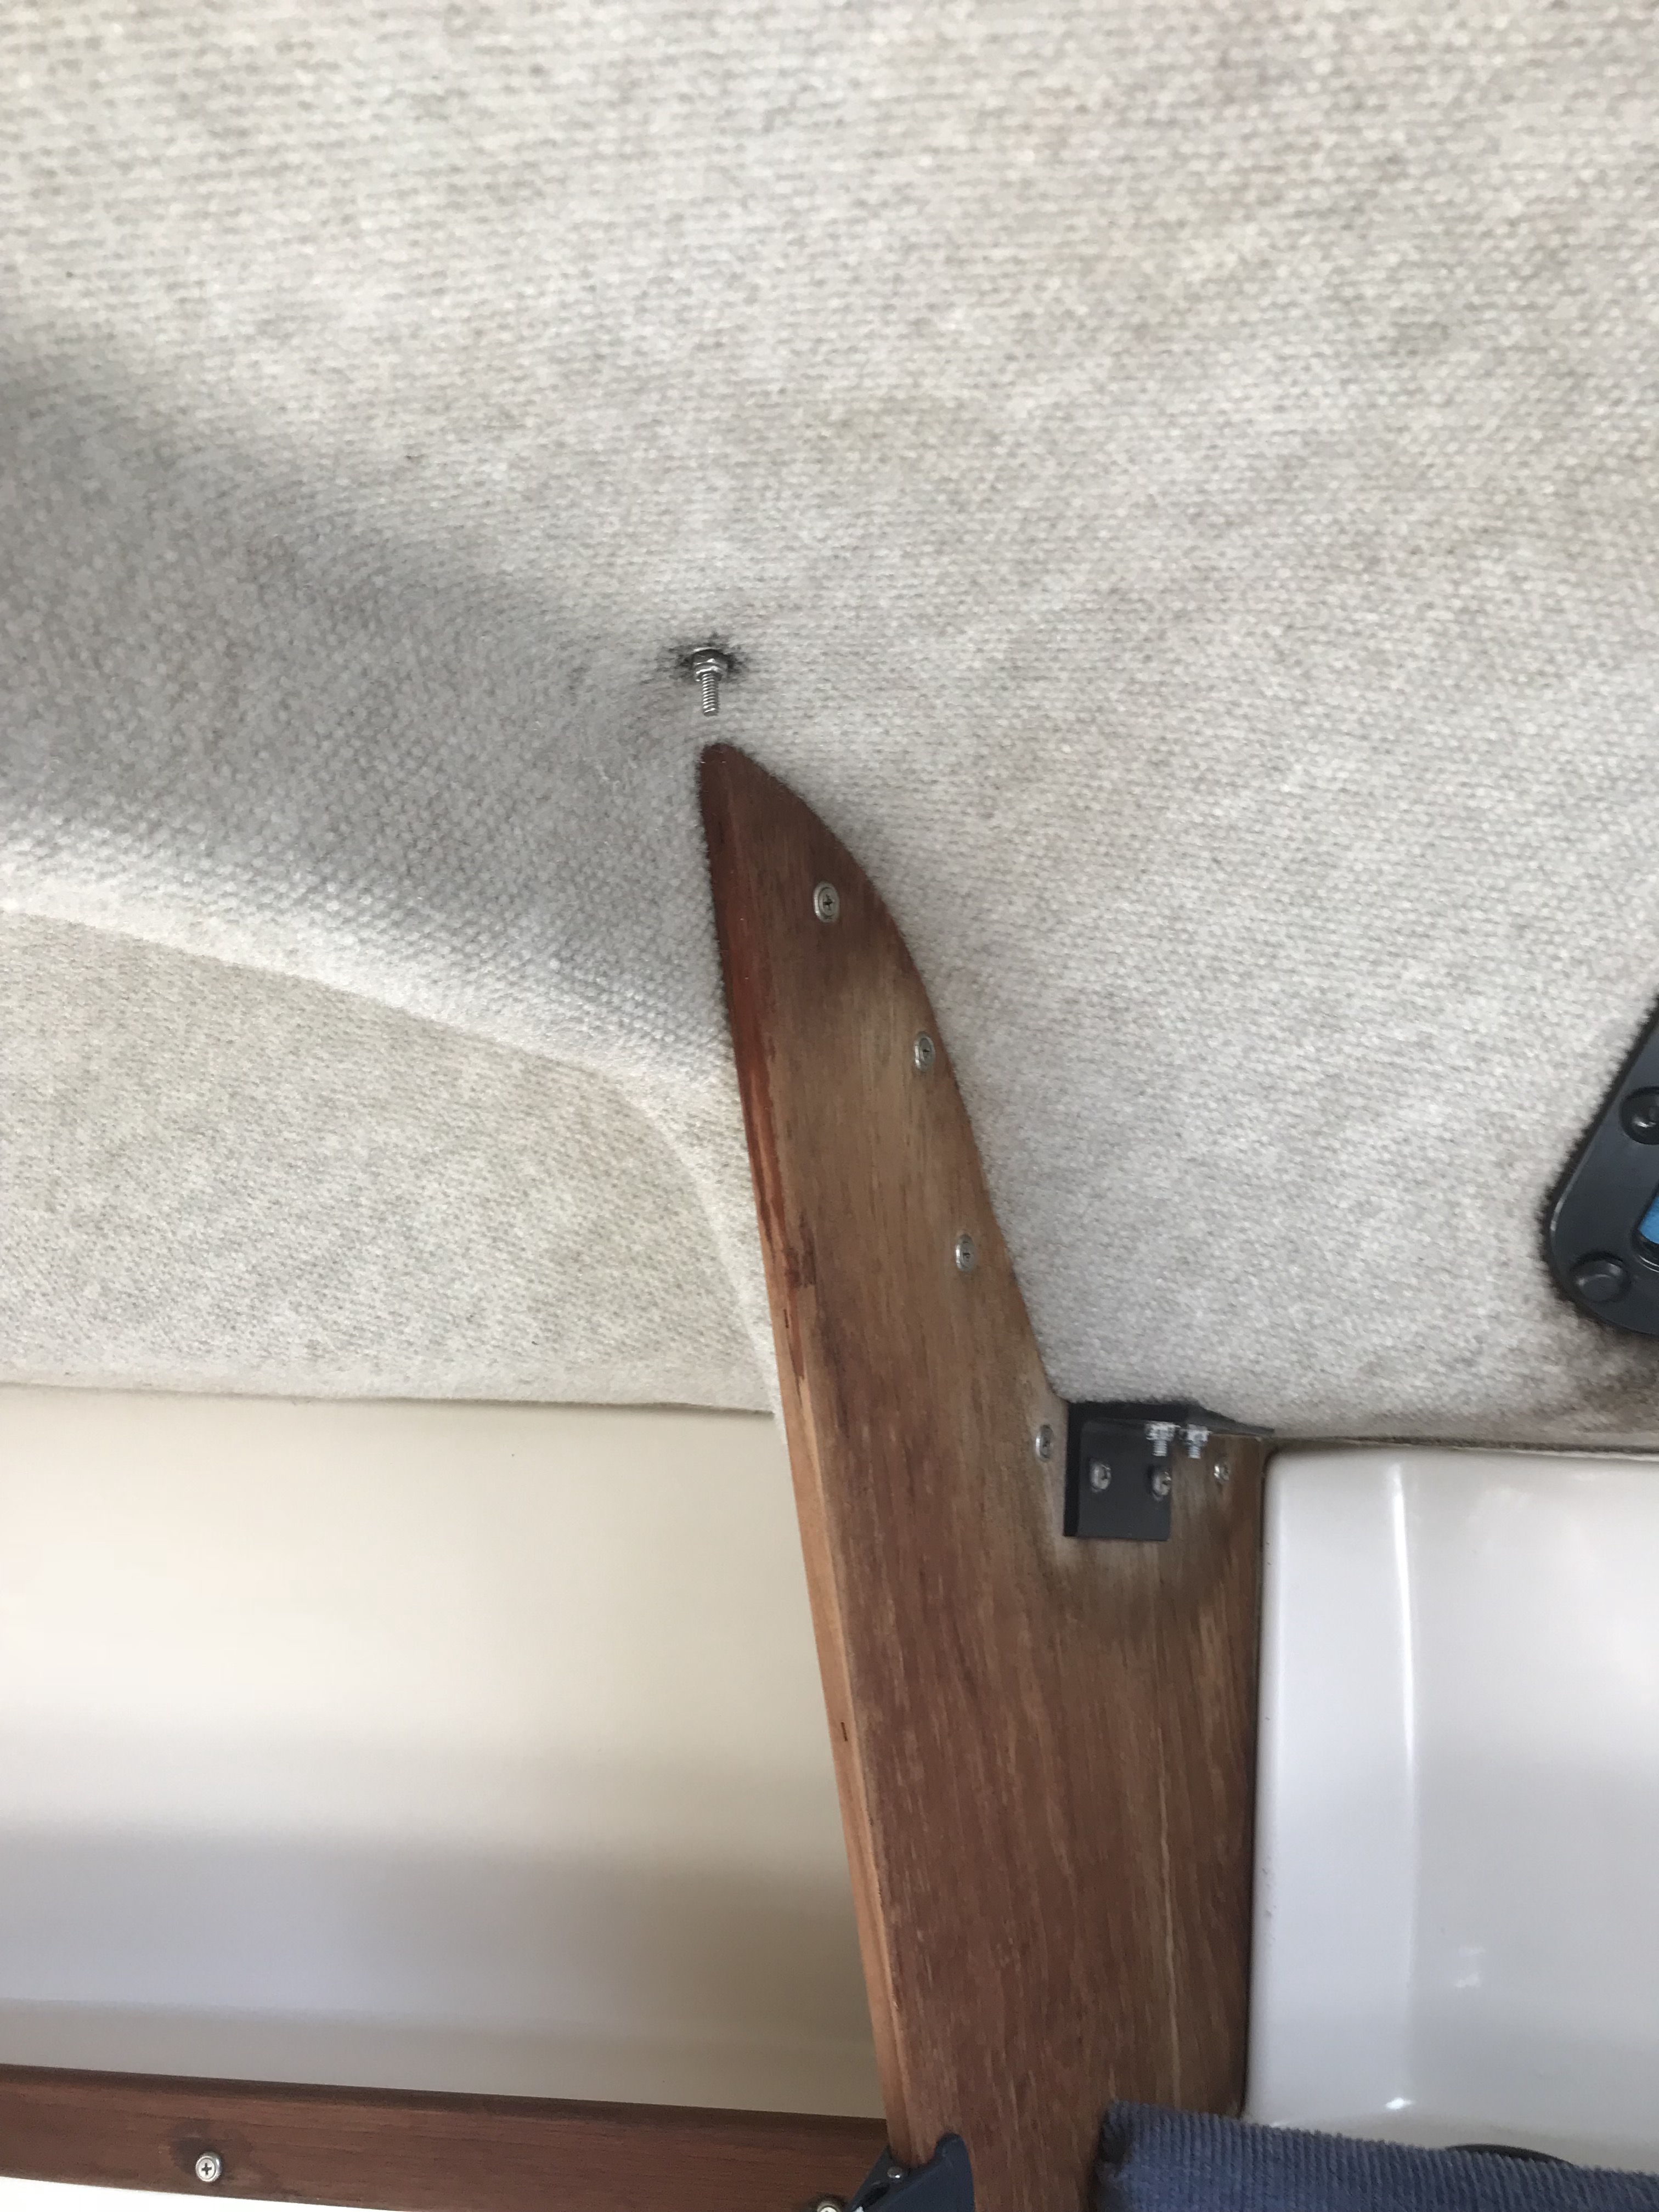
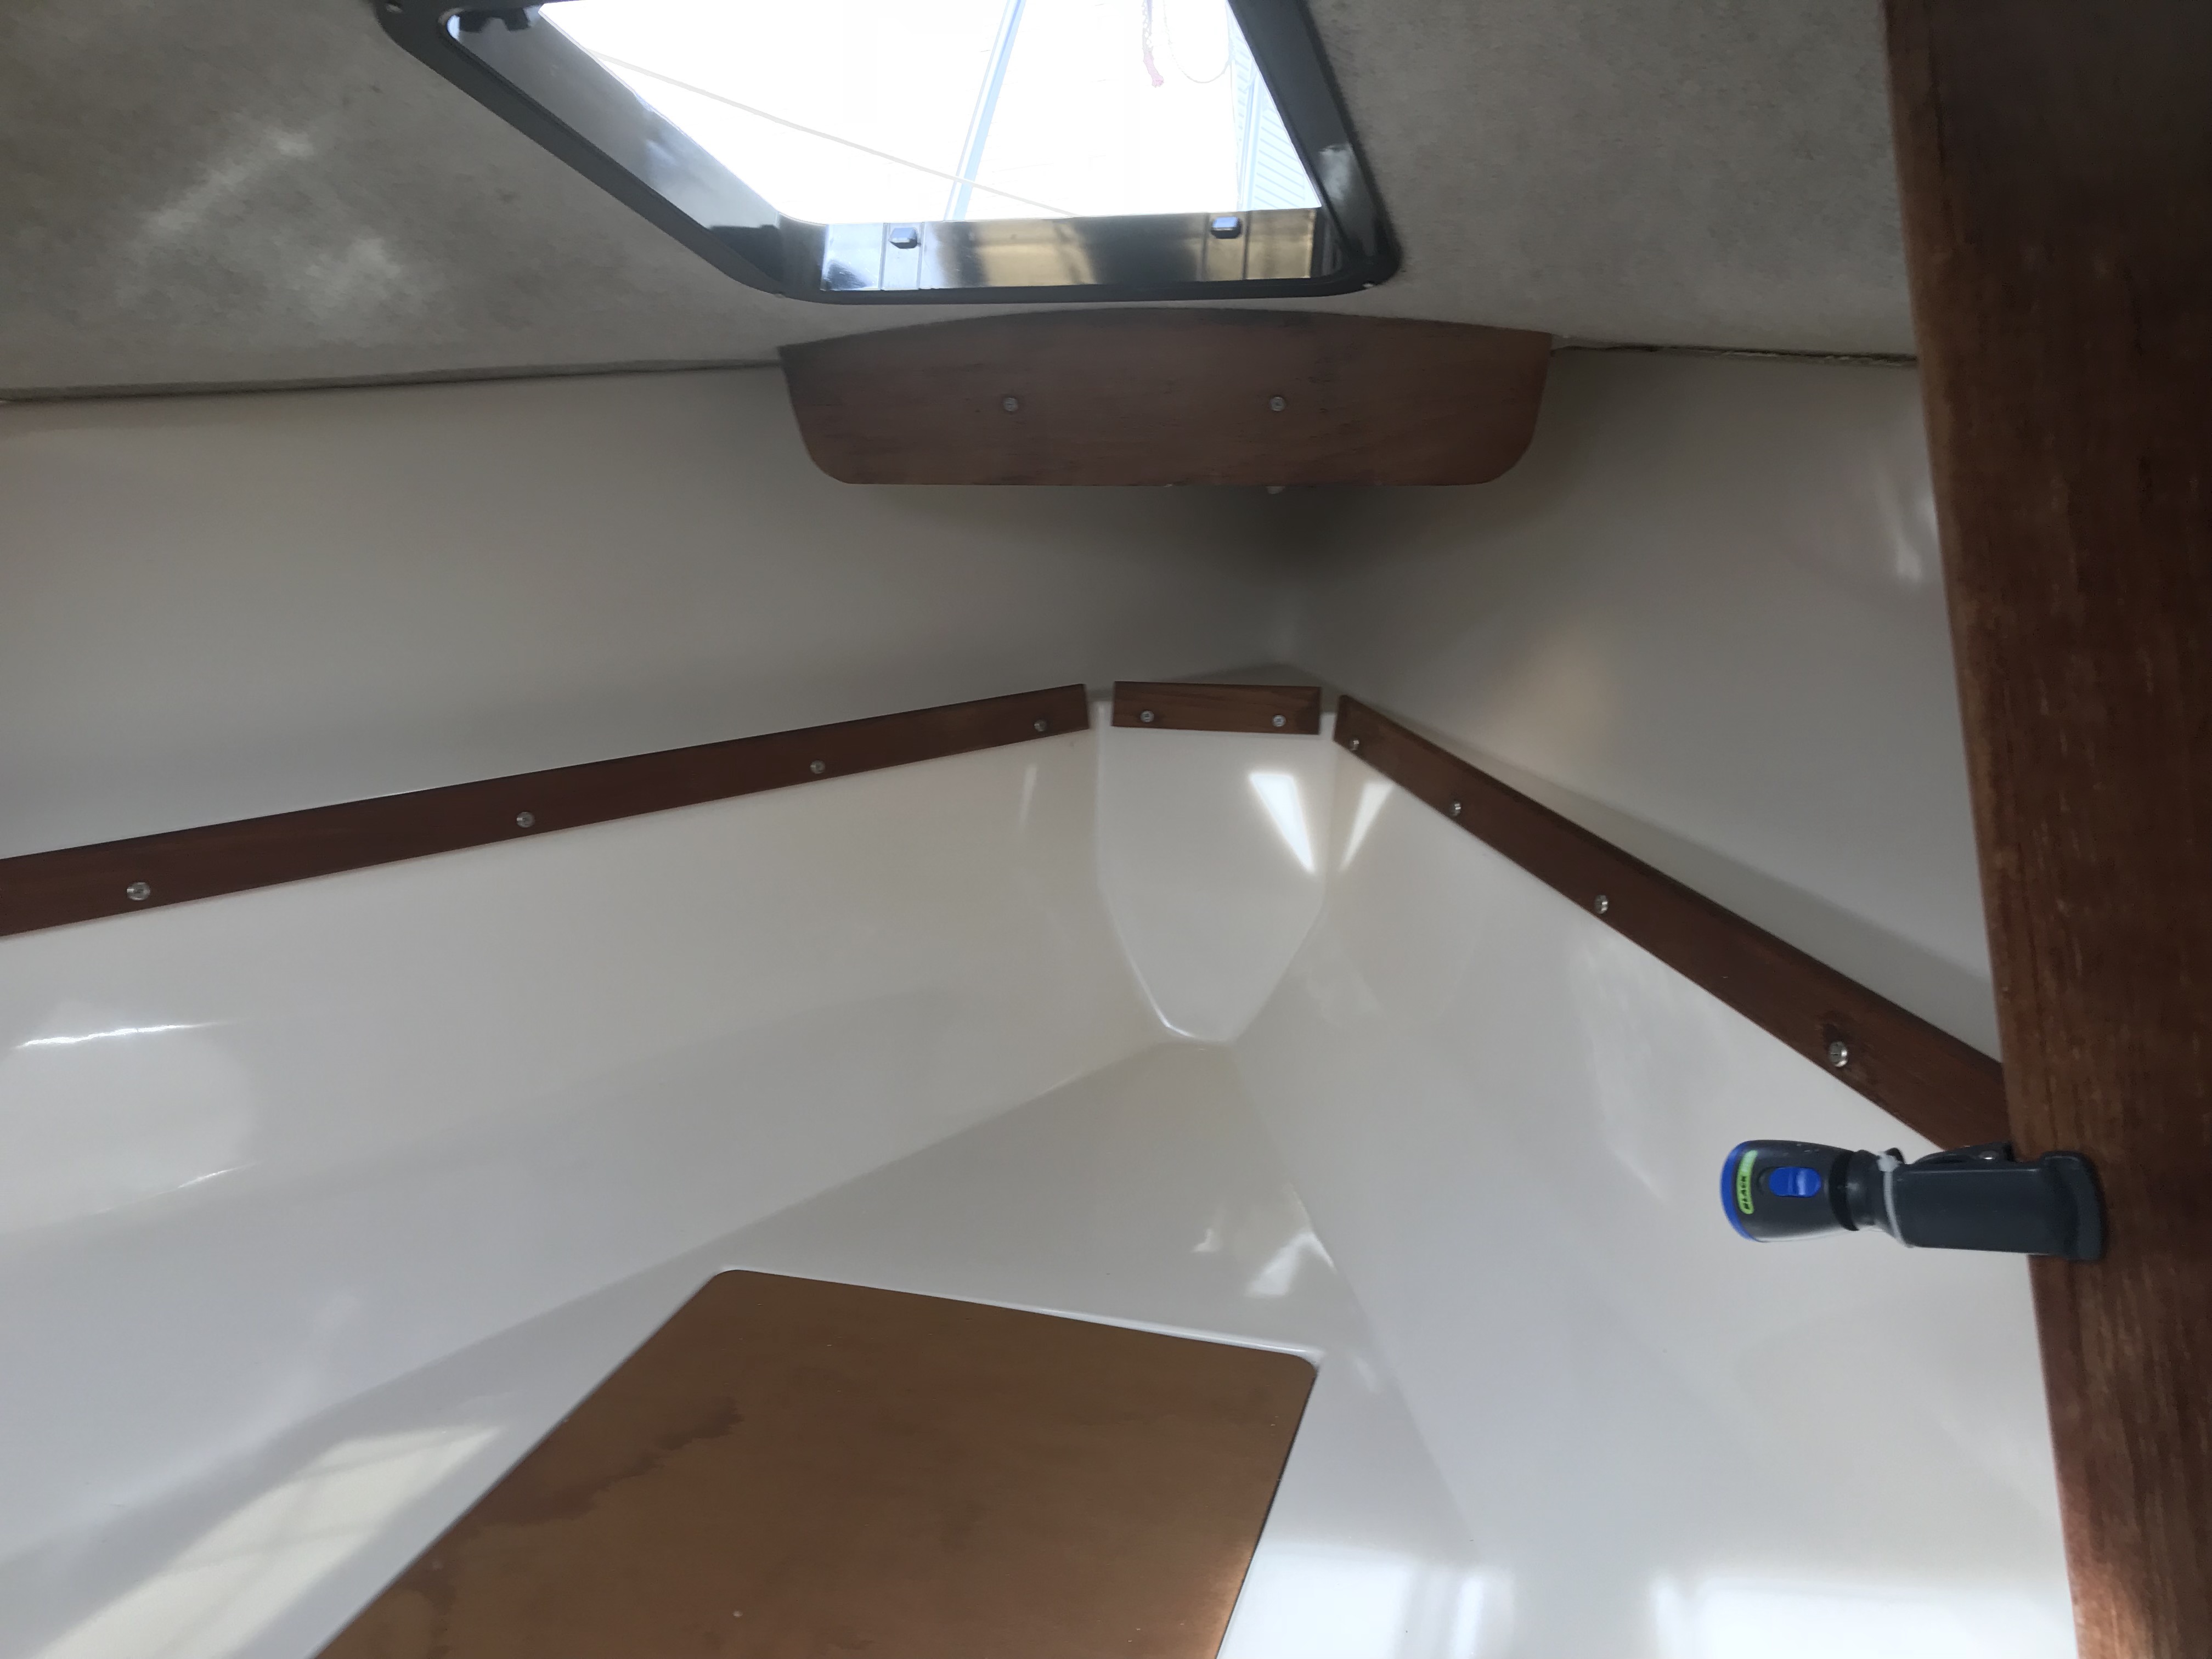
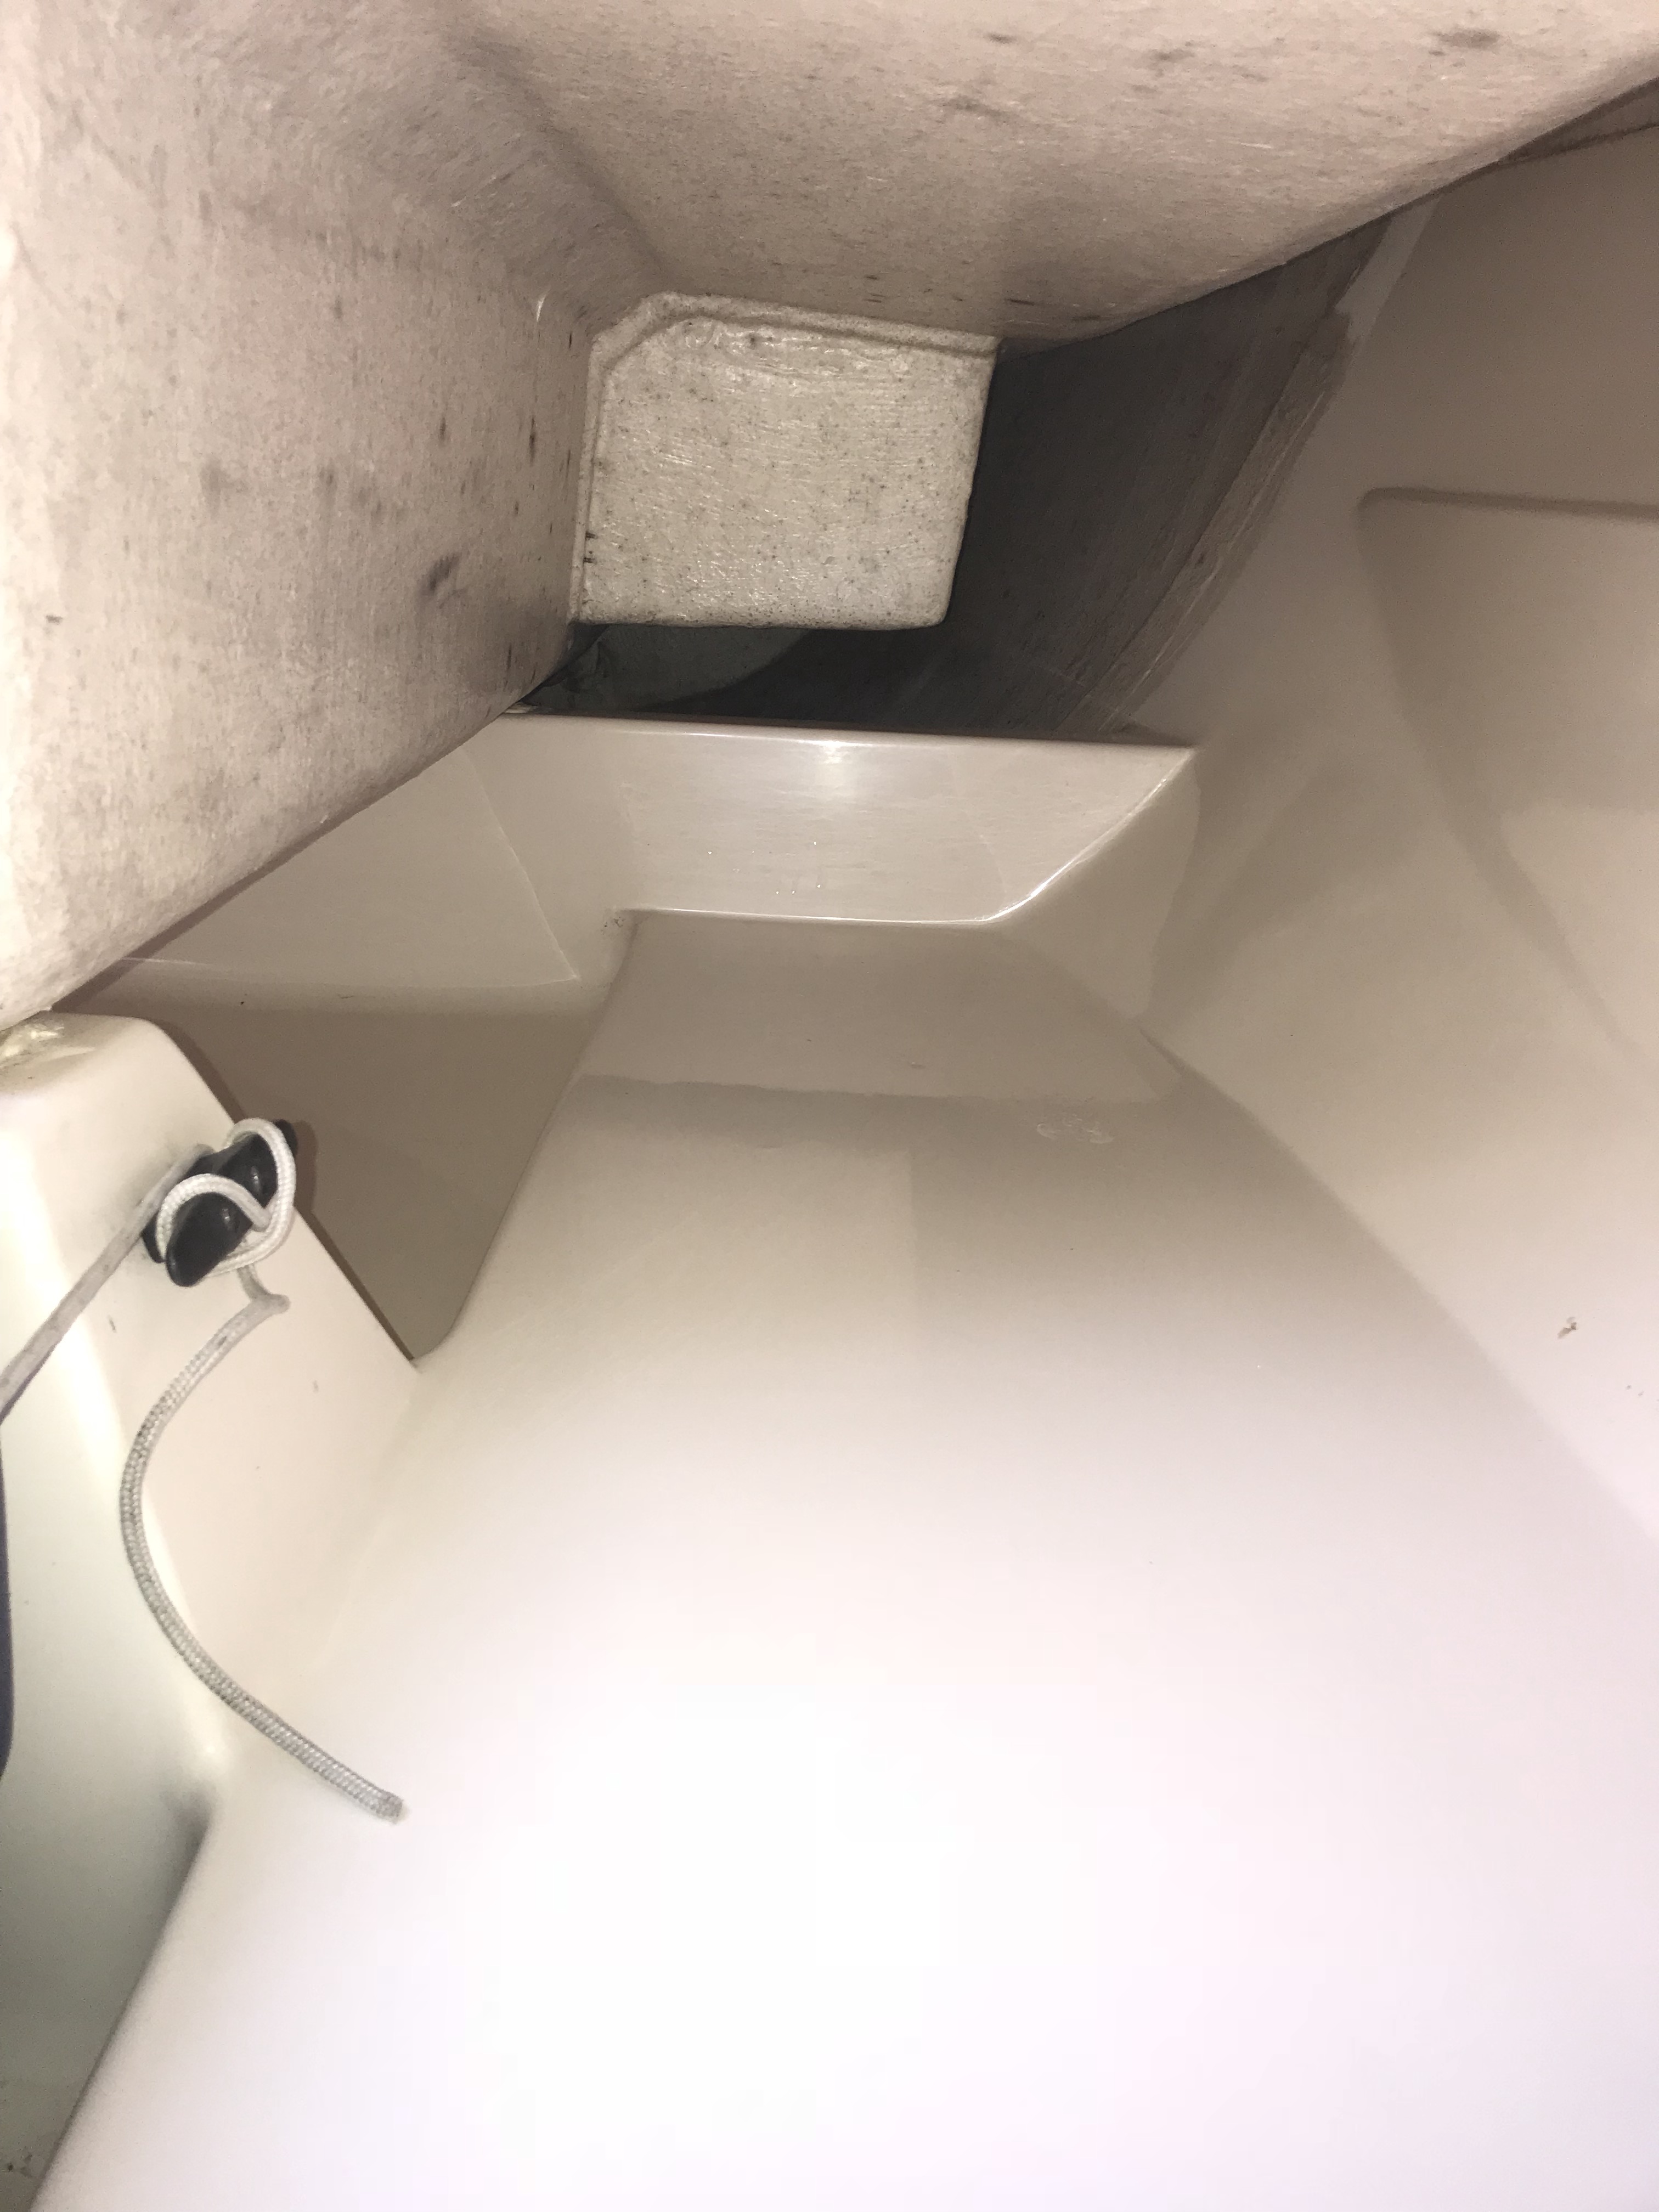
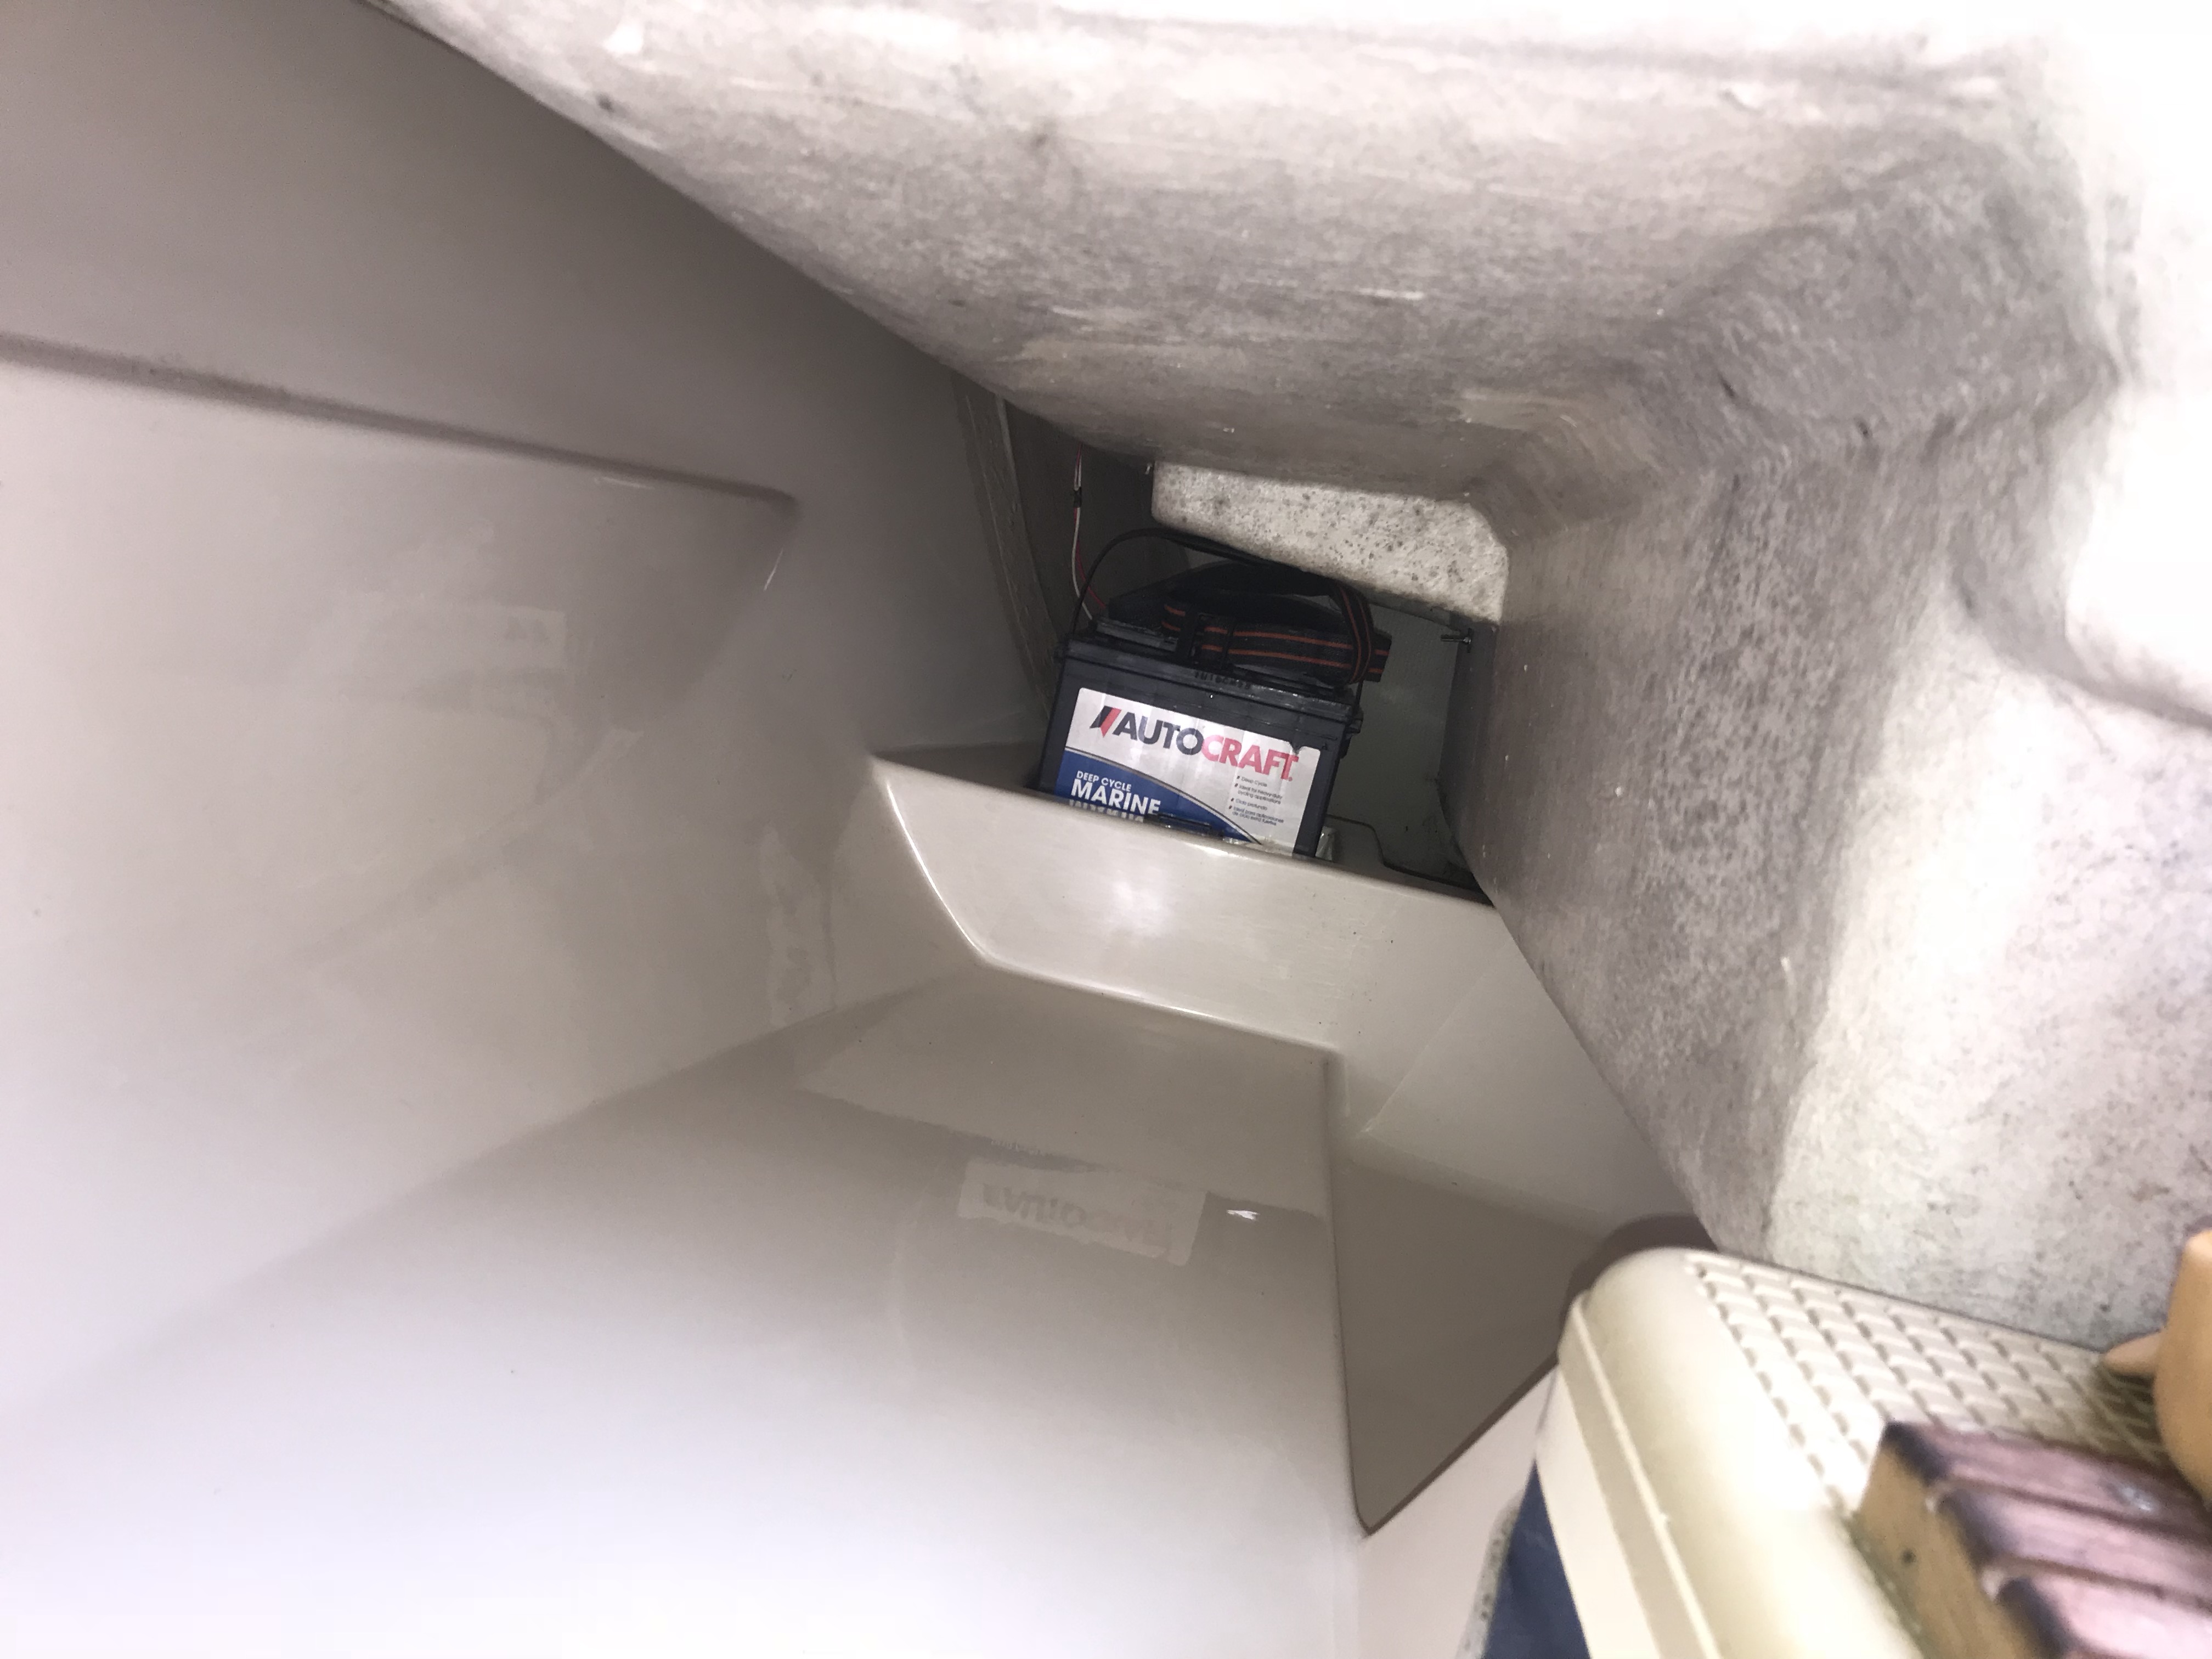
Clean aft cabin under cockpit :
And foreward view if cleaned woodwork and under bow:
Before
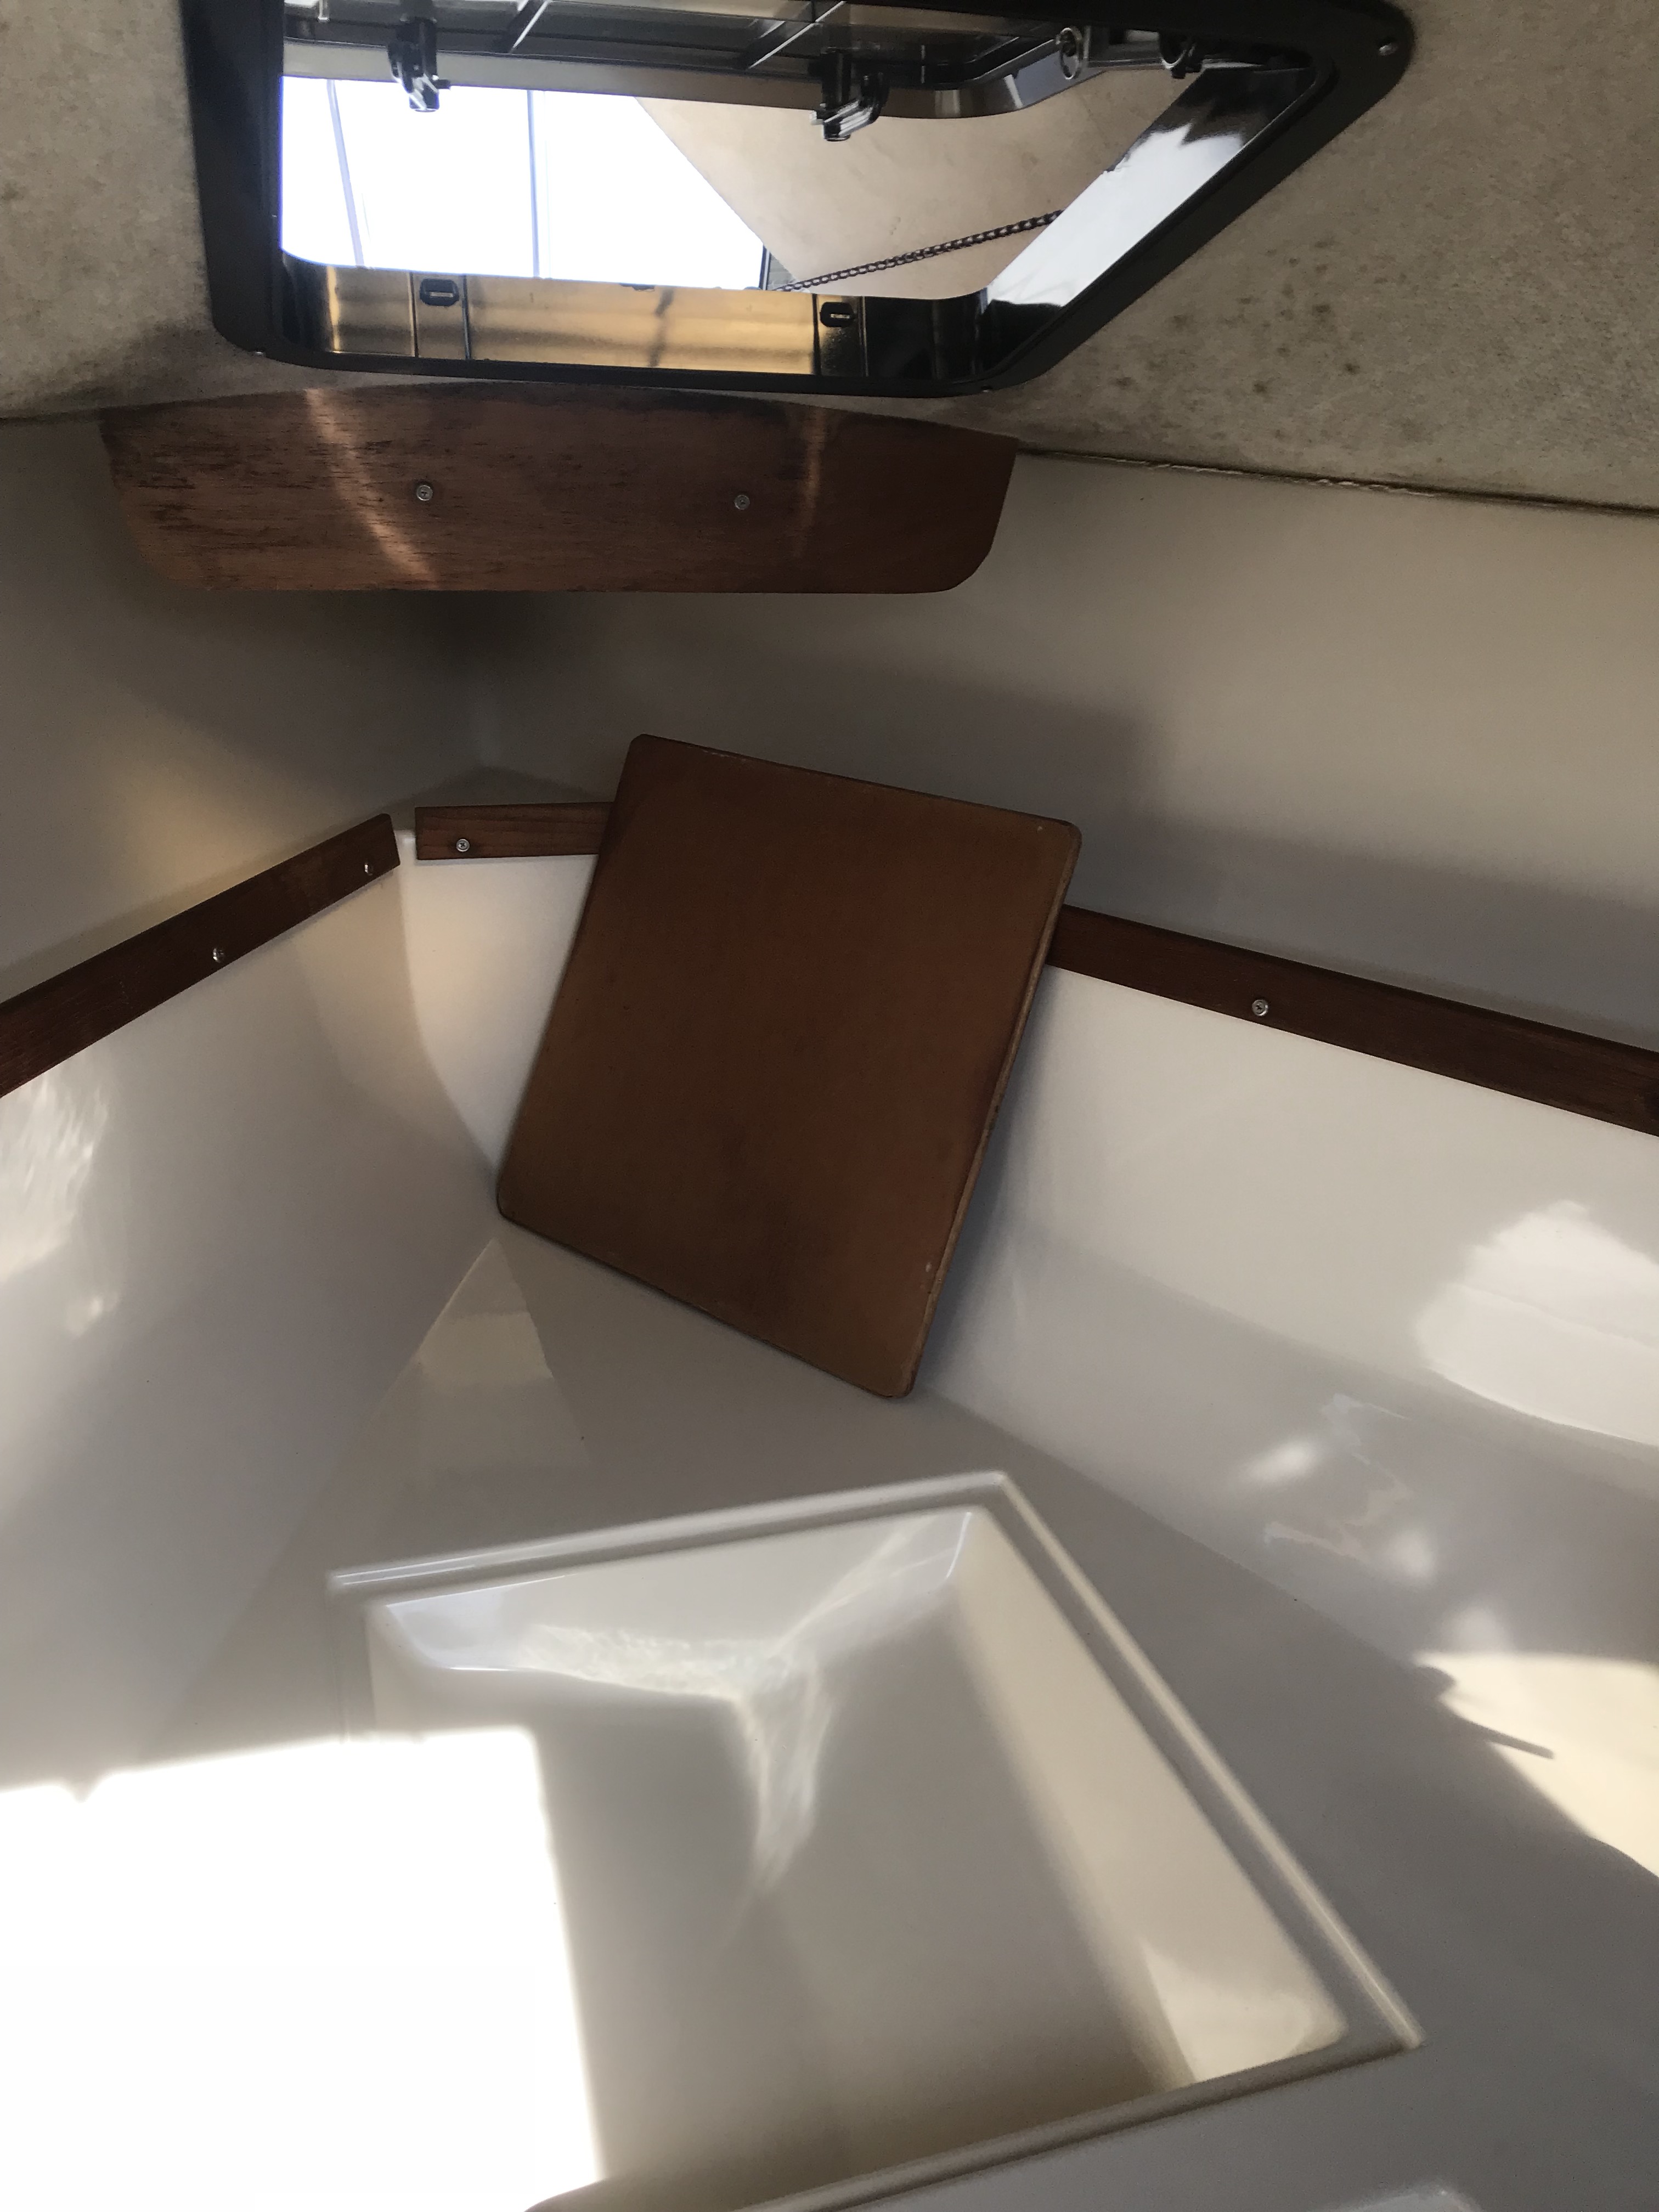
After:
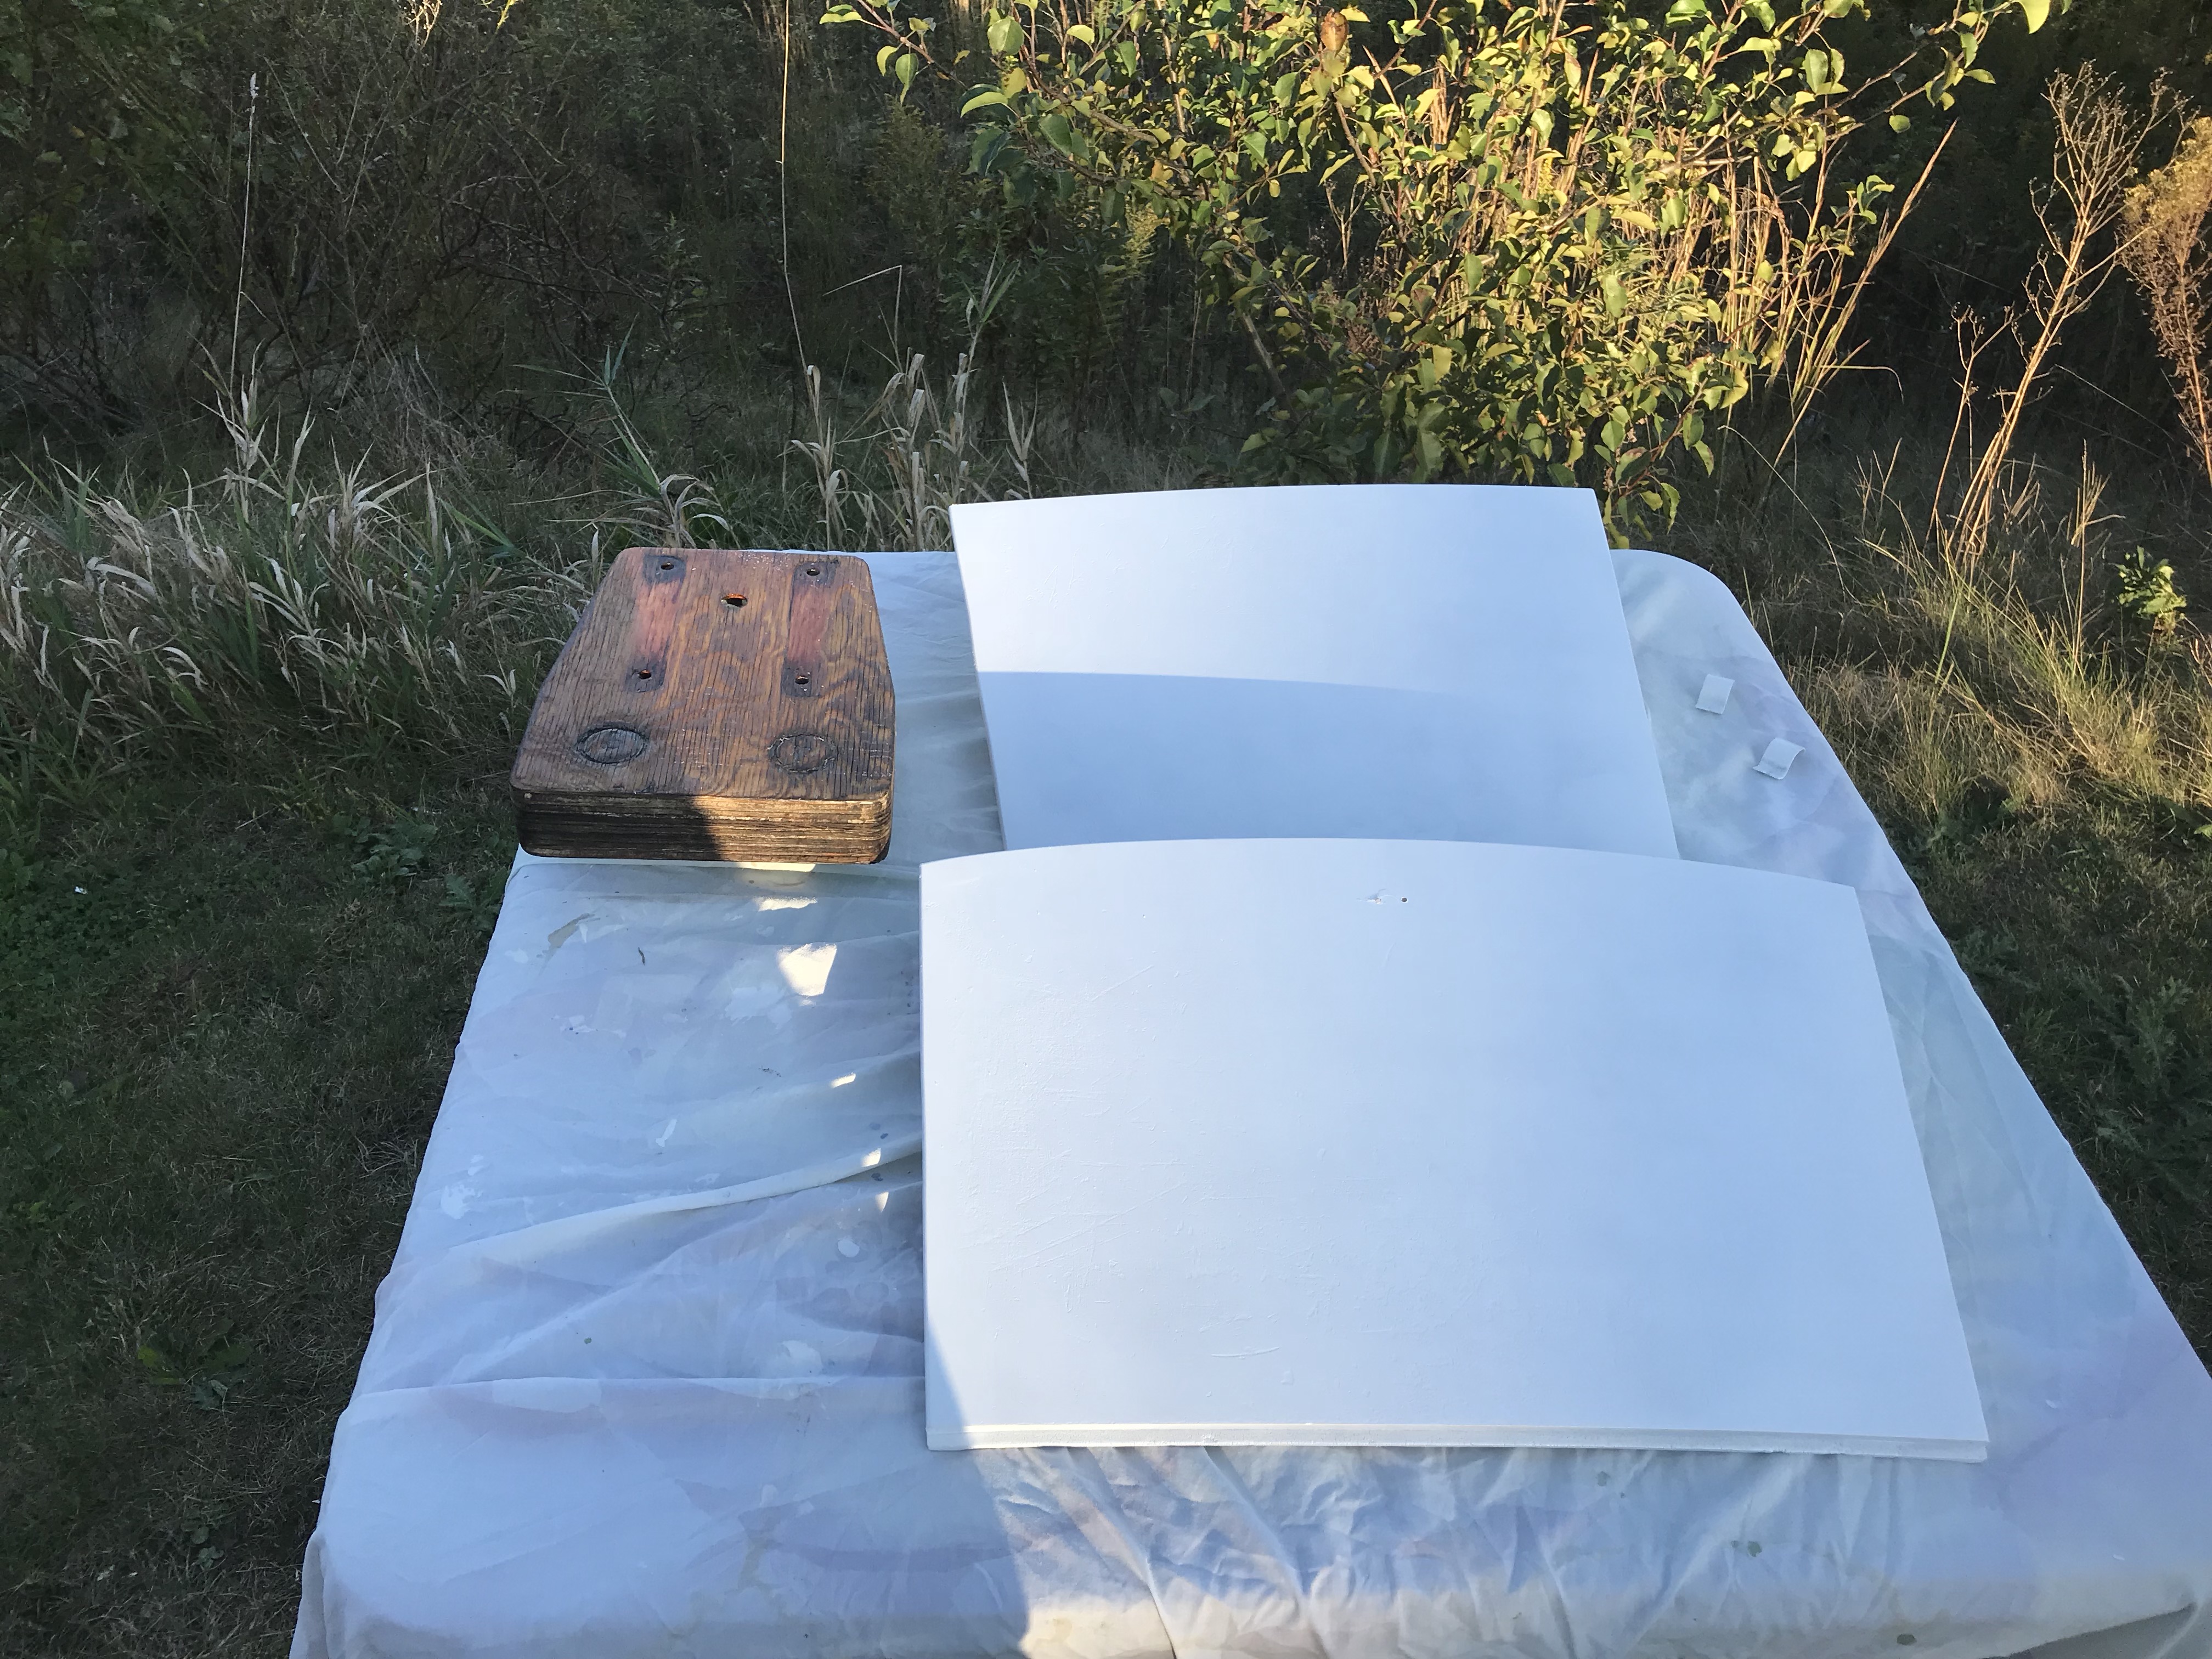
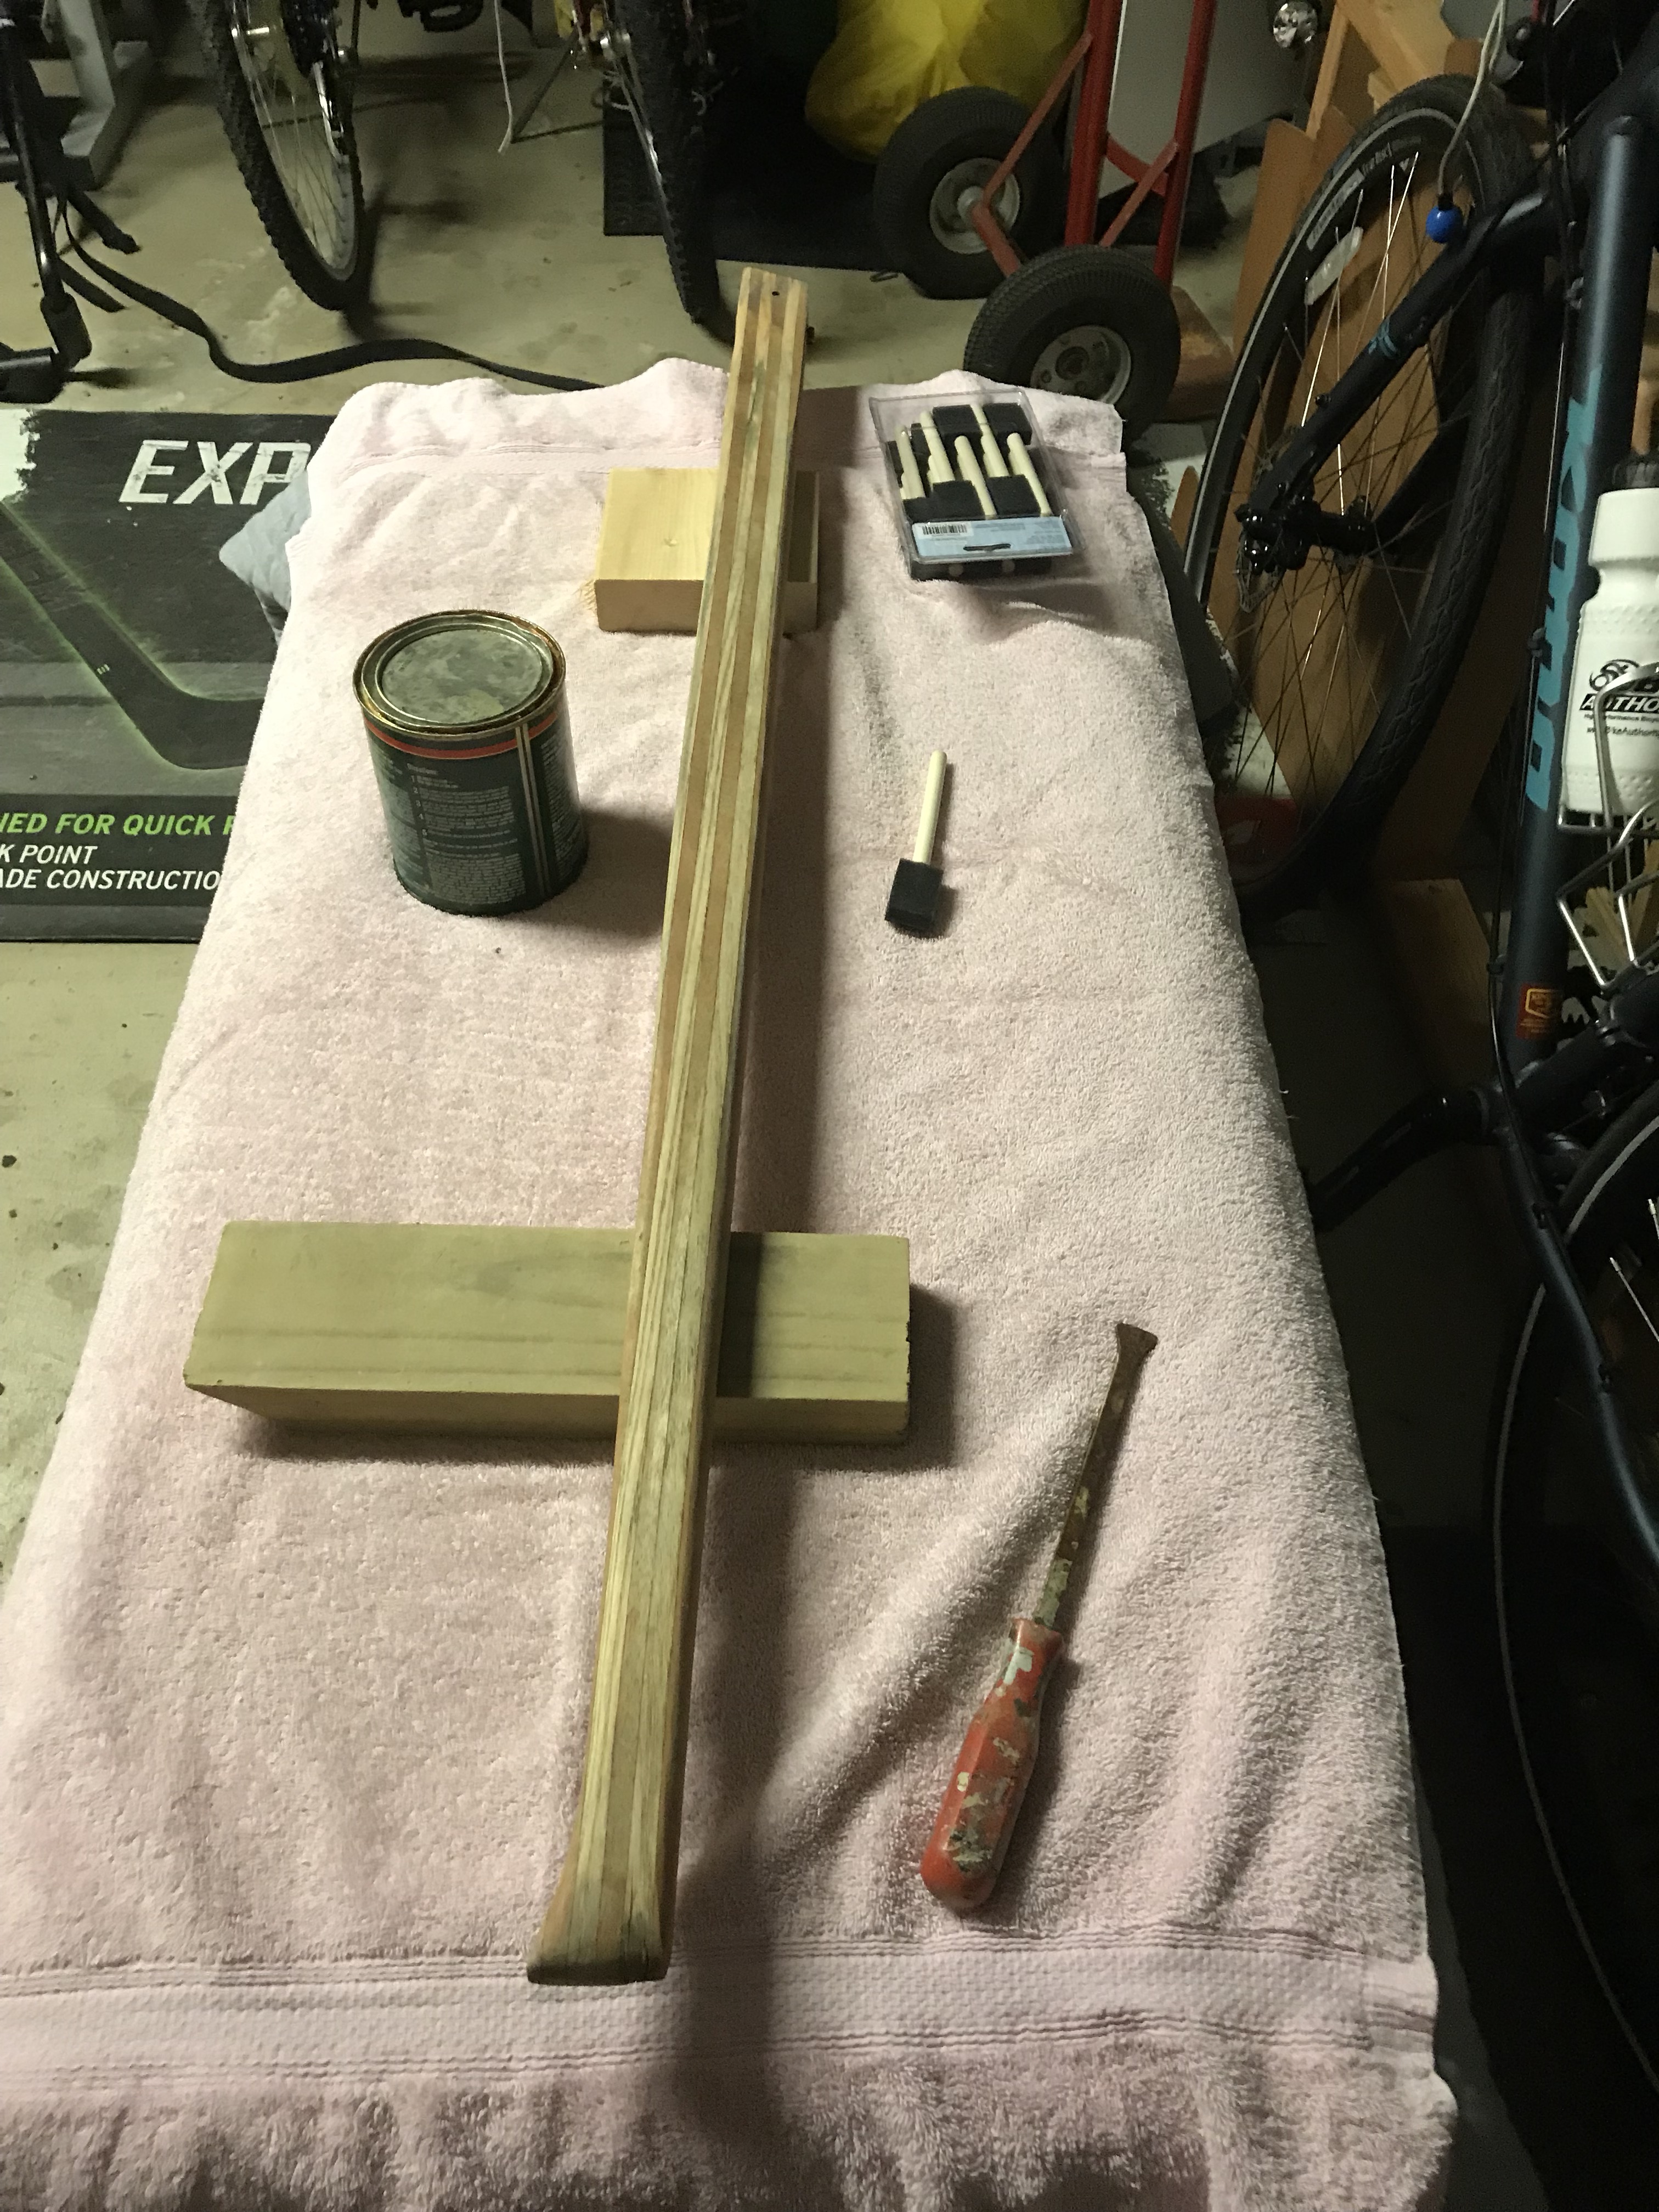
Working on Bulkheads and tiller, here’s a before/after shot of one bulkhead oiled and the other as is

And before shot of the sanded tiller

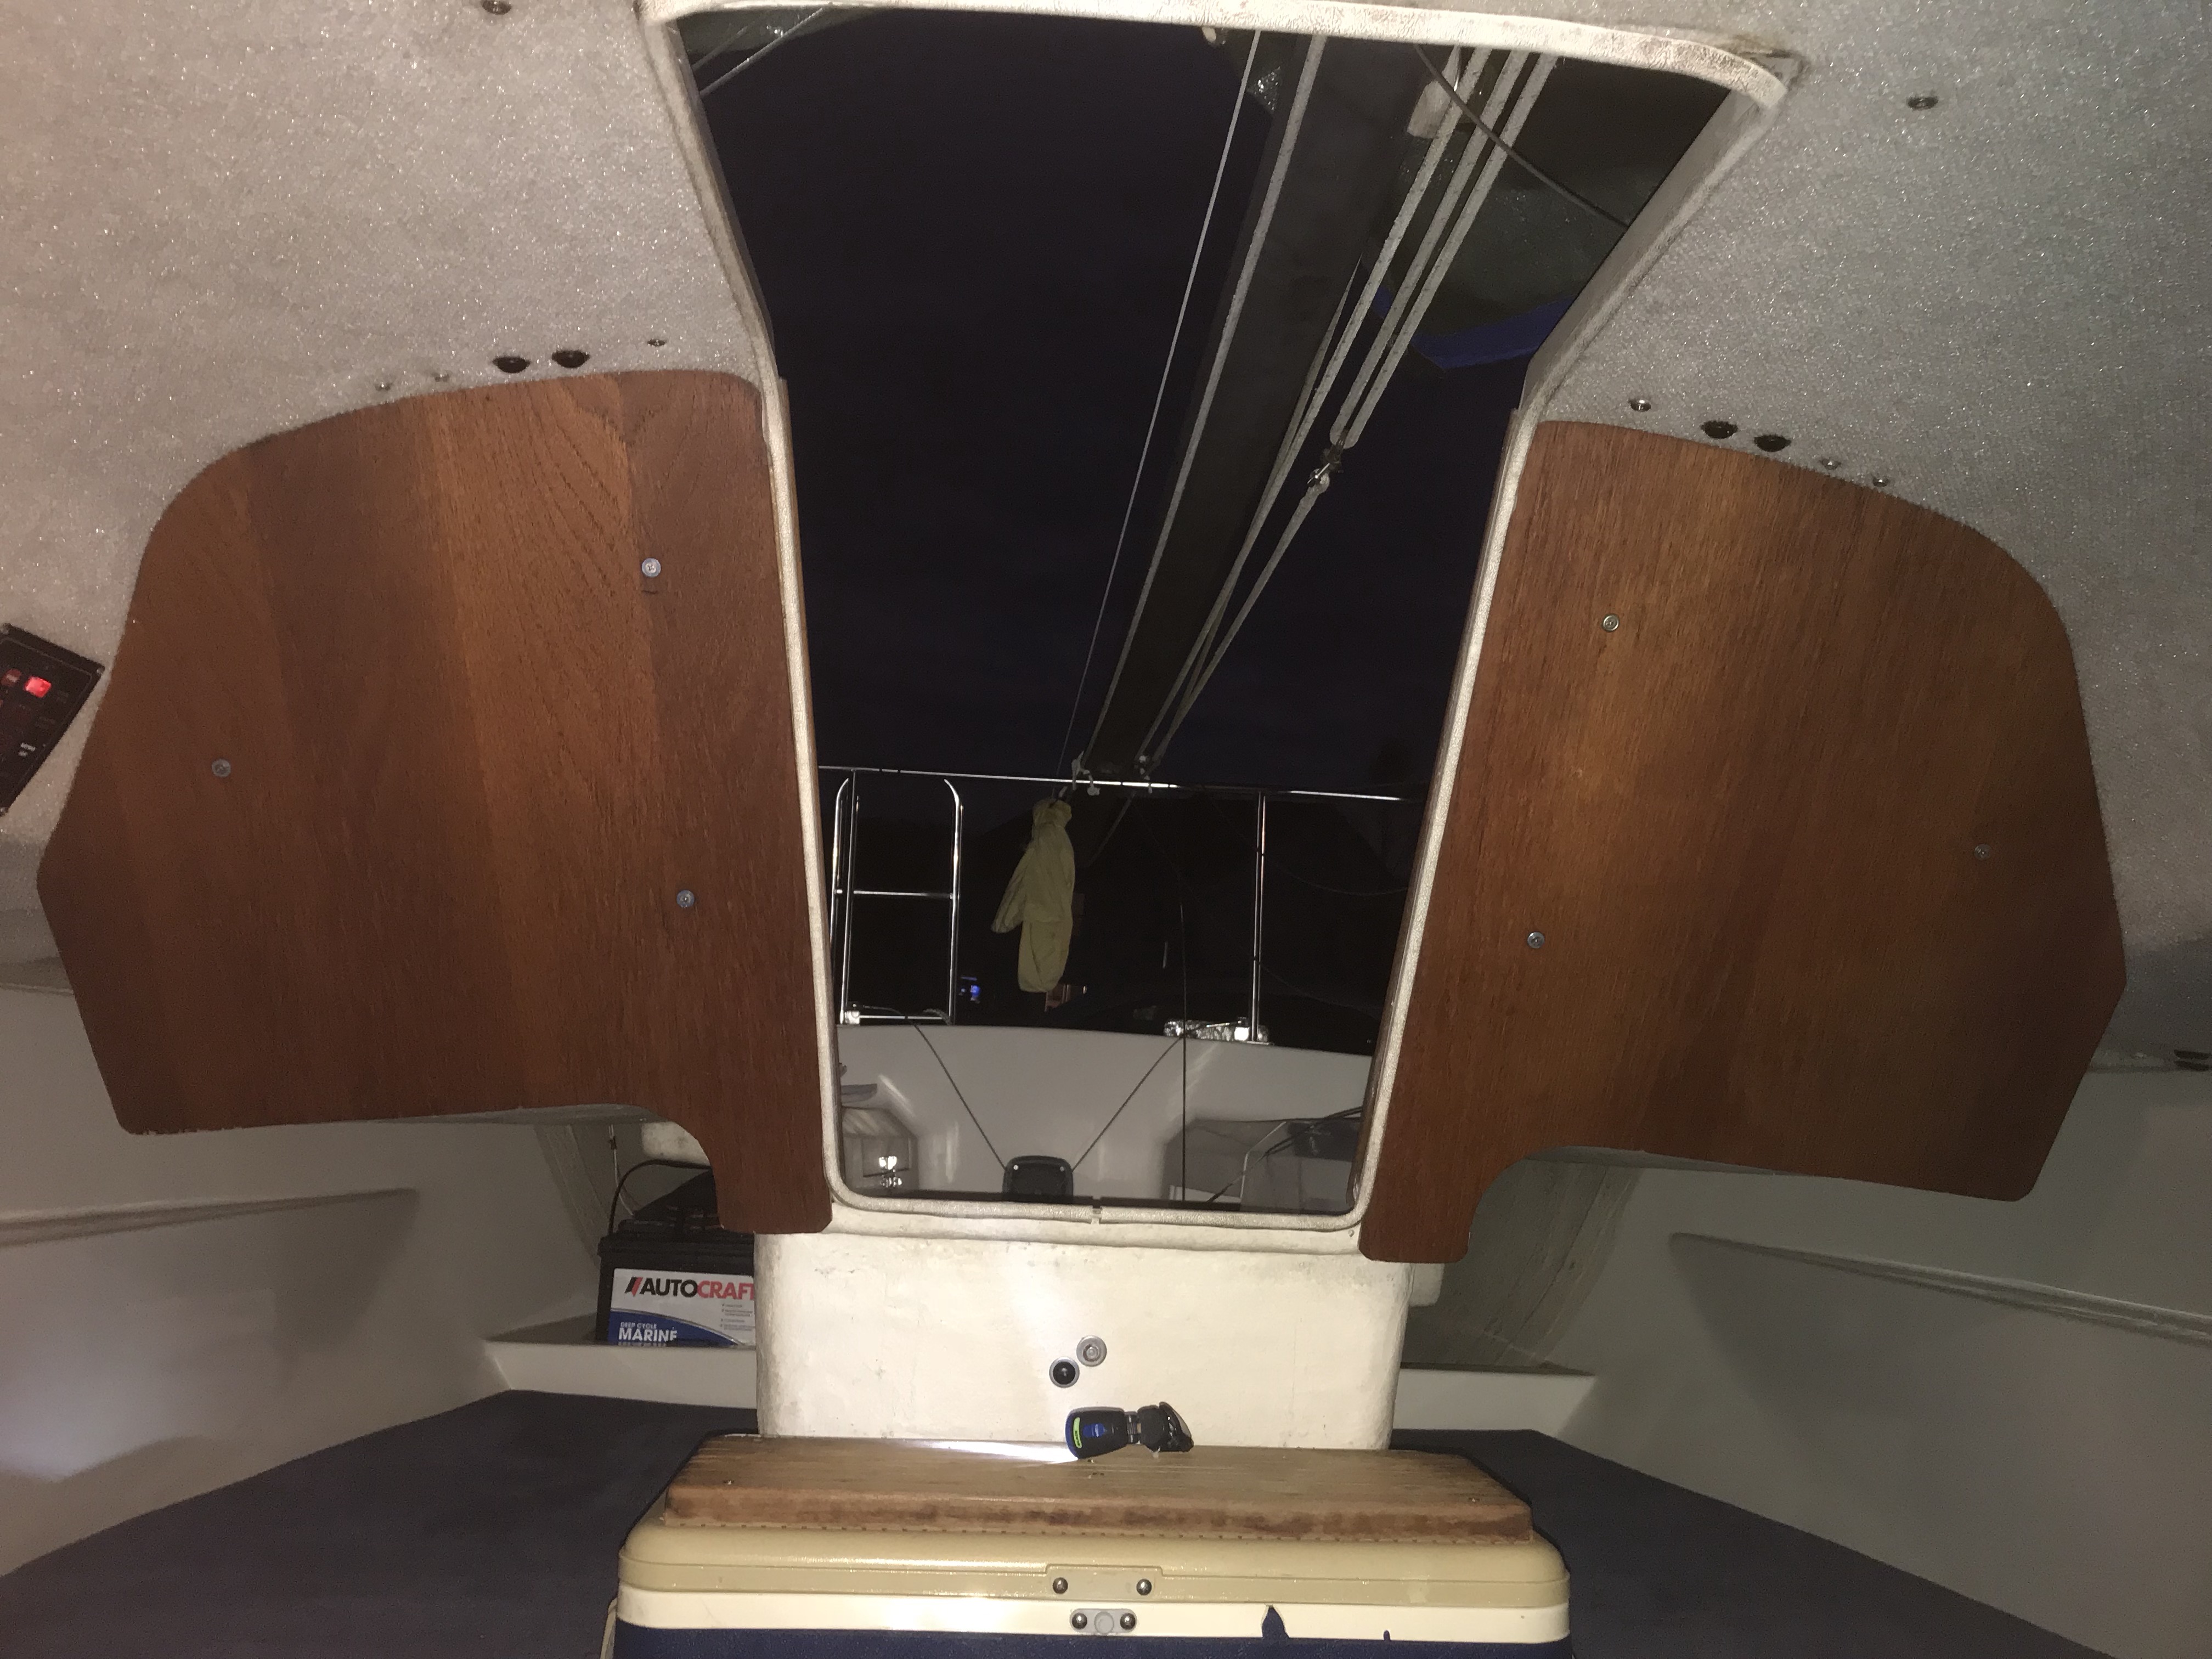
I installed the freshly cleaned and oiled Bulkheads
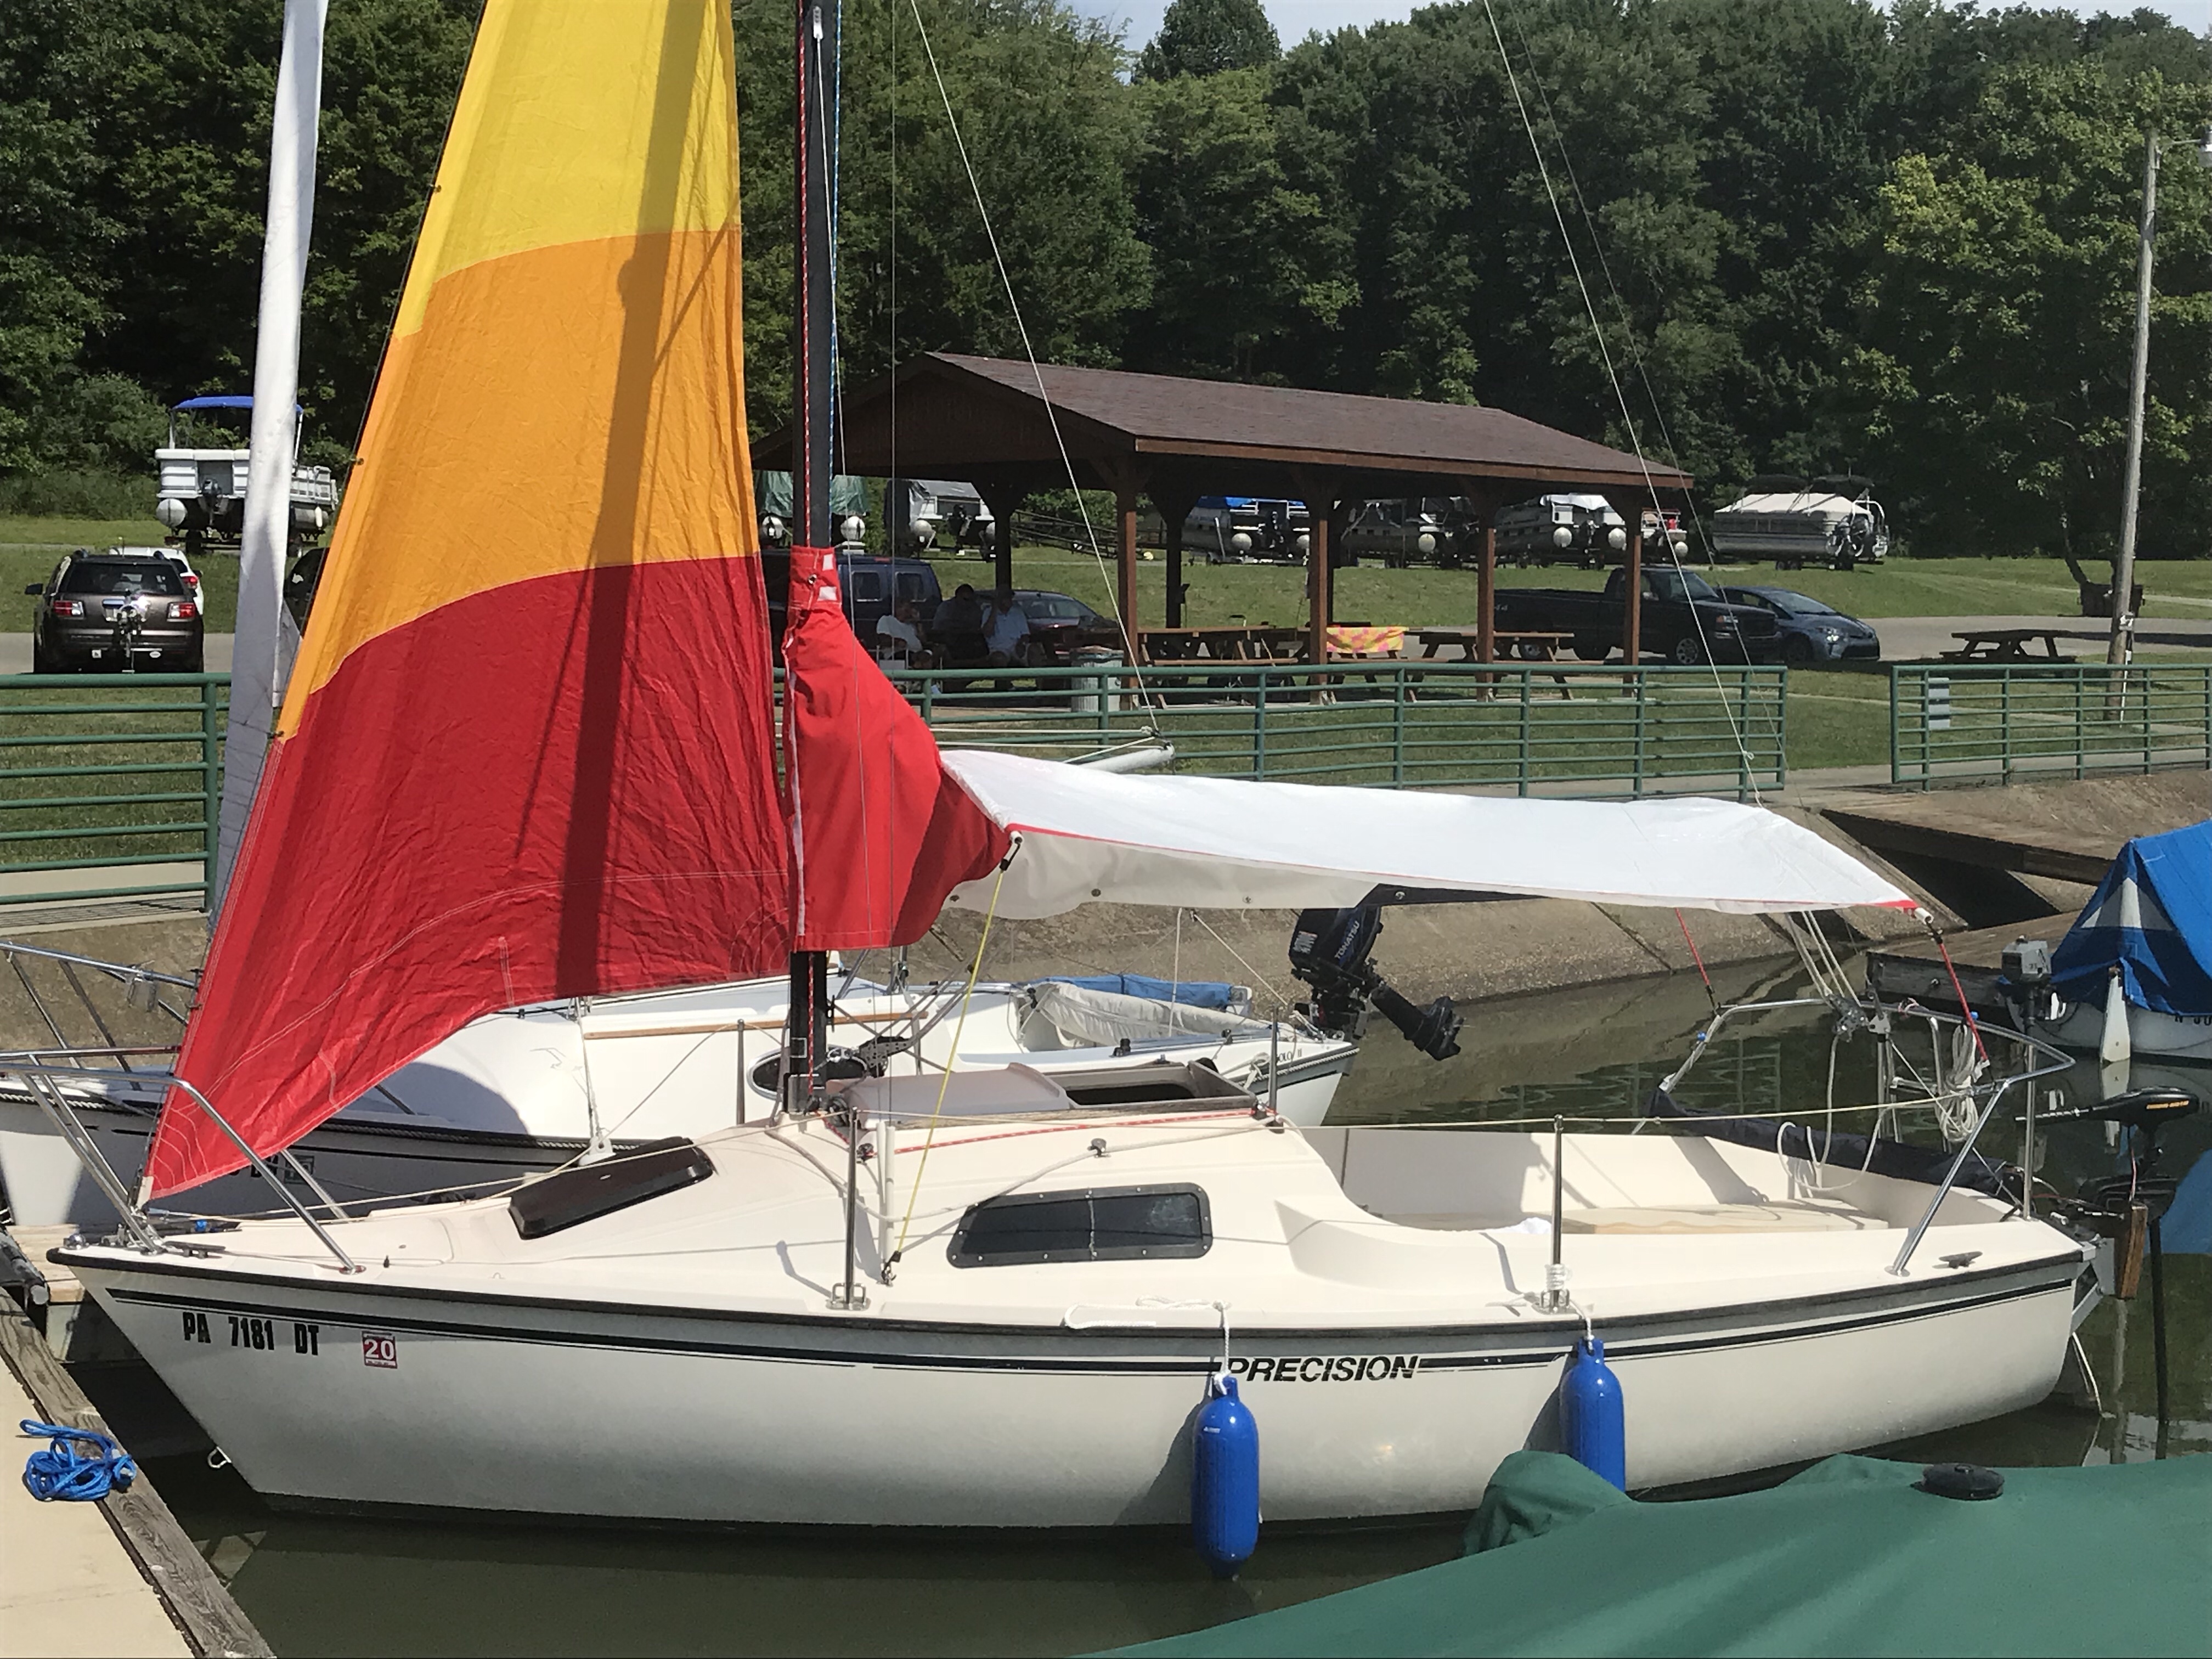
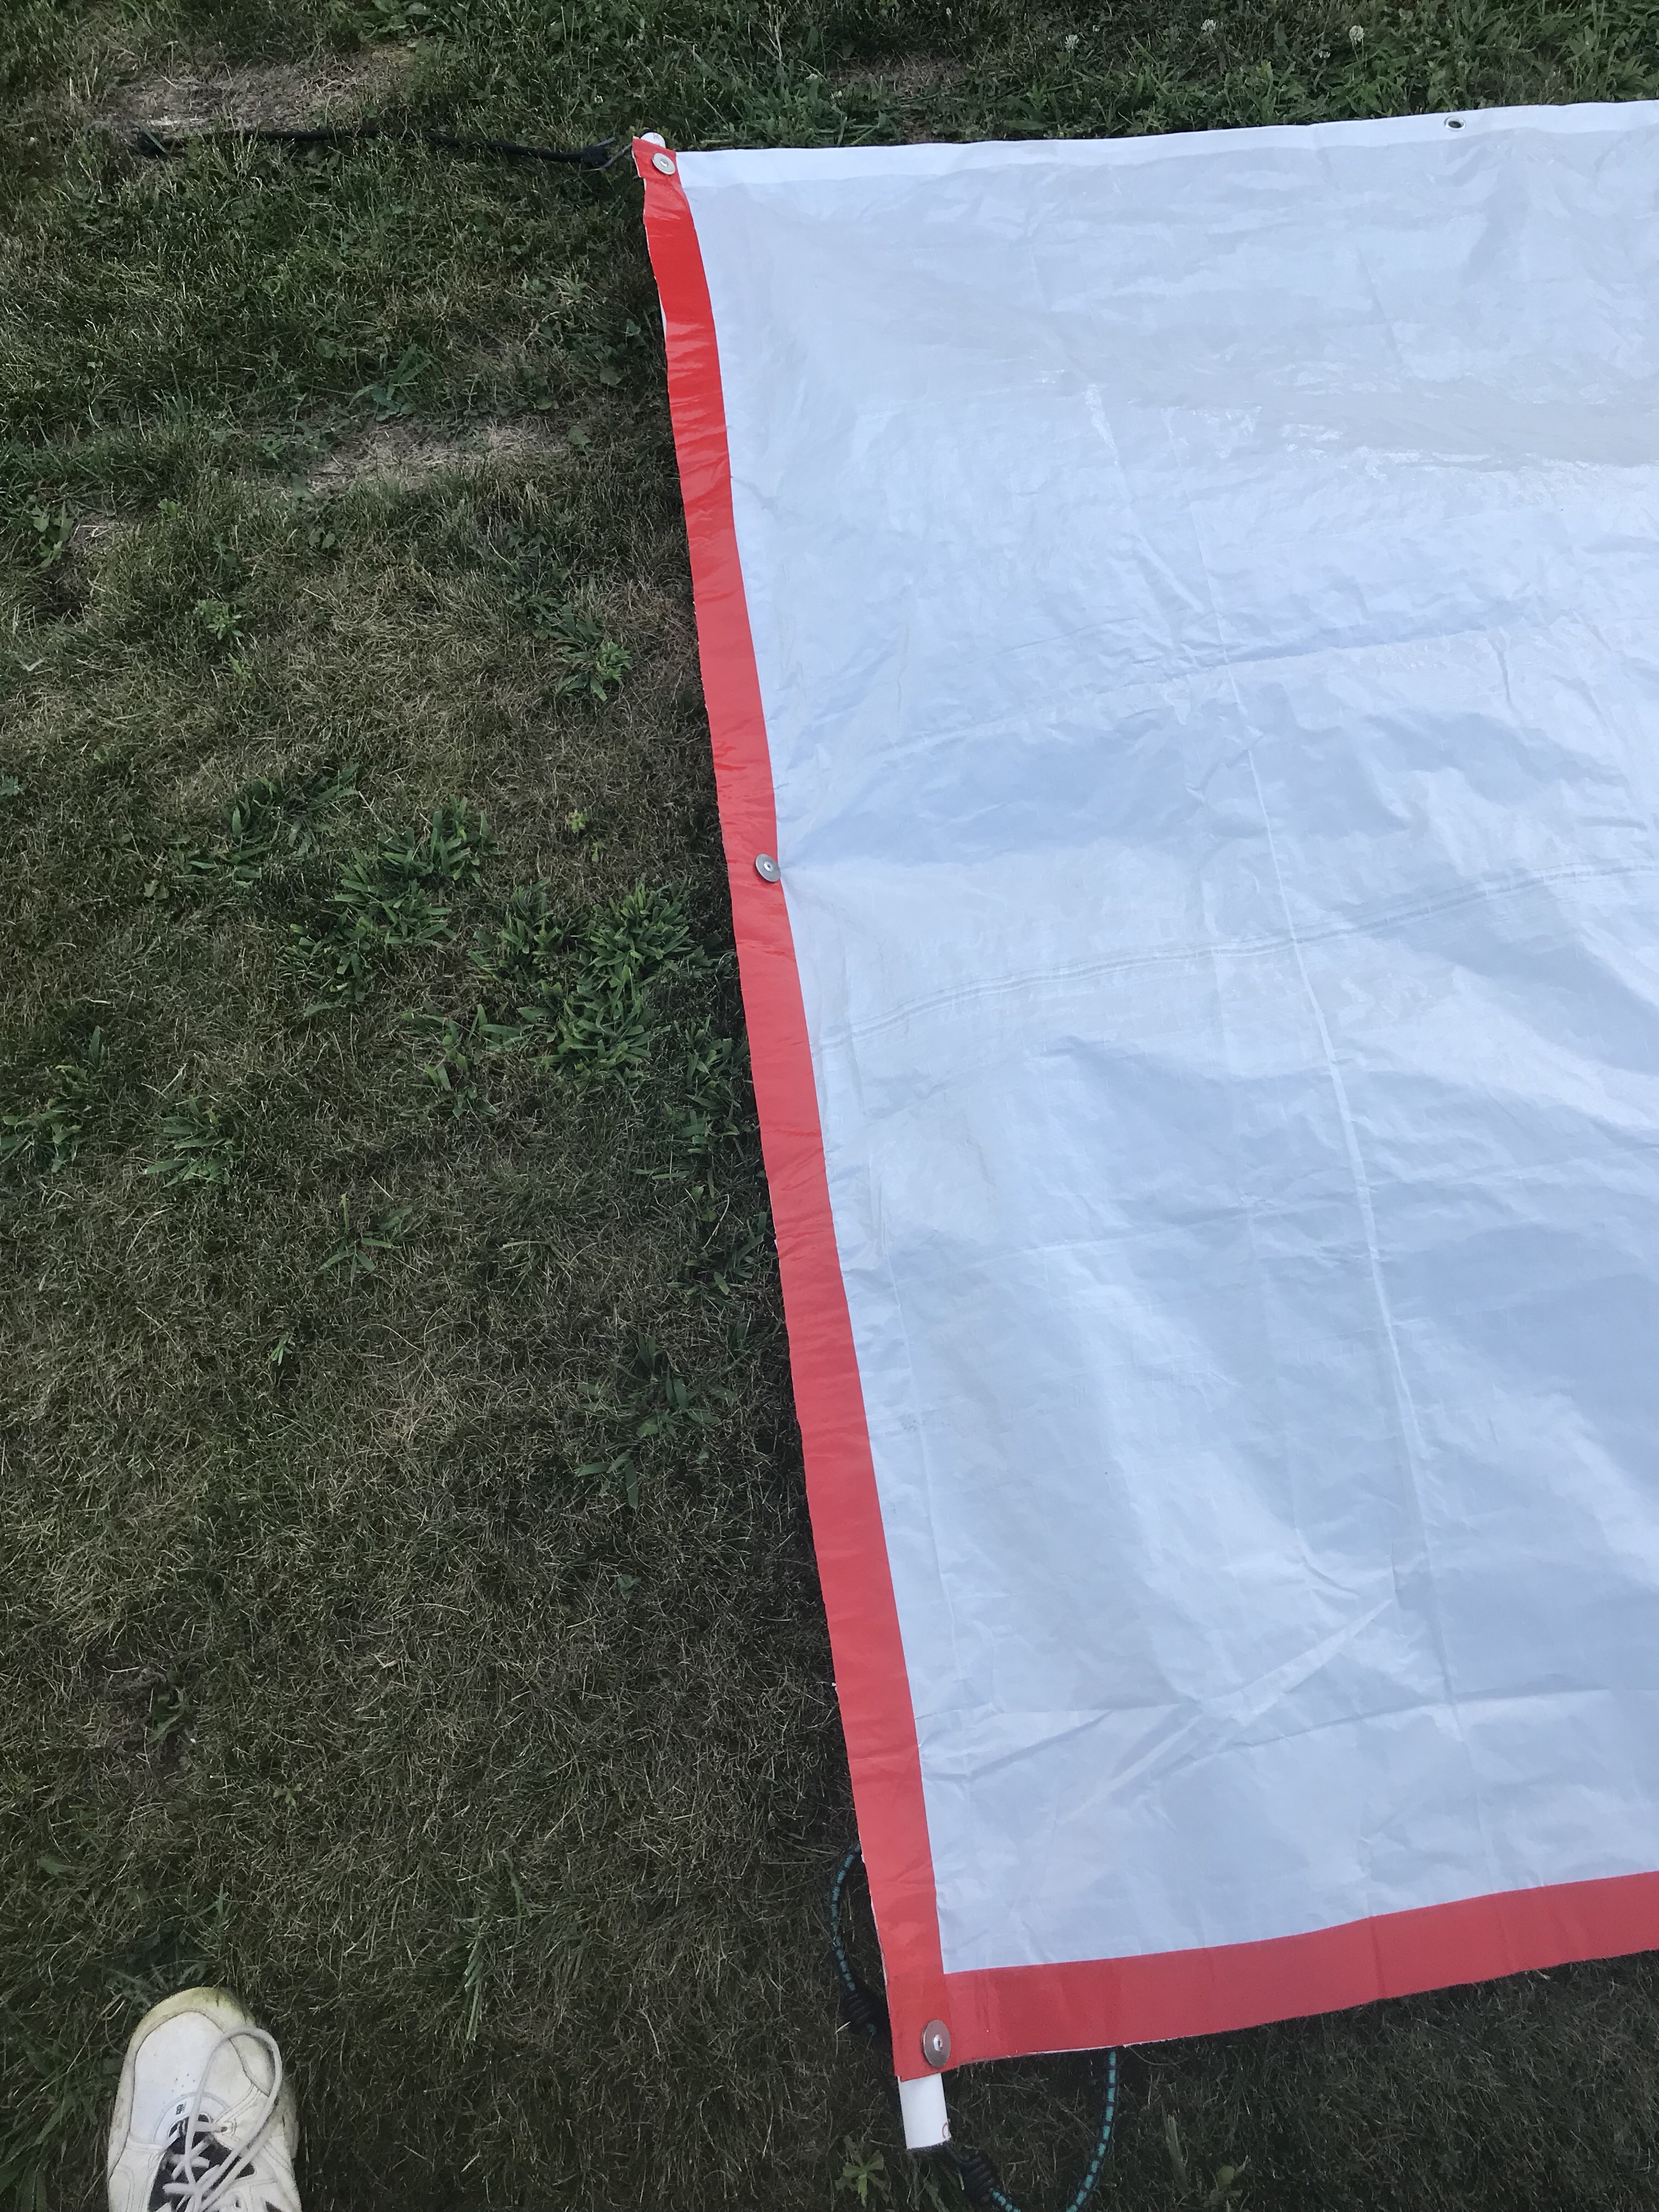
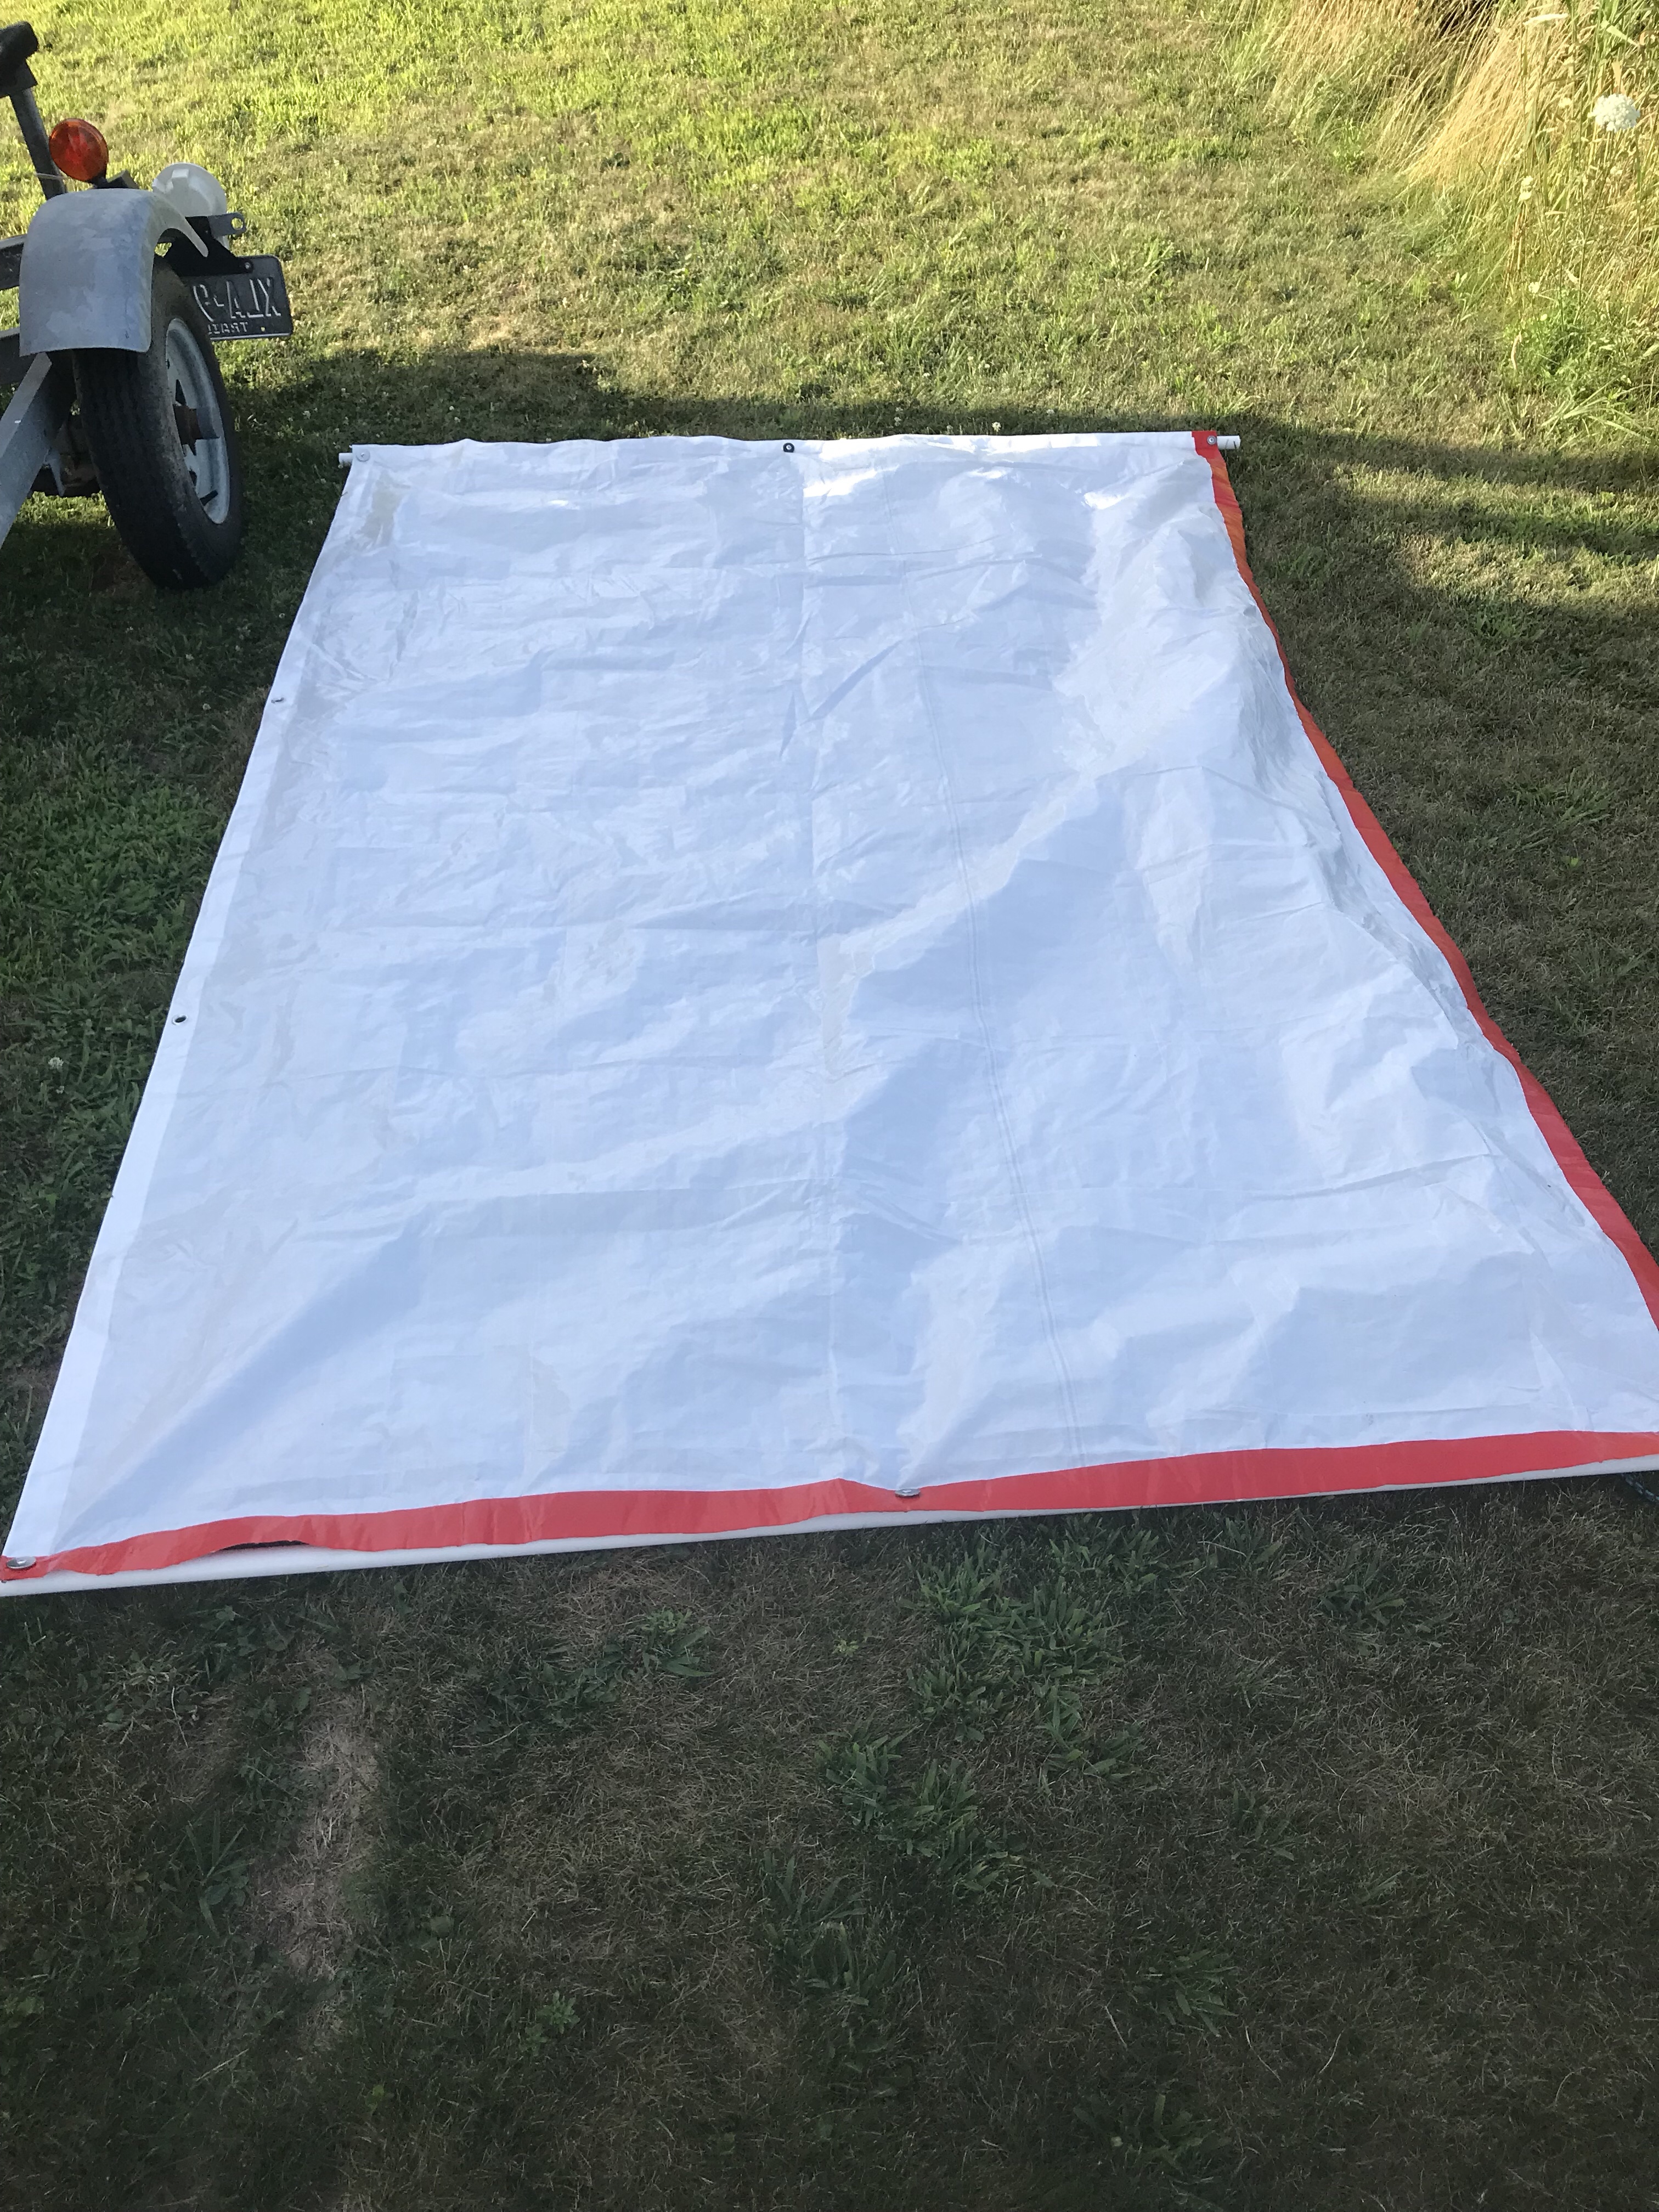
I was inspired by the sun shade another sailor at the marina had made, so I took his example and made my own. I had some leftover white poly tarp from a sail I had made and cut into a 6′ x 8′ rectangle. The cut edges I reinforced with some red vinyl tape I had left on hand. then added grommets at each corner and in the middle of the 6′ edge on both ends. I cut two 3/4″ pvc pipes to 6′ 4″, drilled holes for rivets and used large fender washers to back. Then drilled holes in 1″ from each end of the pipes that the hooks for bungee cords hook to. Instant sun shade. It was a little long, but a couple of roles at each pipe, shorten it up just enough and give it a clean look and reduces the stress at each grommet.
To install, while still rolled up place on top of the mast, hook forward pipe cords to shroud chain plates, unroll aft and bungee to hand spots on the stern pulpit.
