Tack Welding

Here the hull and deck have been “tack welded” with epoxy. Once the hull and deck have been stitched together and test fitted, they are glued together with small beads of epoxy. Later on full filets and fiberglass tape or cloth will be used to full glue together. By tack welding the shape can be locked and allow the removal of temporary spacers and bulkheads.  Then steps like cutting and fitting the hatches can be completed. In the picture below the bottom seam tack welds are visible, the gaps are where I was trying to avoid the wire stitches. The deck was done first and set aside while the hull was done.  By the time I was done with the hull the deck had lightly set and then can be stitched to the hull for shaping.  In 24-36 hours it should be set enough to continue with next steps.

img_6607

img_6608

Stitching Part 5, Test Fit the Deck to Hull

The next prescribed step in the build process is to test fit the deck, and temporarily stitch in in place.  The steps include, place some wood spaces across the hull, I used my cut down hockey sticks, put wire stitches in the pre drilled holes end to end on both sides of the boat, then remove the spaces and stitch the deck to the hull, making sure of a good fit all round.

In the pictures above you can see the nice fit of the deck to the hull, the spring clamp on the bow is holding the the tip of the deck and the bow end of the sides nicely in place.

Now that everything is fitted, the wire stitches just put in get cut out and the hull and deck each get spot welded with epoxy, then they get re-fitted like this while the spot welds cure.

Here are some closeups of the cockpit deck where several parts come together.

An additional angle below:

Hd5MeuDpQmSFzI5zOkyR2w


Stitching Part 4 – Finishing the Deck

After restitching the hull I was able to continue with the deck, adding the sheer panels next. I was a bit perplexed of exactly where they were to attach to the deck, the manual simply stated, stitch the sheer panels starting at the middle. After giving it all the once over, I decided to just line up the stitching holes and go for it. After double checking the manual I saw that they had turned the deck upside down to begin this part of the build.

After I put in the three middle stitches on each side, the three deck formers went into place followed by the curved deck former. I added an extra stitch hole in the curved former sot that I could stitch in both of the sheer holes plus one into the deck. With one side wired in I and to grapple the deck around the form and stitch in the opposite side.

Then I put in the rest of the deck to sheer panel stitches, below is the result resting on top of the hull.

Next step is to test fit the deck by stitching it to the hull.


Stitching Part 3 – Re-Stitching the Hull

It was just nagging me, the gap at the bow of the hull and the 3/8” offset from the bottom to the sides the bottom was too far back.

So I tried loosening some of the stitches and adjusting but no joy. So I bought a new cutting pliers and a couple of rolls of 18 gauge copper wire from Home Depot (found in the fasteners department). Then I cut out all of the stitches along the side to bottom joint, leaving the ones in the ends fo the sides and bulkheads. This allowed me to slide the bottom forward and then I worked the ends into shape, and then filled in every third stitch to pull the rest together. Finally filled in all the rest and I was much happier with the end result.

Stitching Part 2, the Deck

I started stitching up the deck, and it’s a bit tricky. The first two stitches are the ones at the front of the cockpit, easy enough. As I worked my way around the cockpit, the deck needs to start to take a rounded shape and that was tough to do singlehandedly. So I put a piece of 2×4 under the deck clamped one side down and use another small 2×4 block with a screw to hold down the other side of the deck, being very careful not to put the screw through the deck. Then I was able to wrestle the rest of the ties in.

img_6570

Bevels Part 2, Stitching Part 1

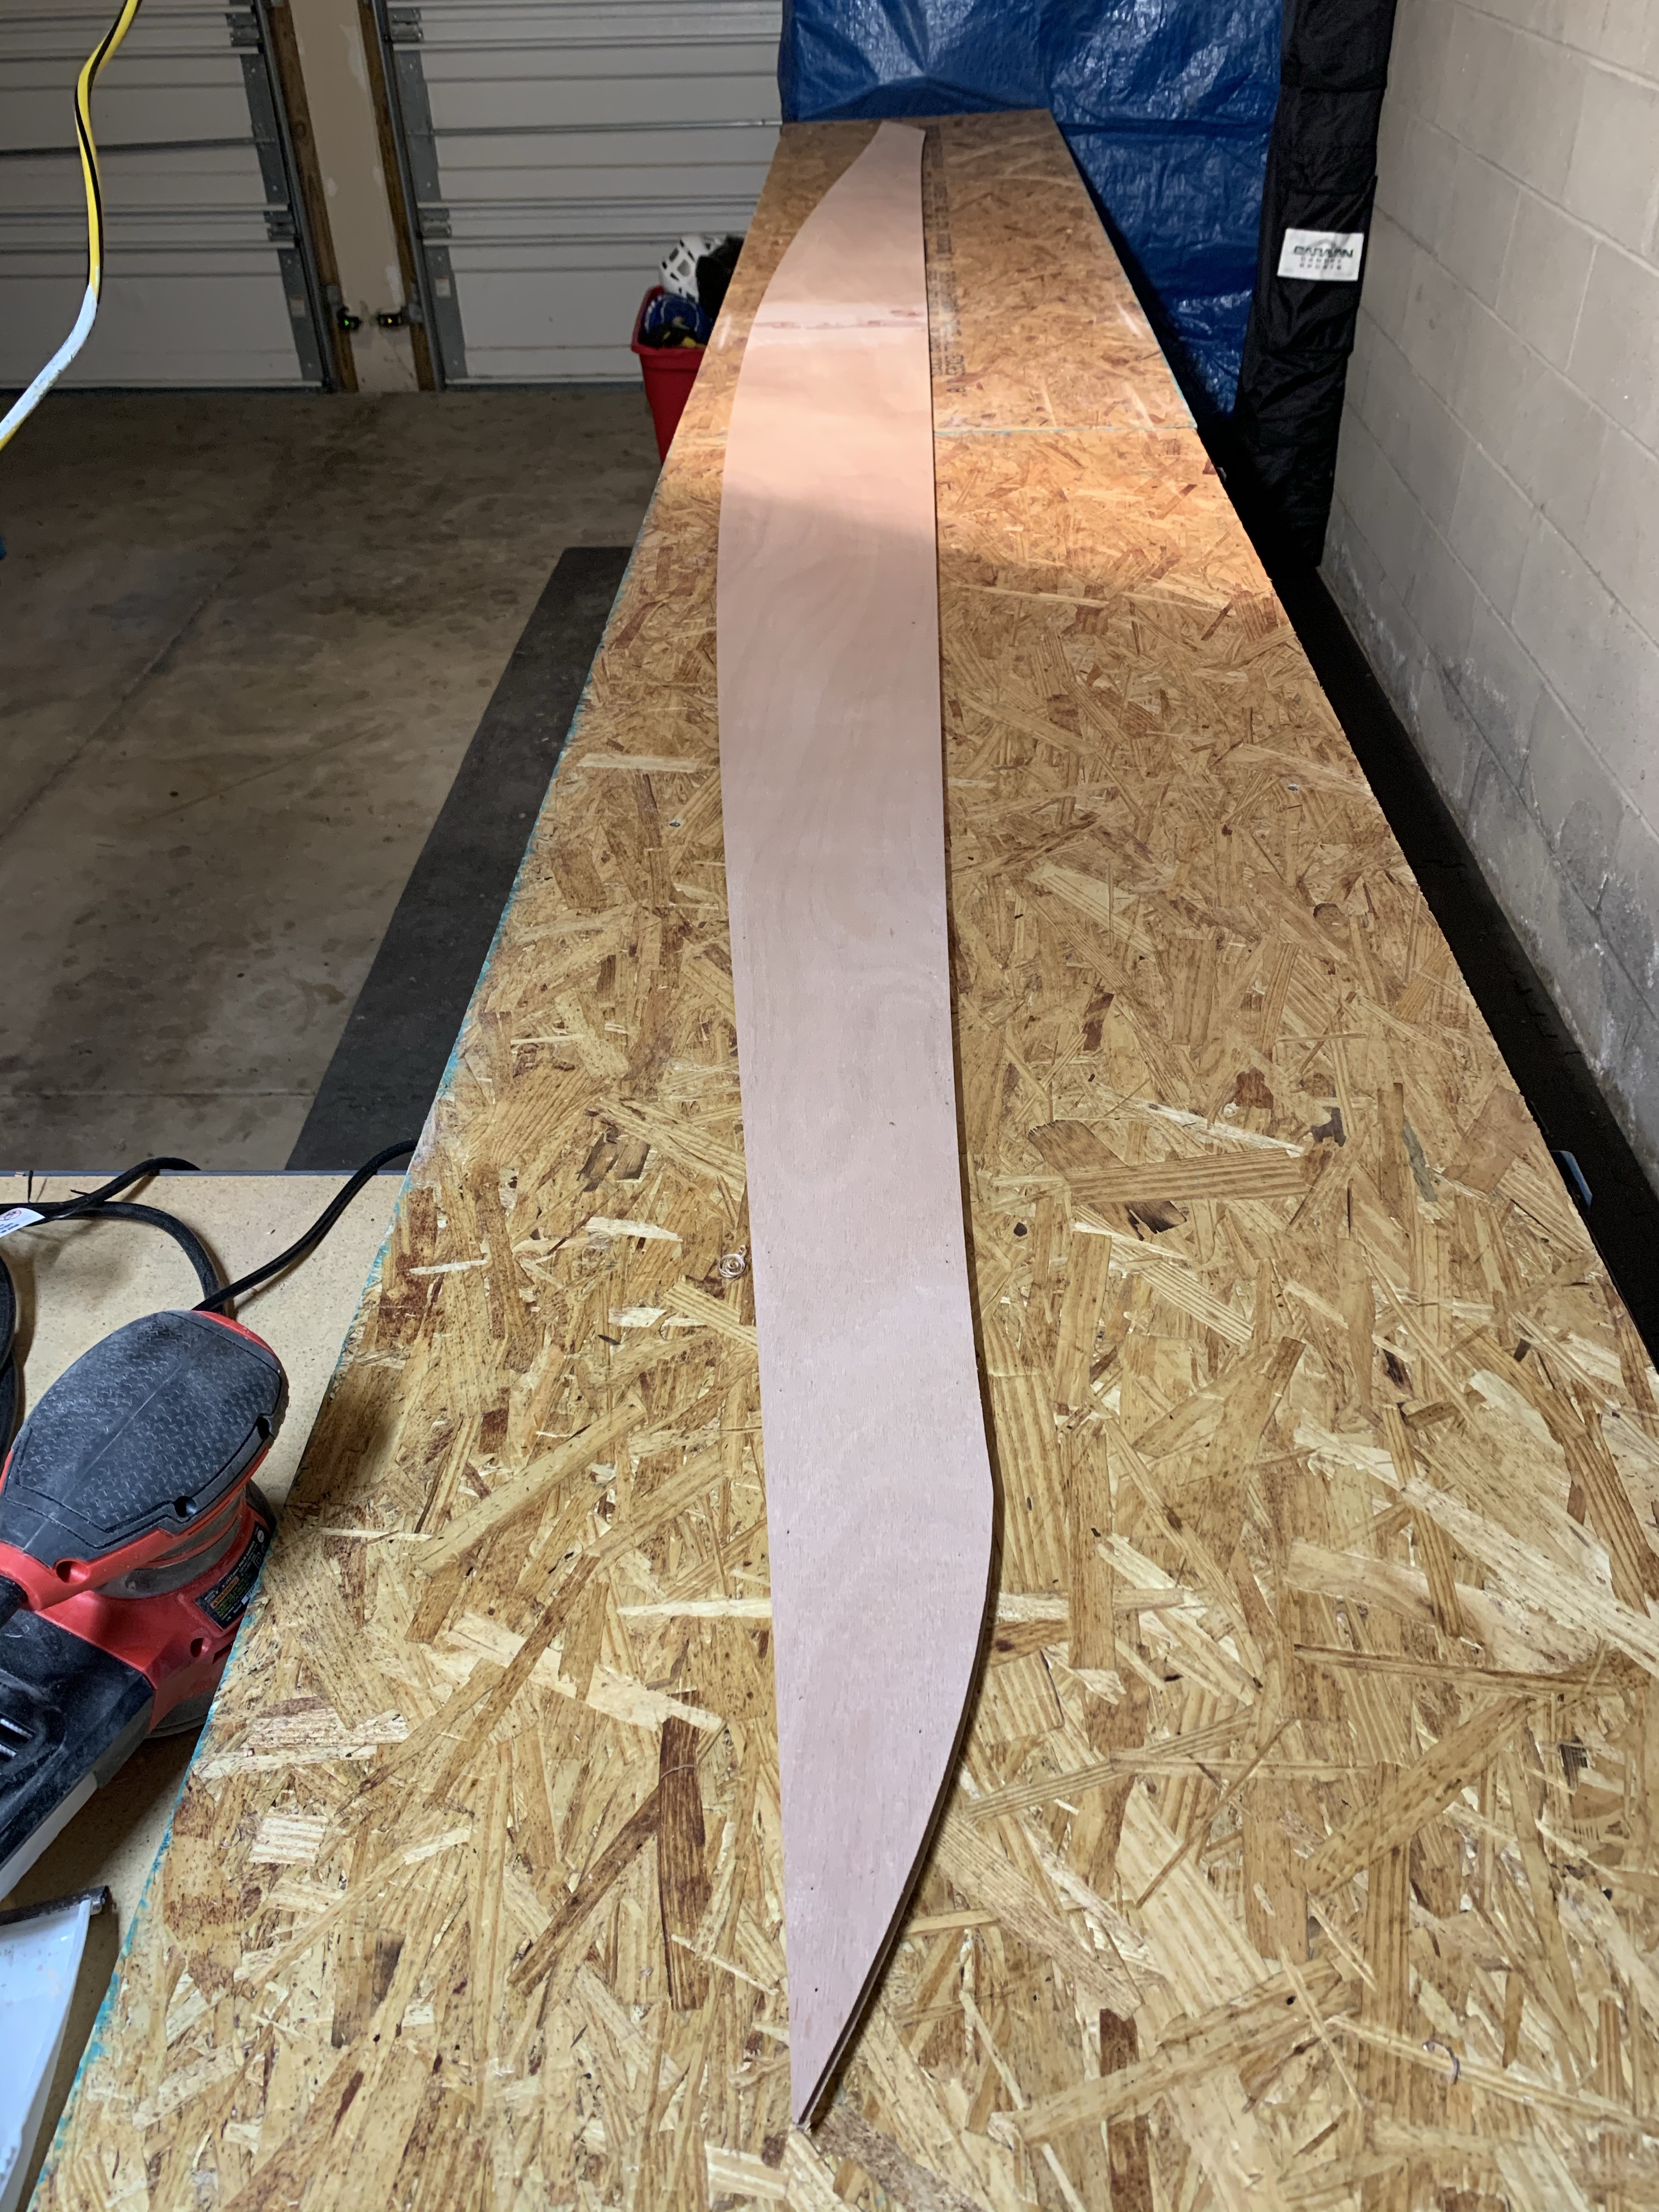
I completed all of the beveling, which took about two hours. I did my best to get the bevel angles as prescribed, but honestly how can you tell if an angle is 10 or 30 or 45 degrees on a 4mm thick panel?  So I went with a small, medium and large approach, which roughly was 1, 2 or 3 passes with the plan and some evening up with a sanding block. Here’s a picture of my set up, the end panels are clamped down insides up ready for beveling. 

img_6531

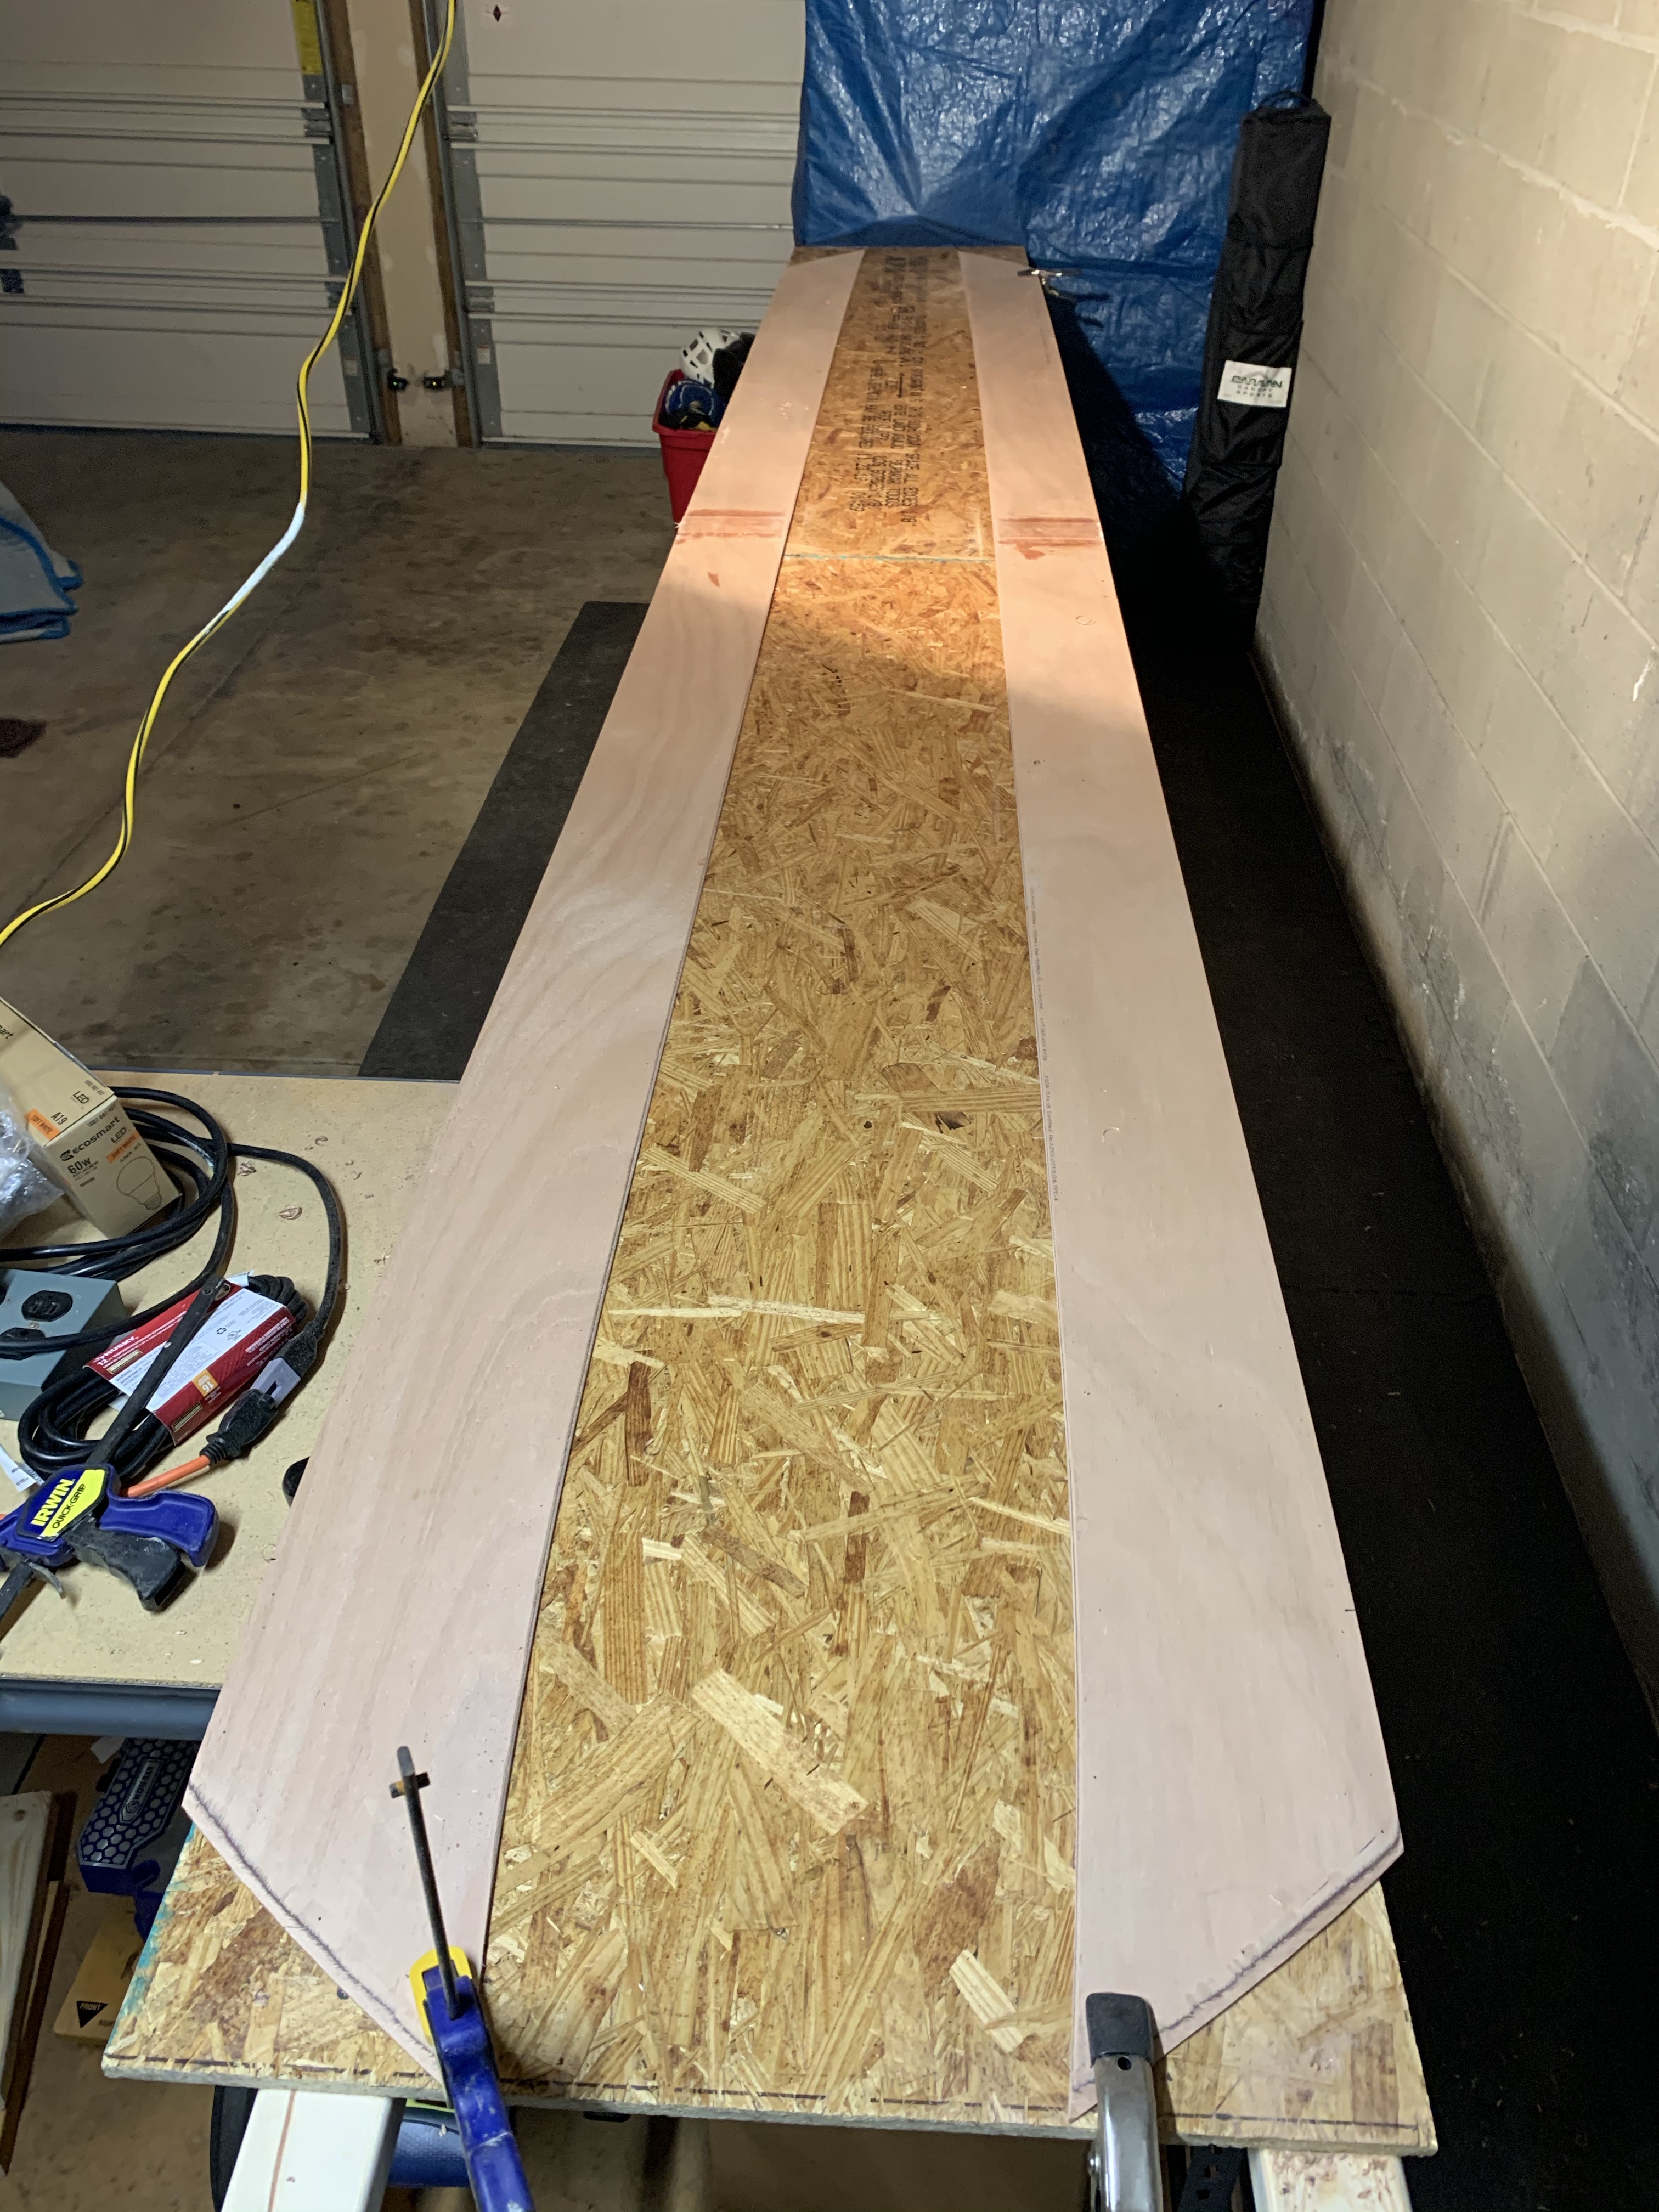
At this point I broke out the 5″ random orbit sander and dressed the tape joints and took down the braided edge and feathered them a bit, though not called for in manual I just thought it would be easier now.  Also, I did not do a great job on the puzzle joints and the needed some smoothing on the outside as well.  This said all will be covered with cloth and glass, but I wanted to address this now as well. 

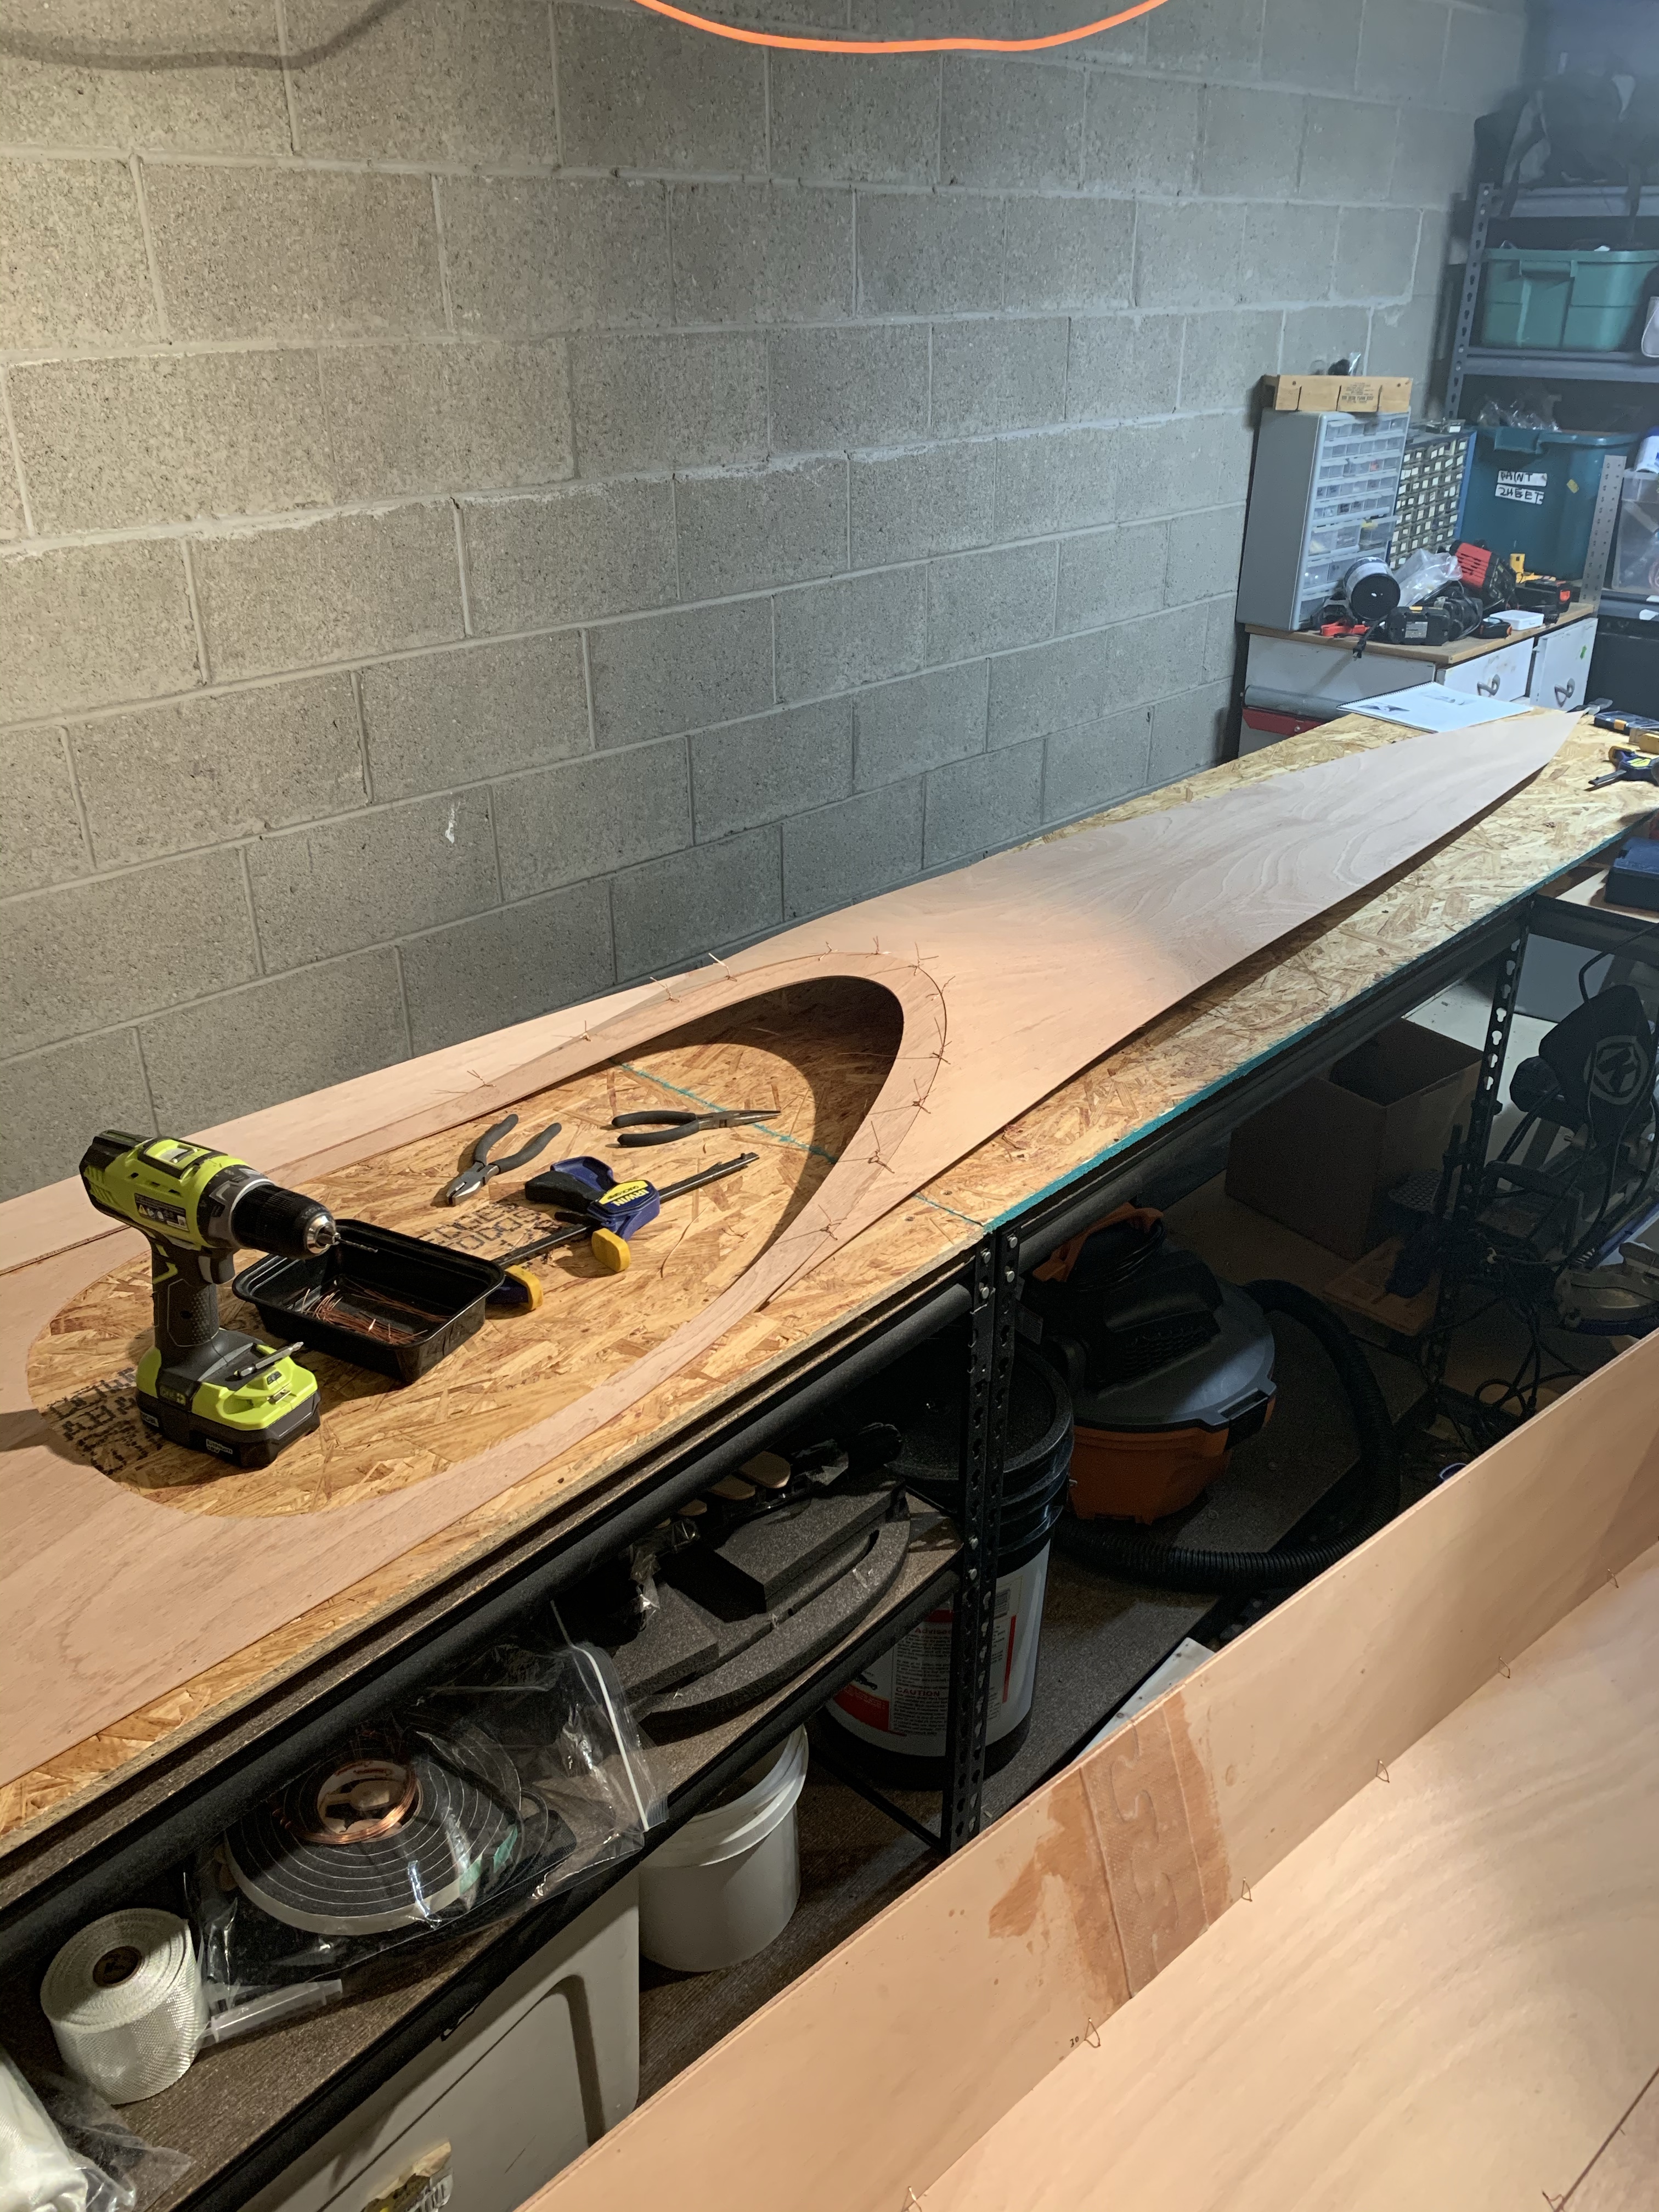
With those steps complete, I couldn’t help myself from stitching up the bottom panel.  I broke out the metal sheers and cut the copper wire coils into 4 inch pieces.


copper

Then matched up the bottom panels with the inside surfaces facing each other. 

img_6532

Then I slide the stack over to the edge of the bench so the predrilled holes were clear of the work surface allowing the copper wires to be passed through both panels.  The precision cut  panels can be seen in the picture above, but what was also impressive is that the holes for the stitching are perfectly aligned in the stacked panels. The stitched panels are pictured below.

See the note below, in my excitement I stitched through a set of holes meant for attaching the bulkhead.  I simply removed the wire in that hole, see the note below.

Next step is to stitch in the bulkheads and temporary formers, followed by the side panels.