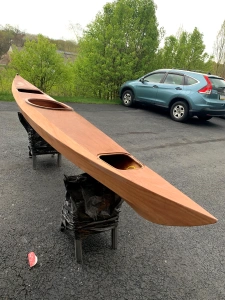
Shearwater Sport Kayak build and Kuvia sail rig installation.


Shearwater Sport Kayak build and Kuvia sail rig installation.
Before the deck went on the rudder foot controls, and the tubes that guide the rudder control wires were installed. The Shearwater Sport in not designed to take a rudder, so I had to put some thoughts into how the rudder could be installed. Part of the prep was the significant end pour at the stern as described earlier. I purchased a stainless steel rudder bracket that attaches to a kayak both through the deck and the sides. I needed to fabricate a wedge for the top deck to account for the swept up deck. I was able to bend the tangs of the bracket to match the kayak sides and screw the bracket through the deck and sided into the hardened epoxy of the endpour.


After some trial and error with the wedge, it was painted black and then epoxied to the deck, after the deck as glassed and sanded. Then I followed the SmartTrack instructions to run the wires through the tube, I drilled holes in the deck and ran the tubes from the boat up to the deck and clamped them down. Final adjustments made and tested.


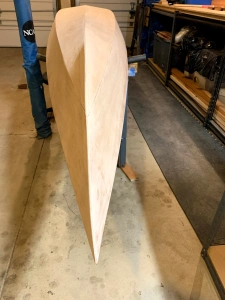
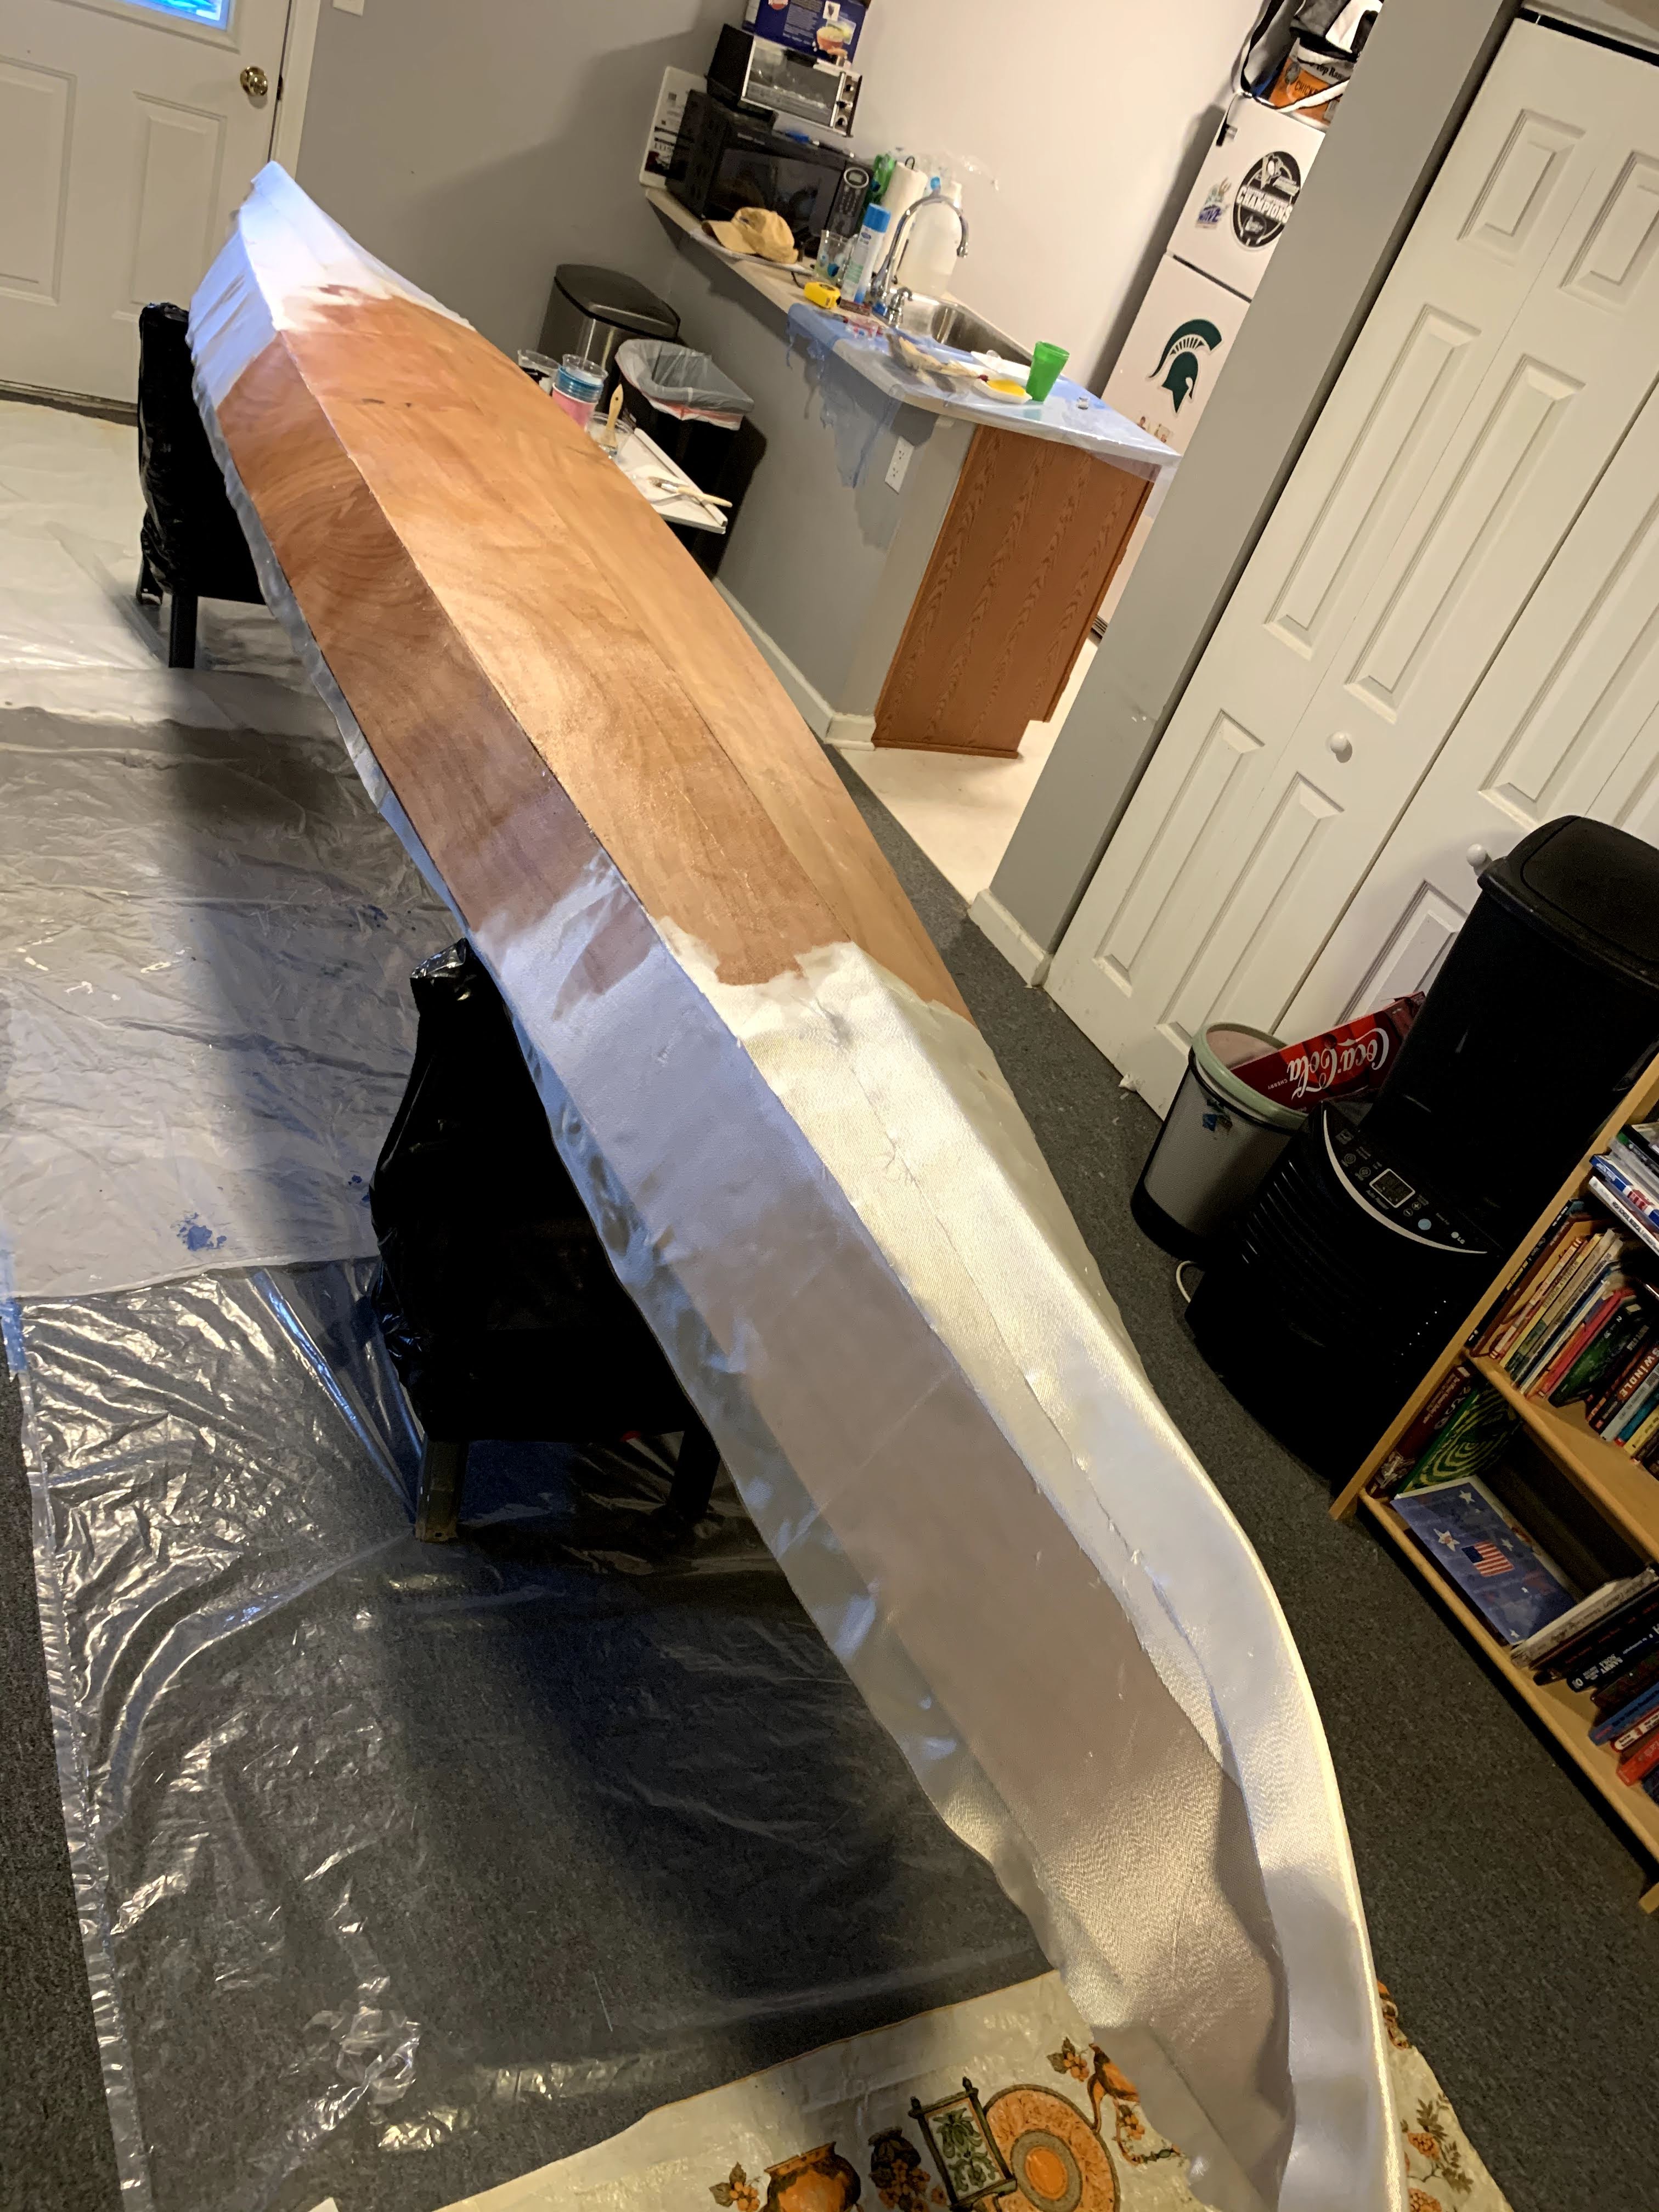
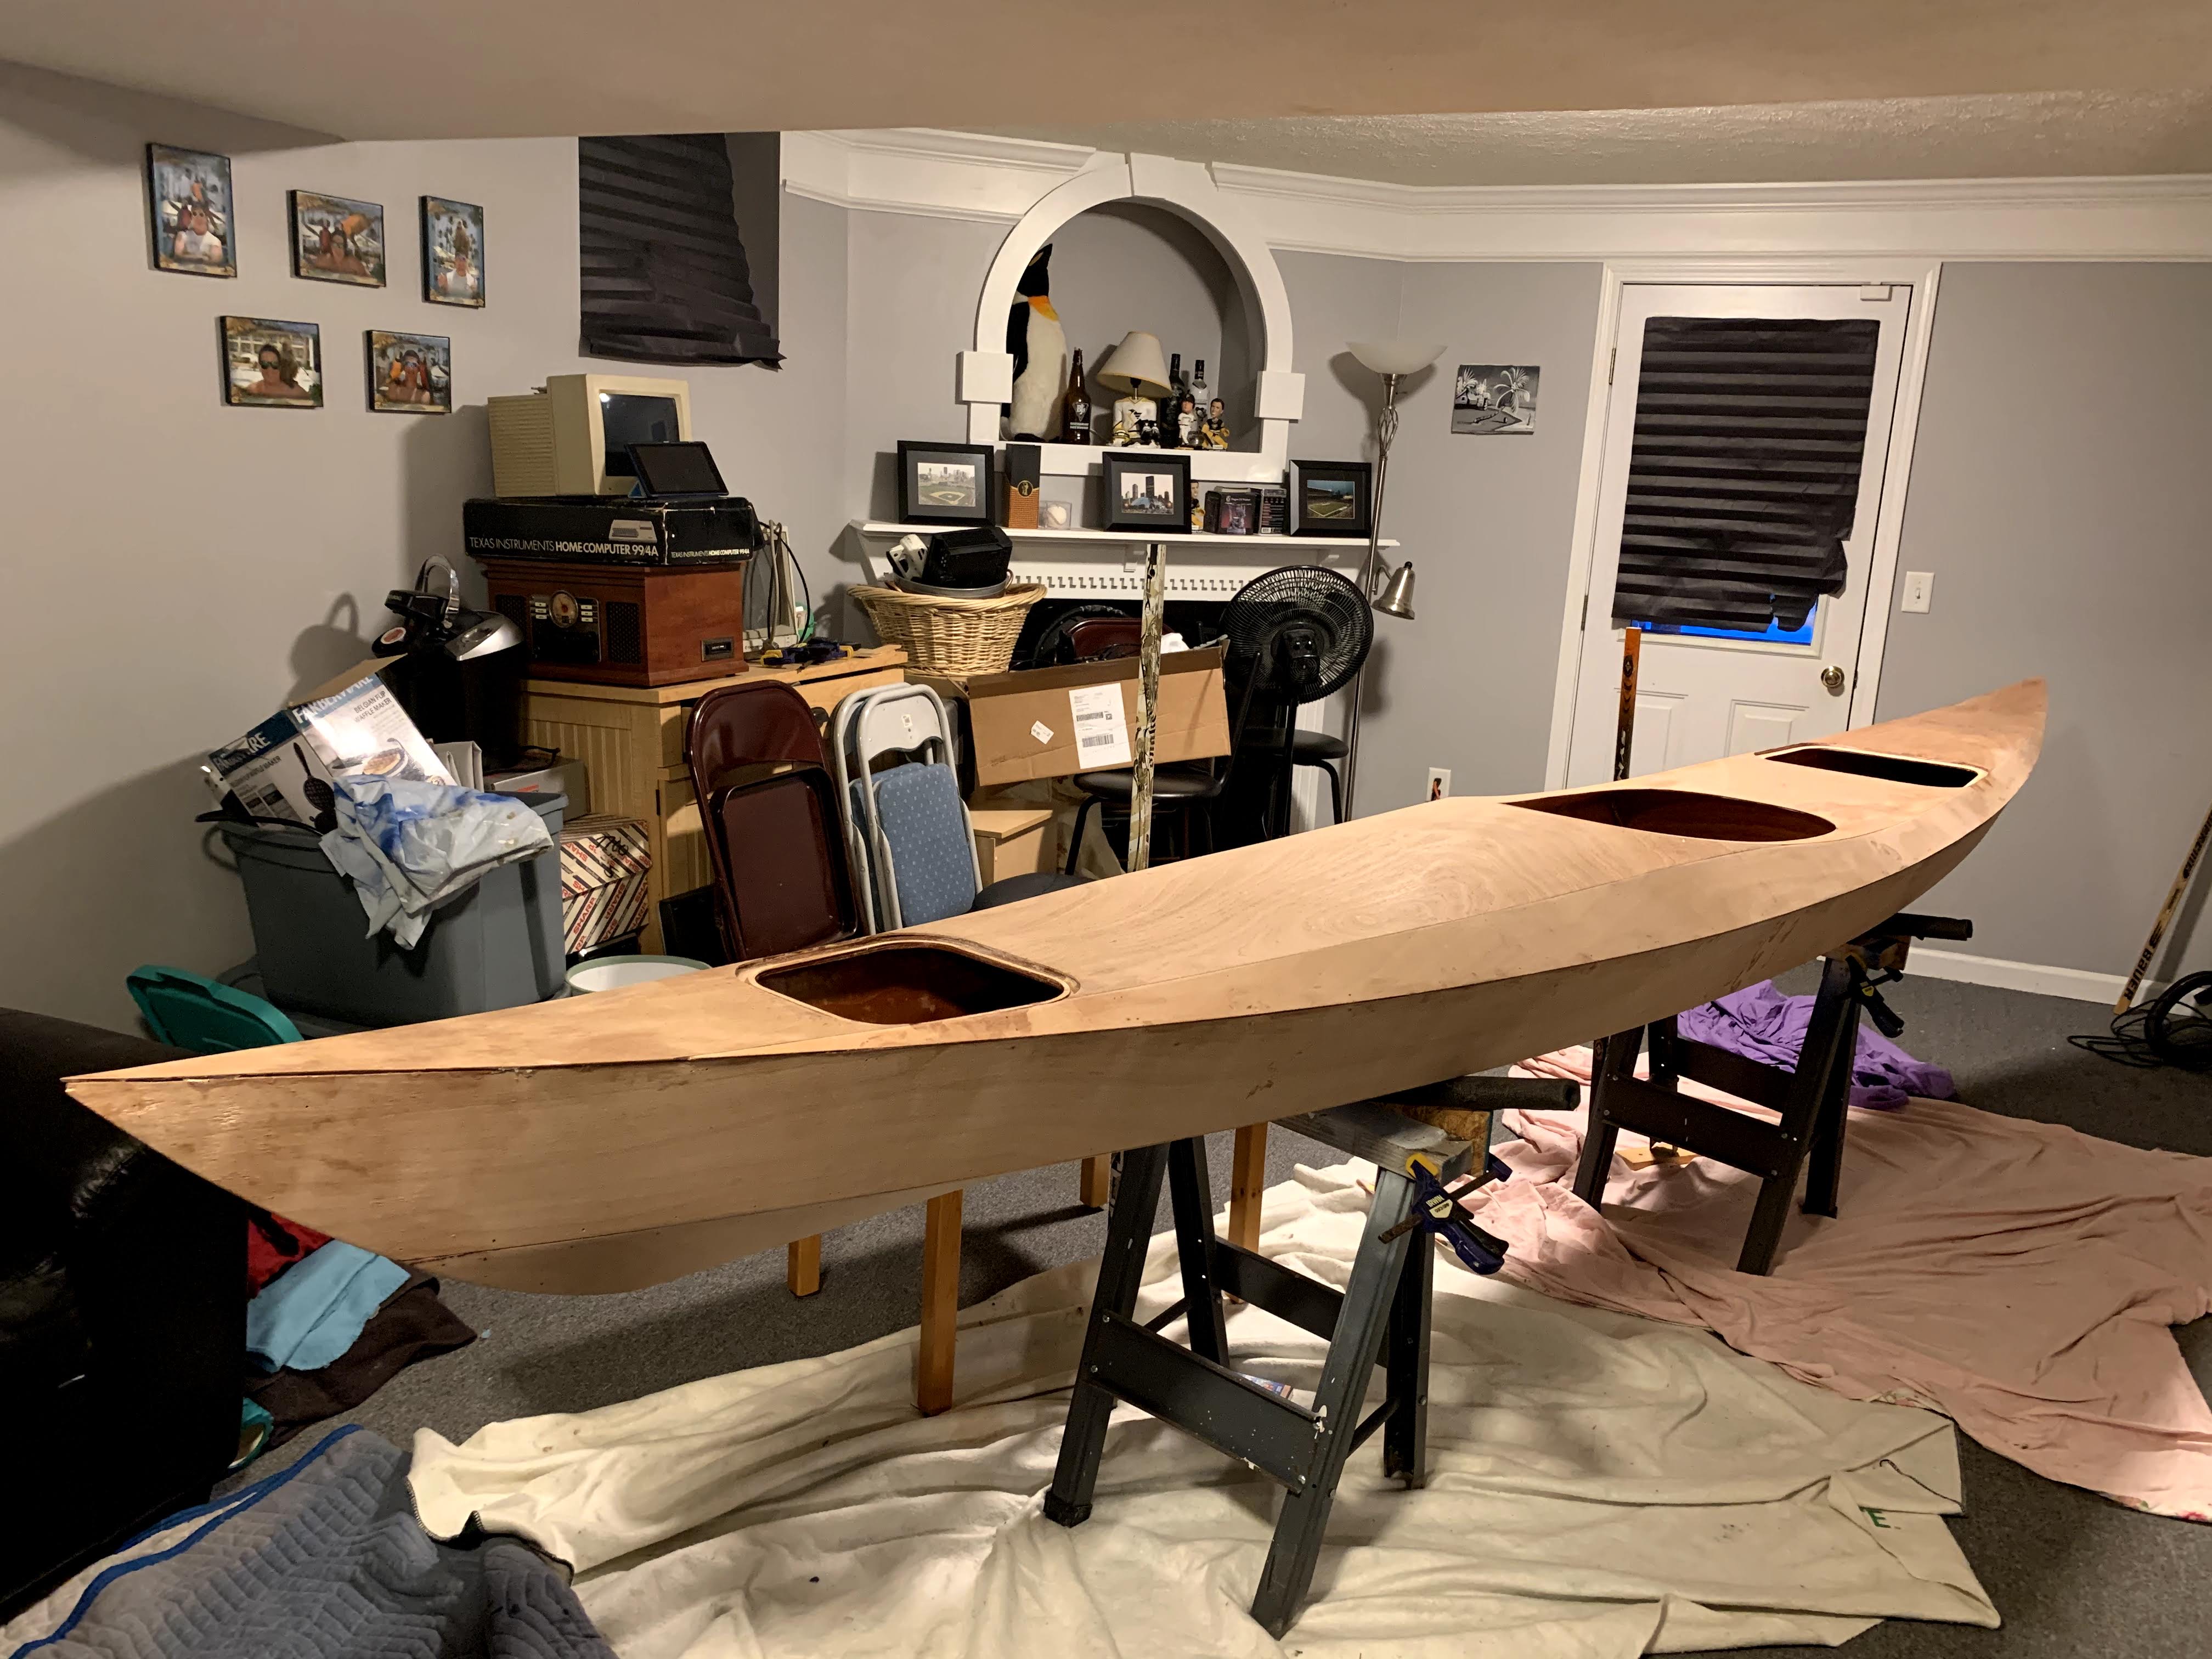
At this stage of the build the boat is essentially put together, what follows is lots of sanding, varnish and the addition of some accessories. I started the sanding process with the bottom. If you remember from the glassing stage there are three layer of glass in some areas, this will require that the layers be feathered to one smooth surface. Here’s apicture of the bottom sanded.

Next to be sanded was the sides. I ran into some issues here. First I had some frayed cloth in the glass that have been applied to the deck and folded over. In trying to sand the frayed cloth smooth I sanded through the glass and it required some fresh epoxy.


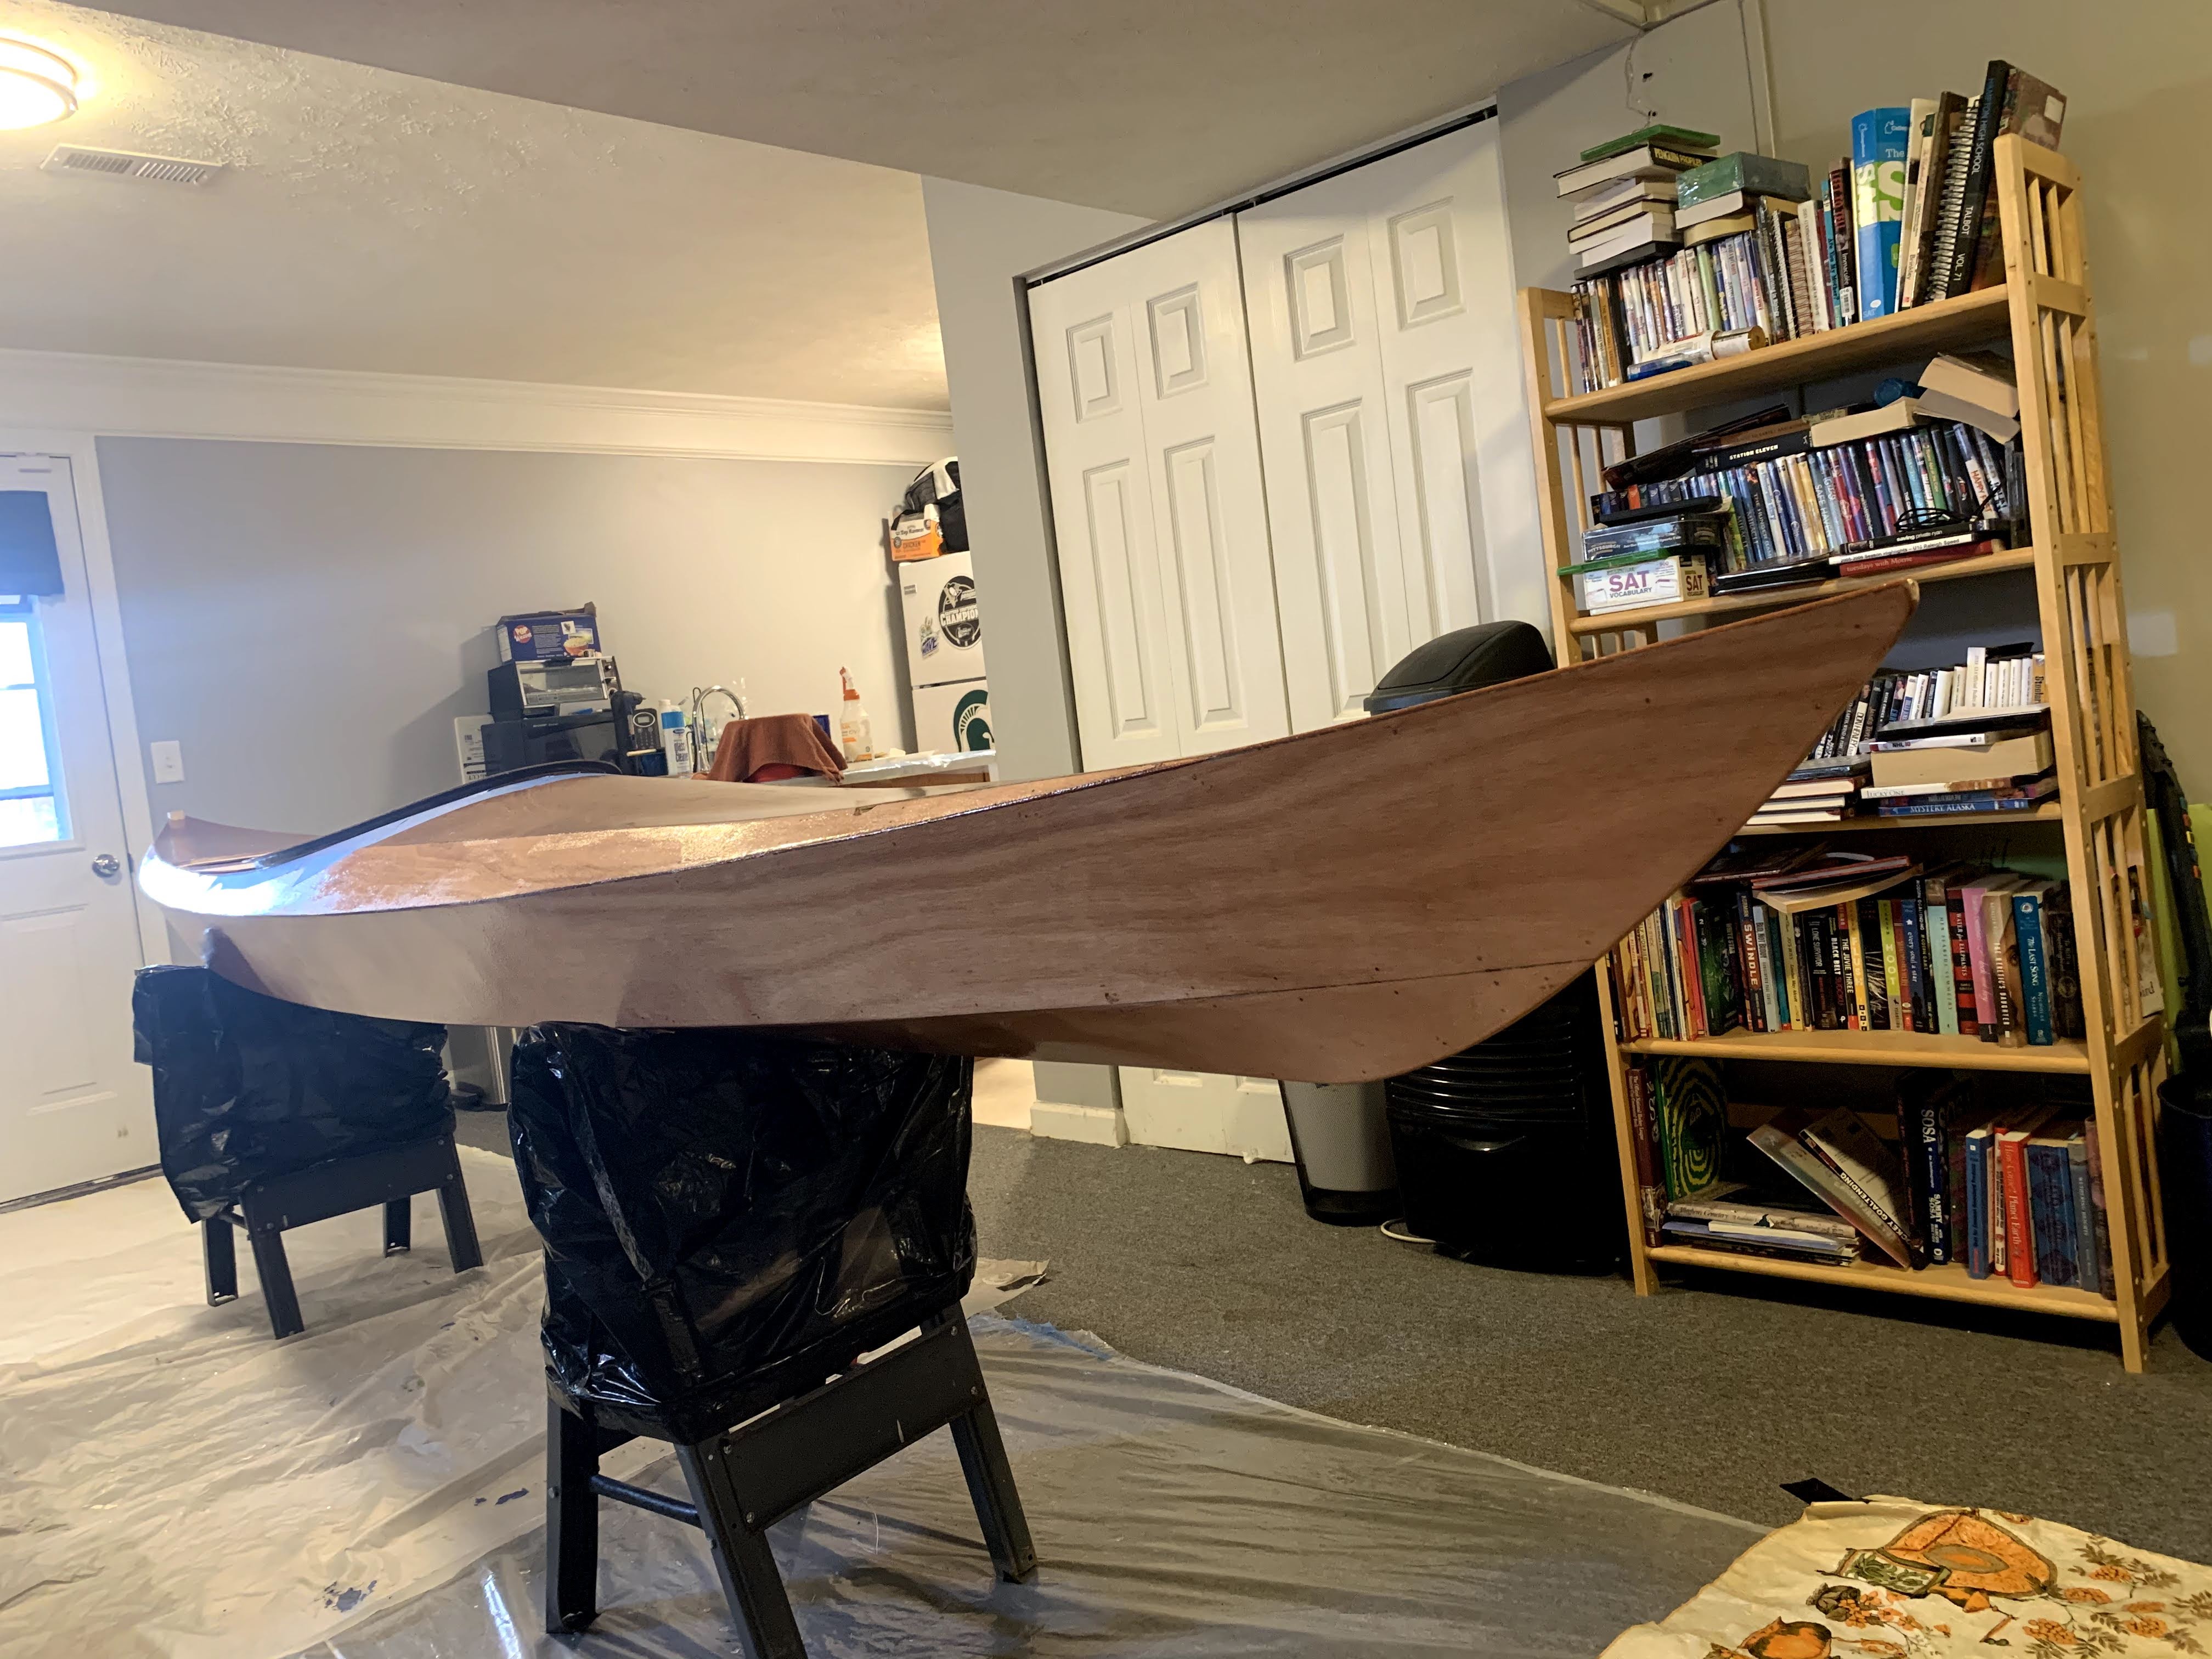
Patience and persistence with the random orbital sander and sanding block and about 10 hours of work and the boat is sanded smooth.
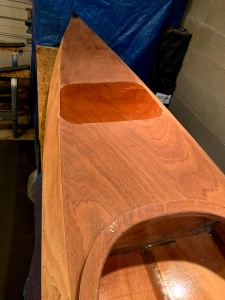

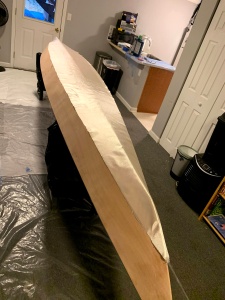
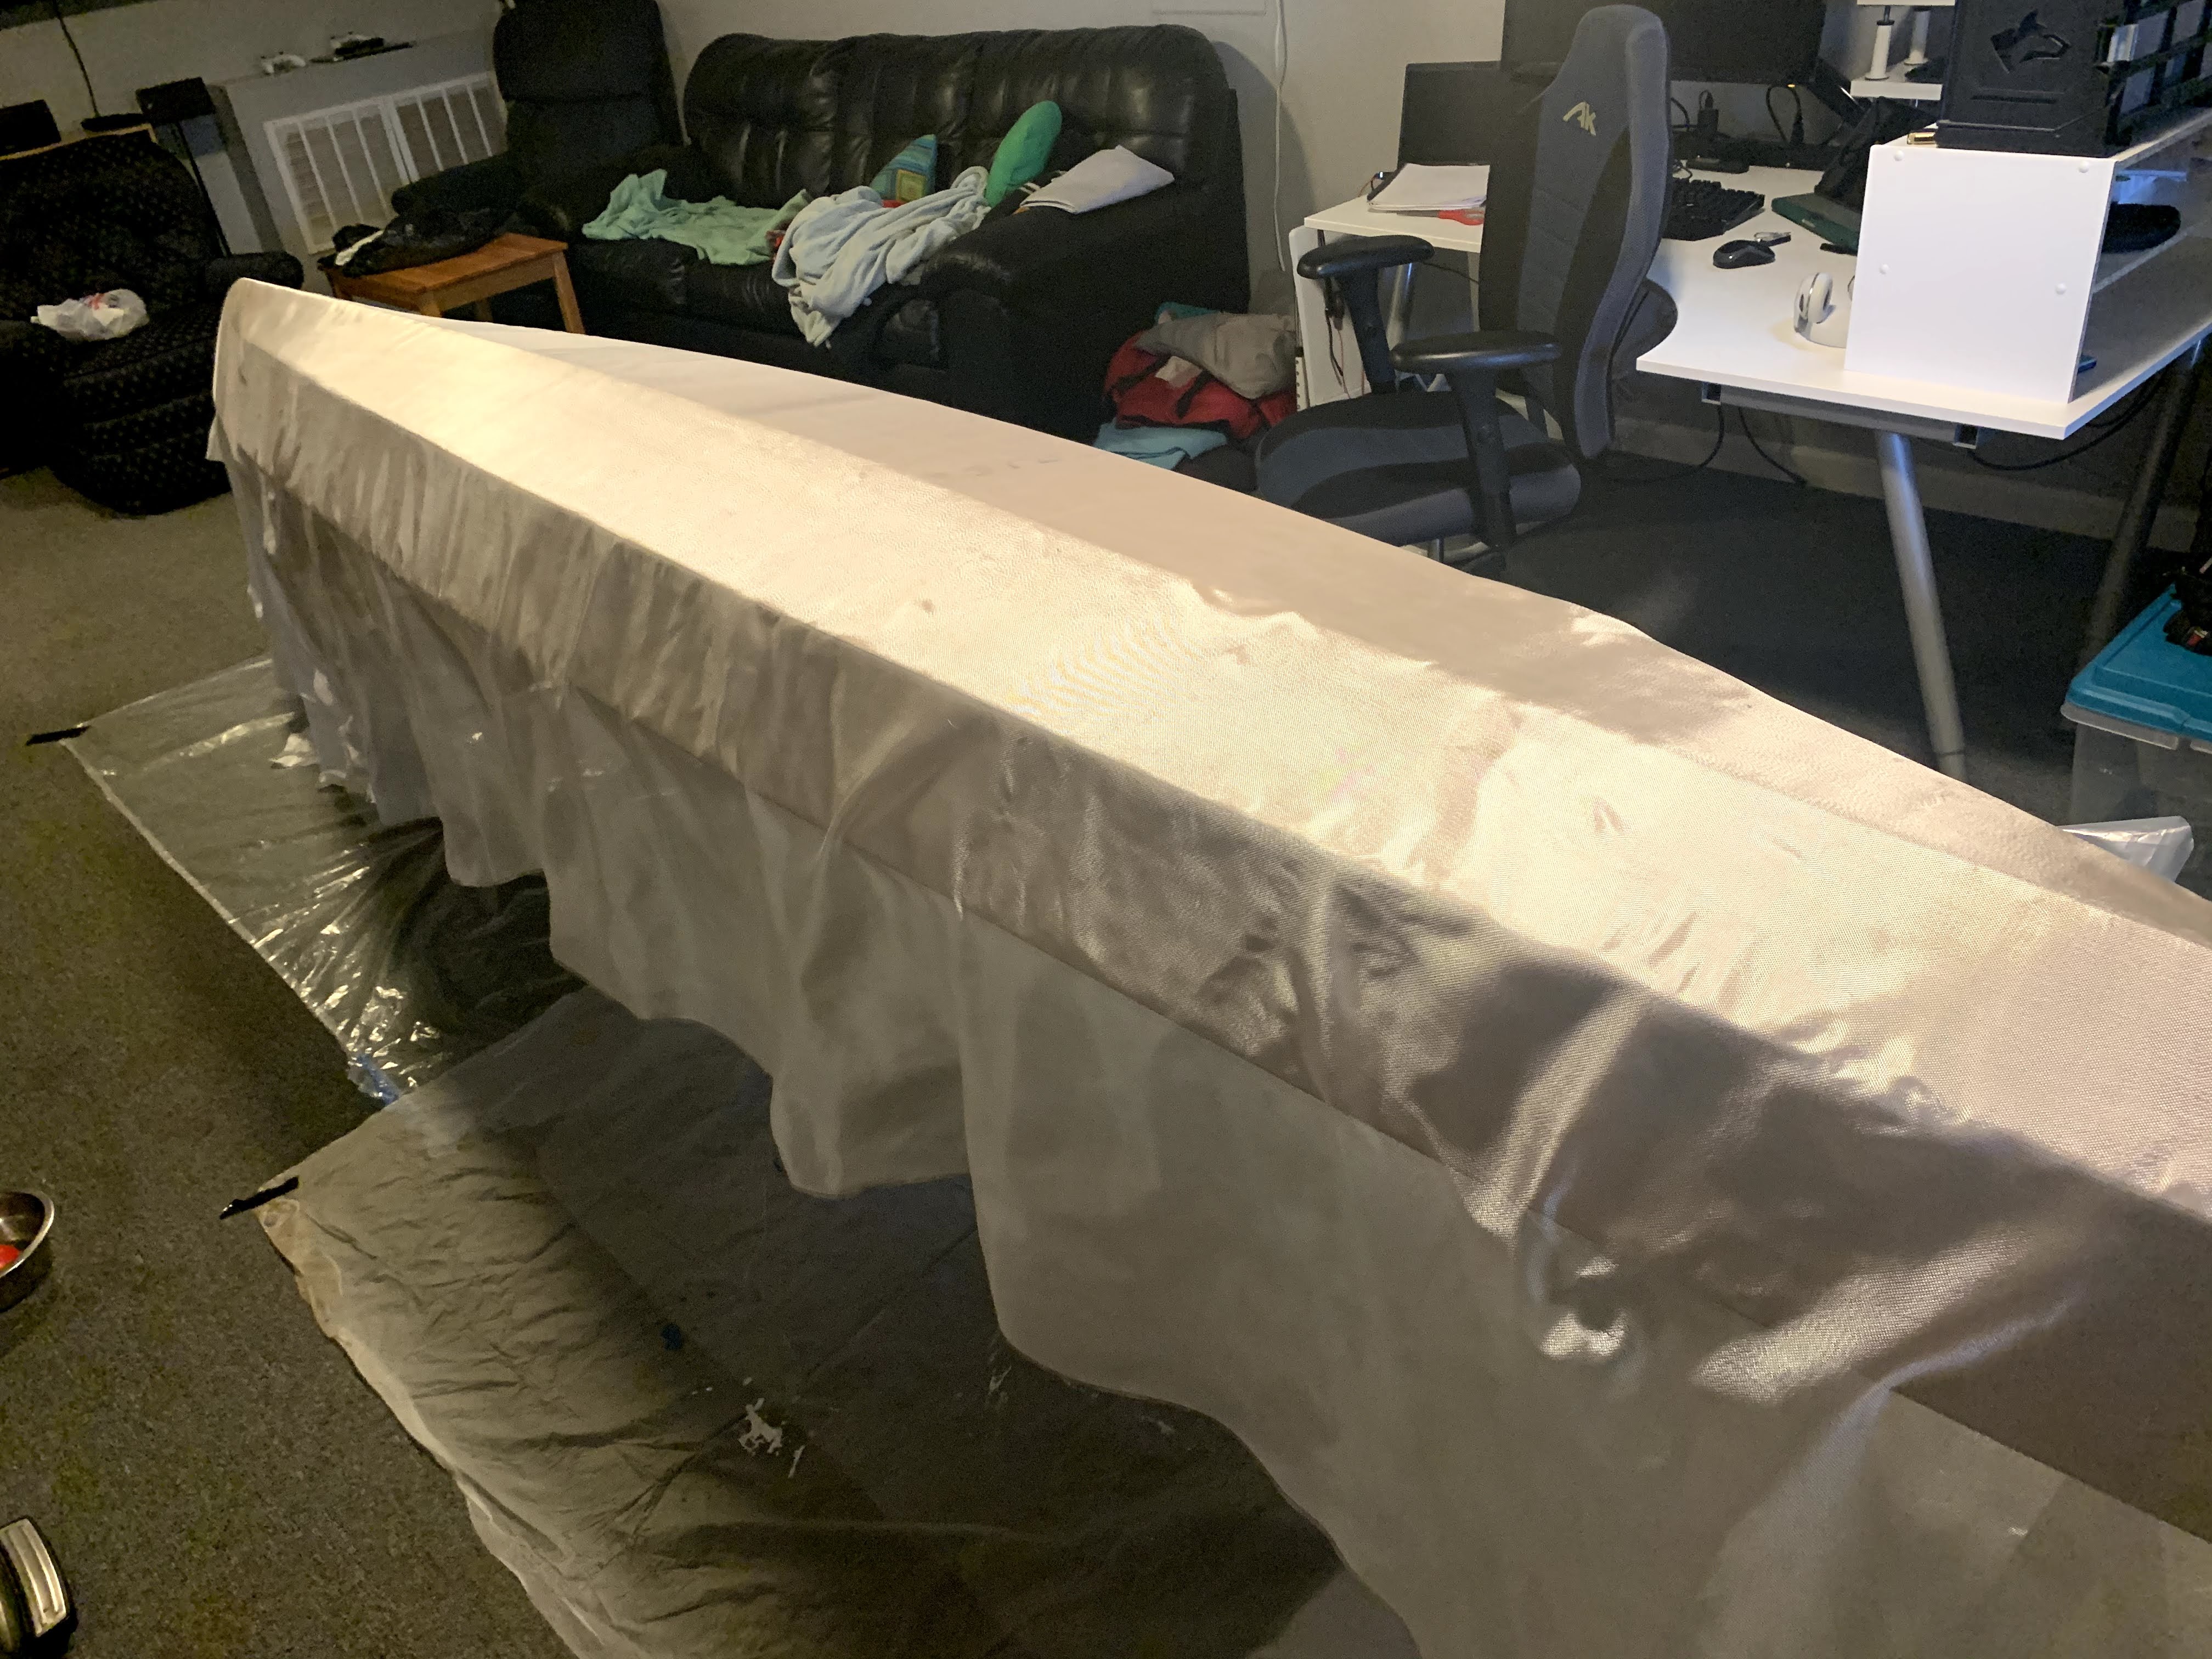
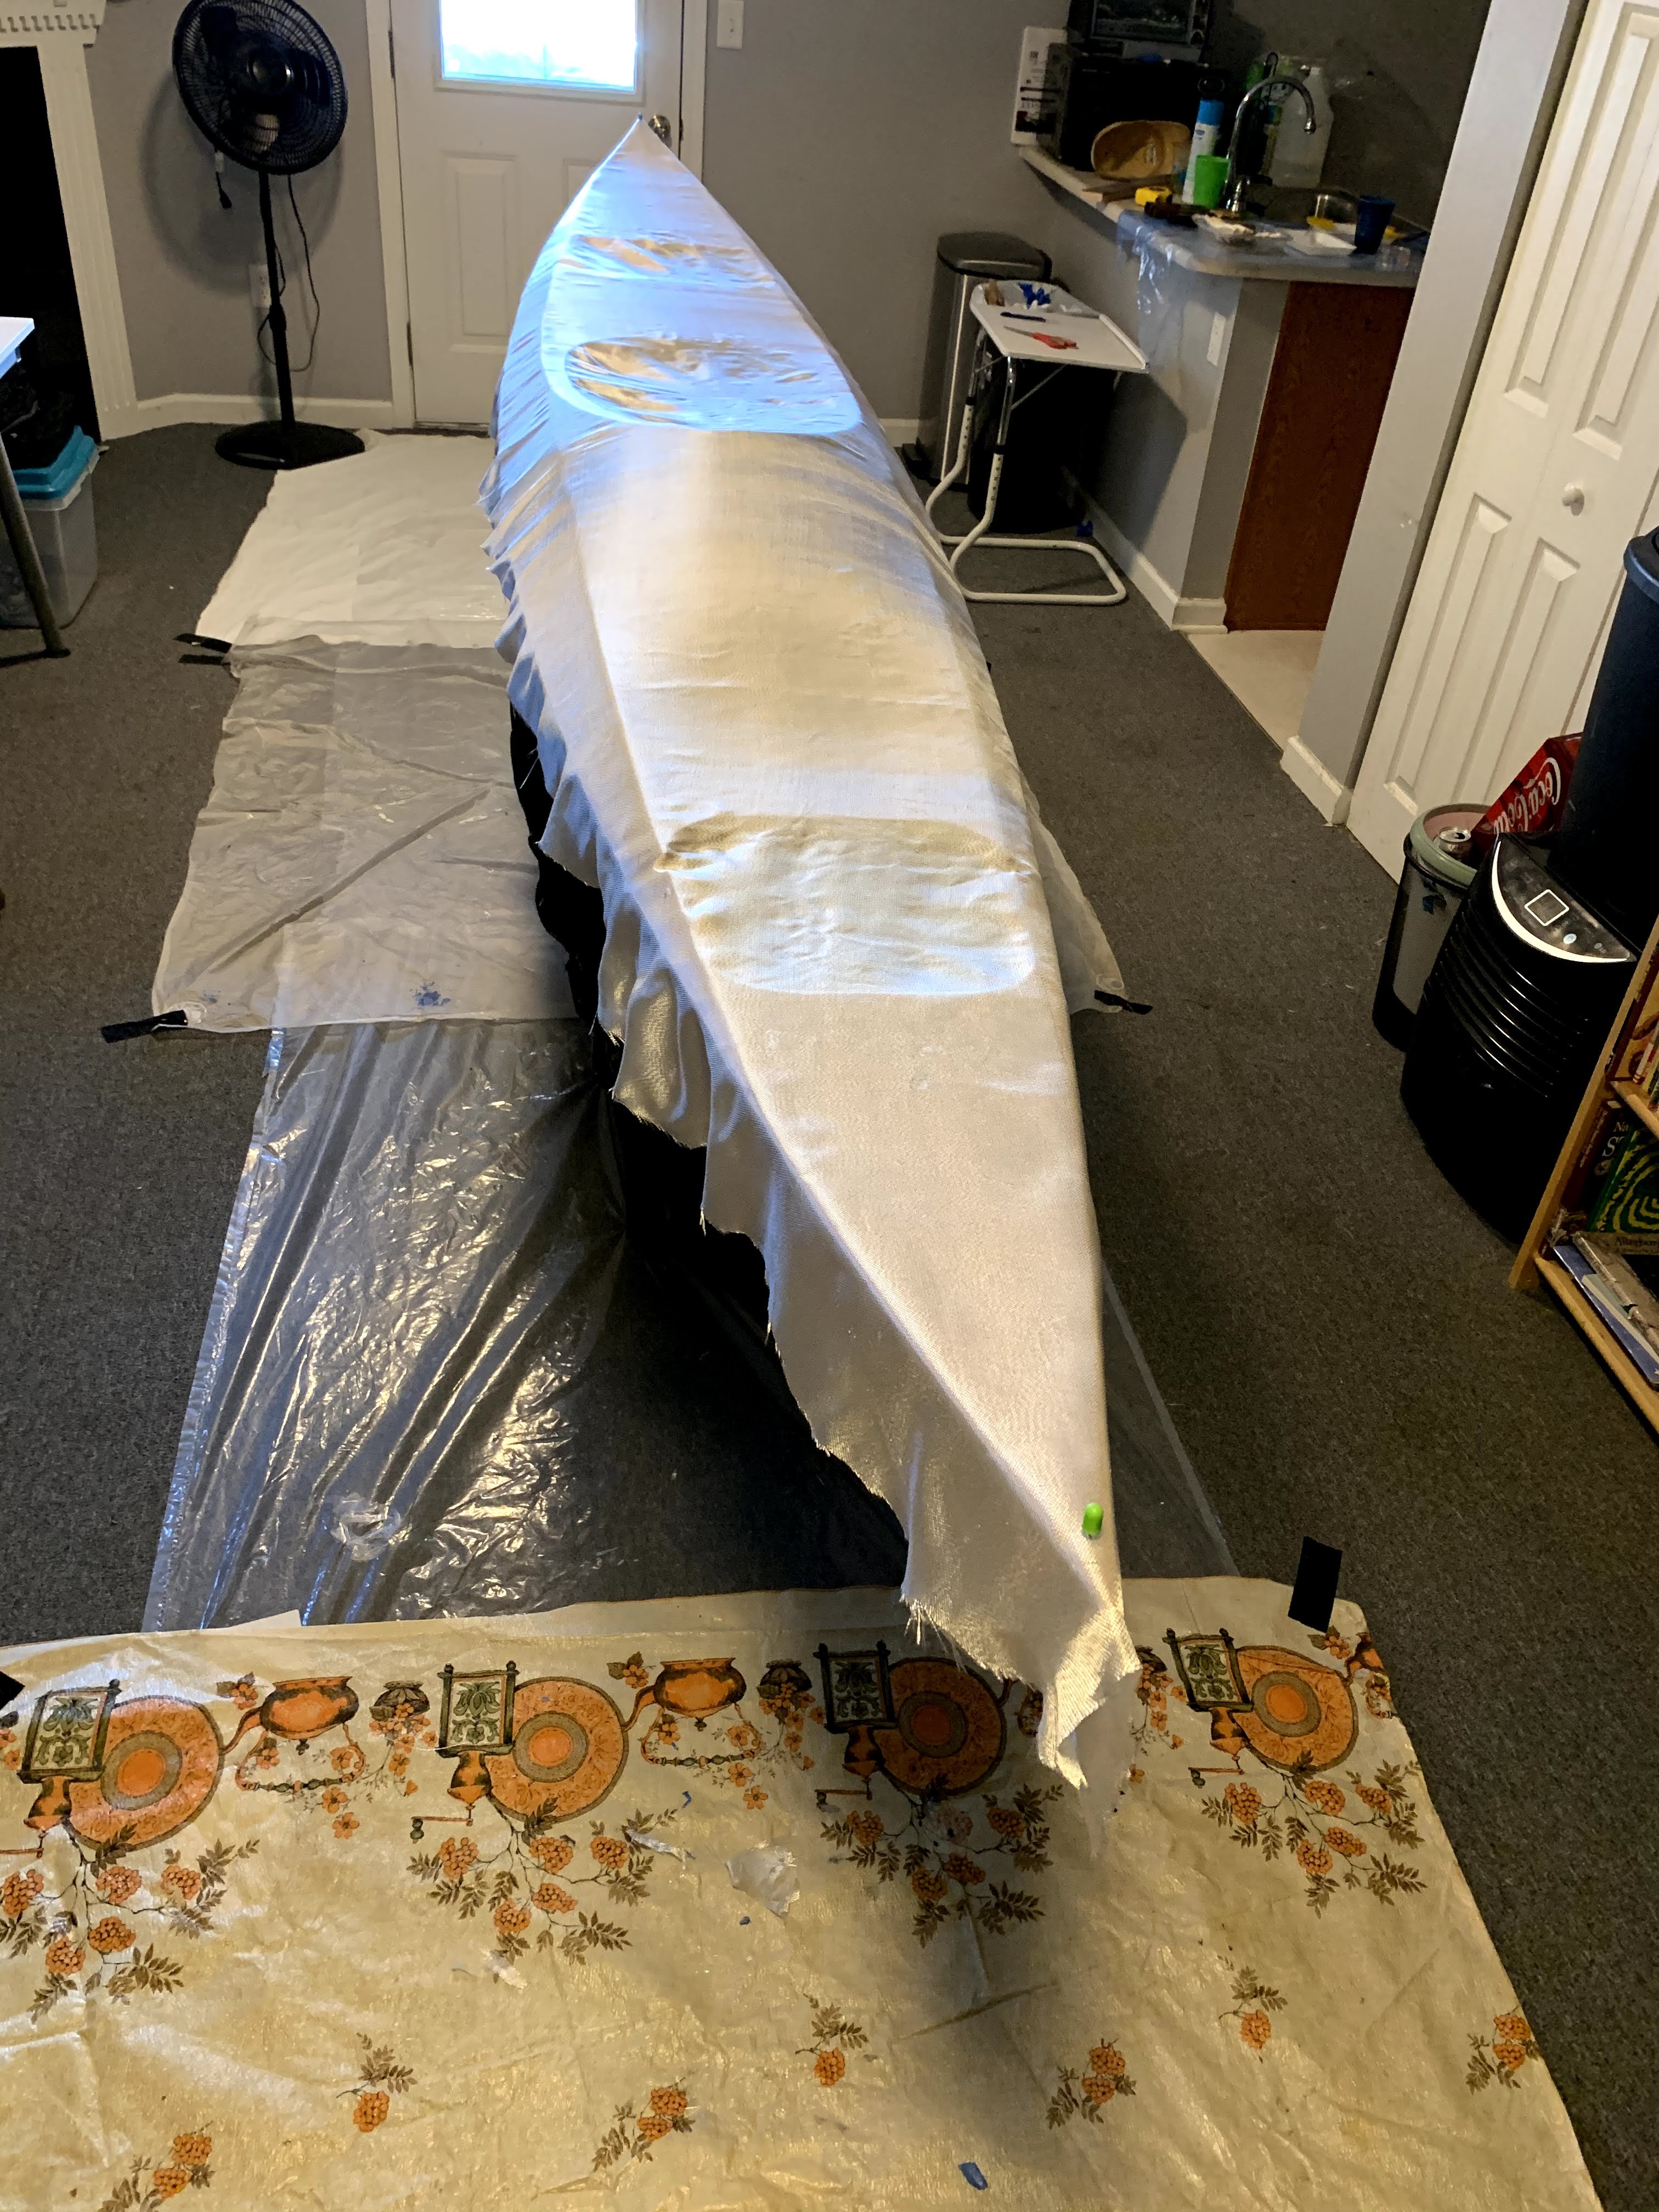
Once sanded the hull is vacuumed, dusted with the compressed air and wiped with denatured alcohol. Ready for varnishing. The varnishing process took about a week. Day one final clean and alcohol wipe down, and first coat of varnish, days 2 – 5 wet sand with 400 grit, alcohol wipe down and varnish. Then Flip and do the deck side for another 5 days. It’s a lot of work but sure came out pretty.


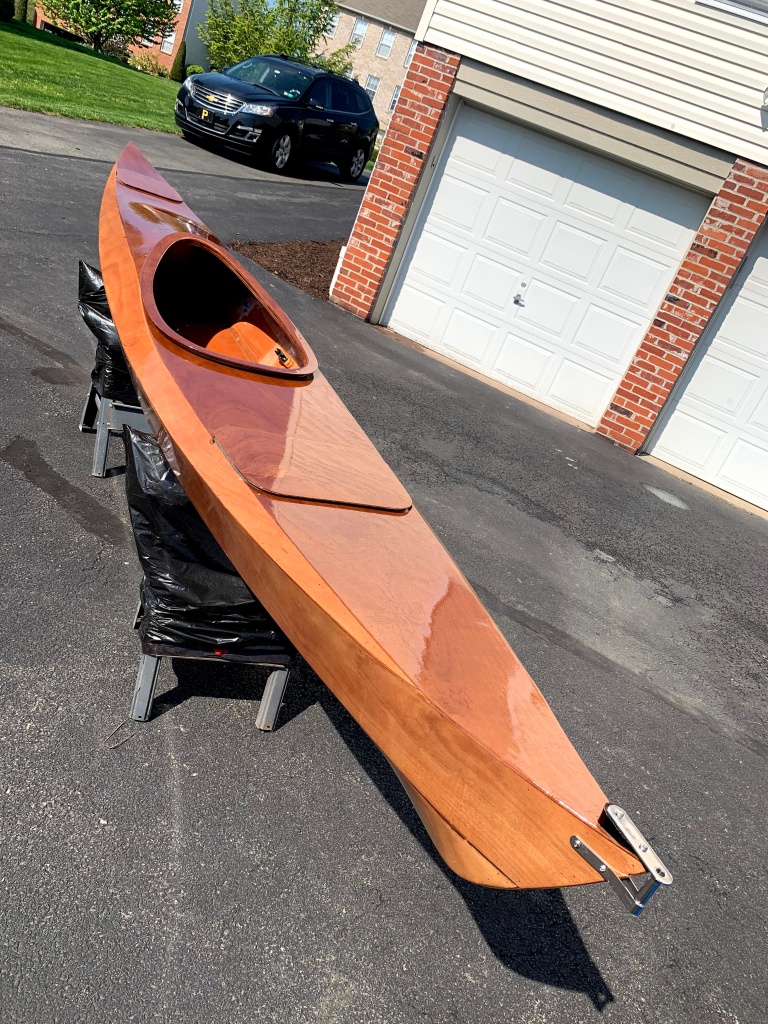


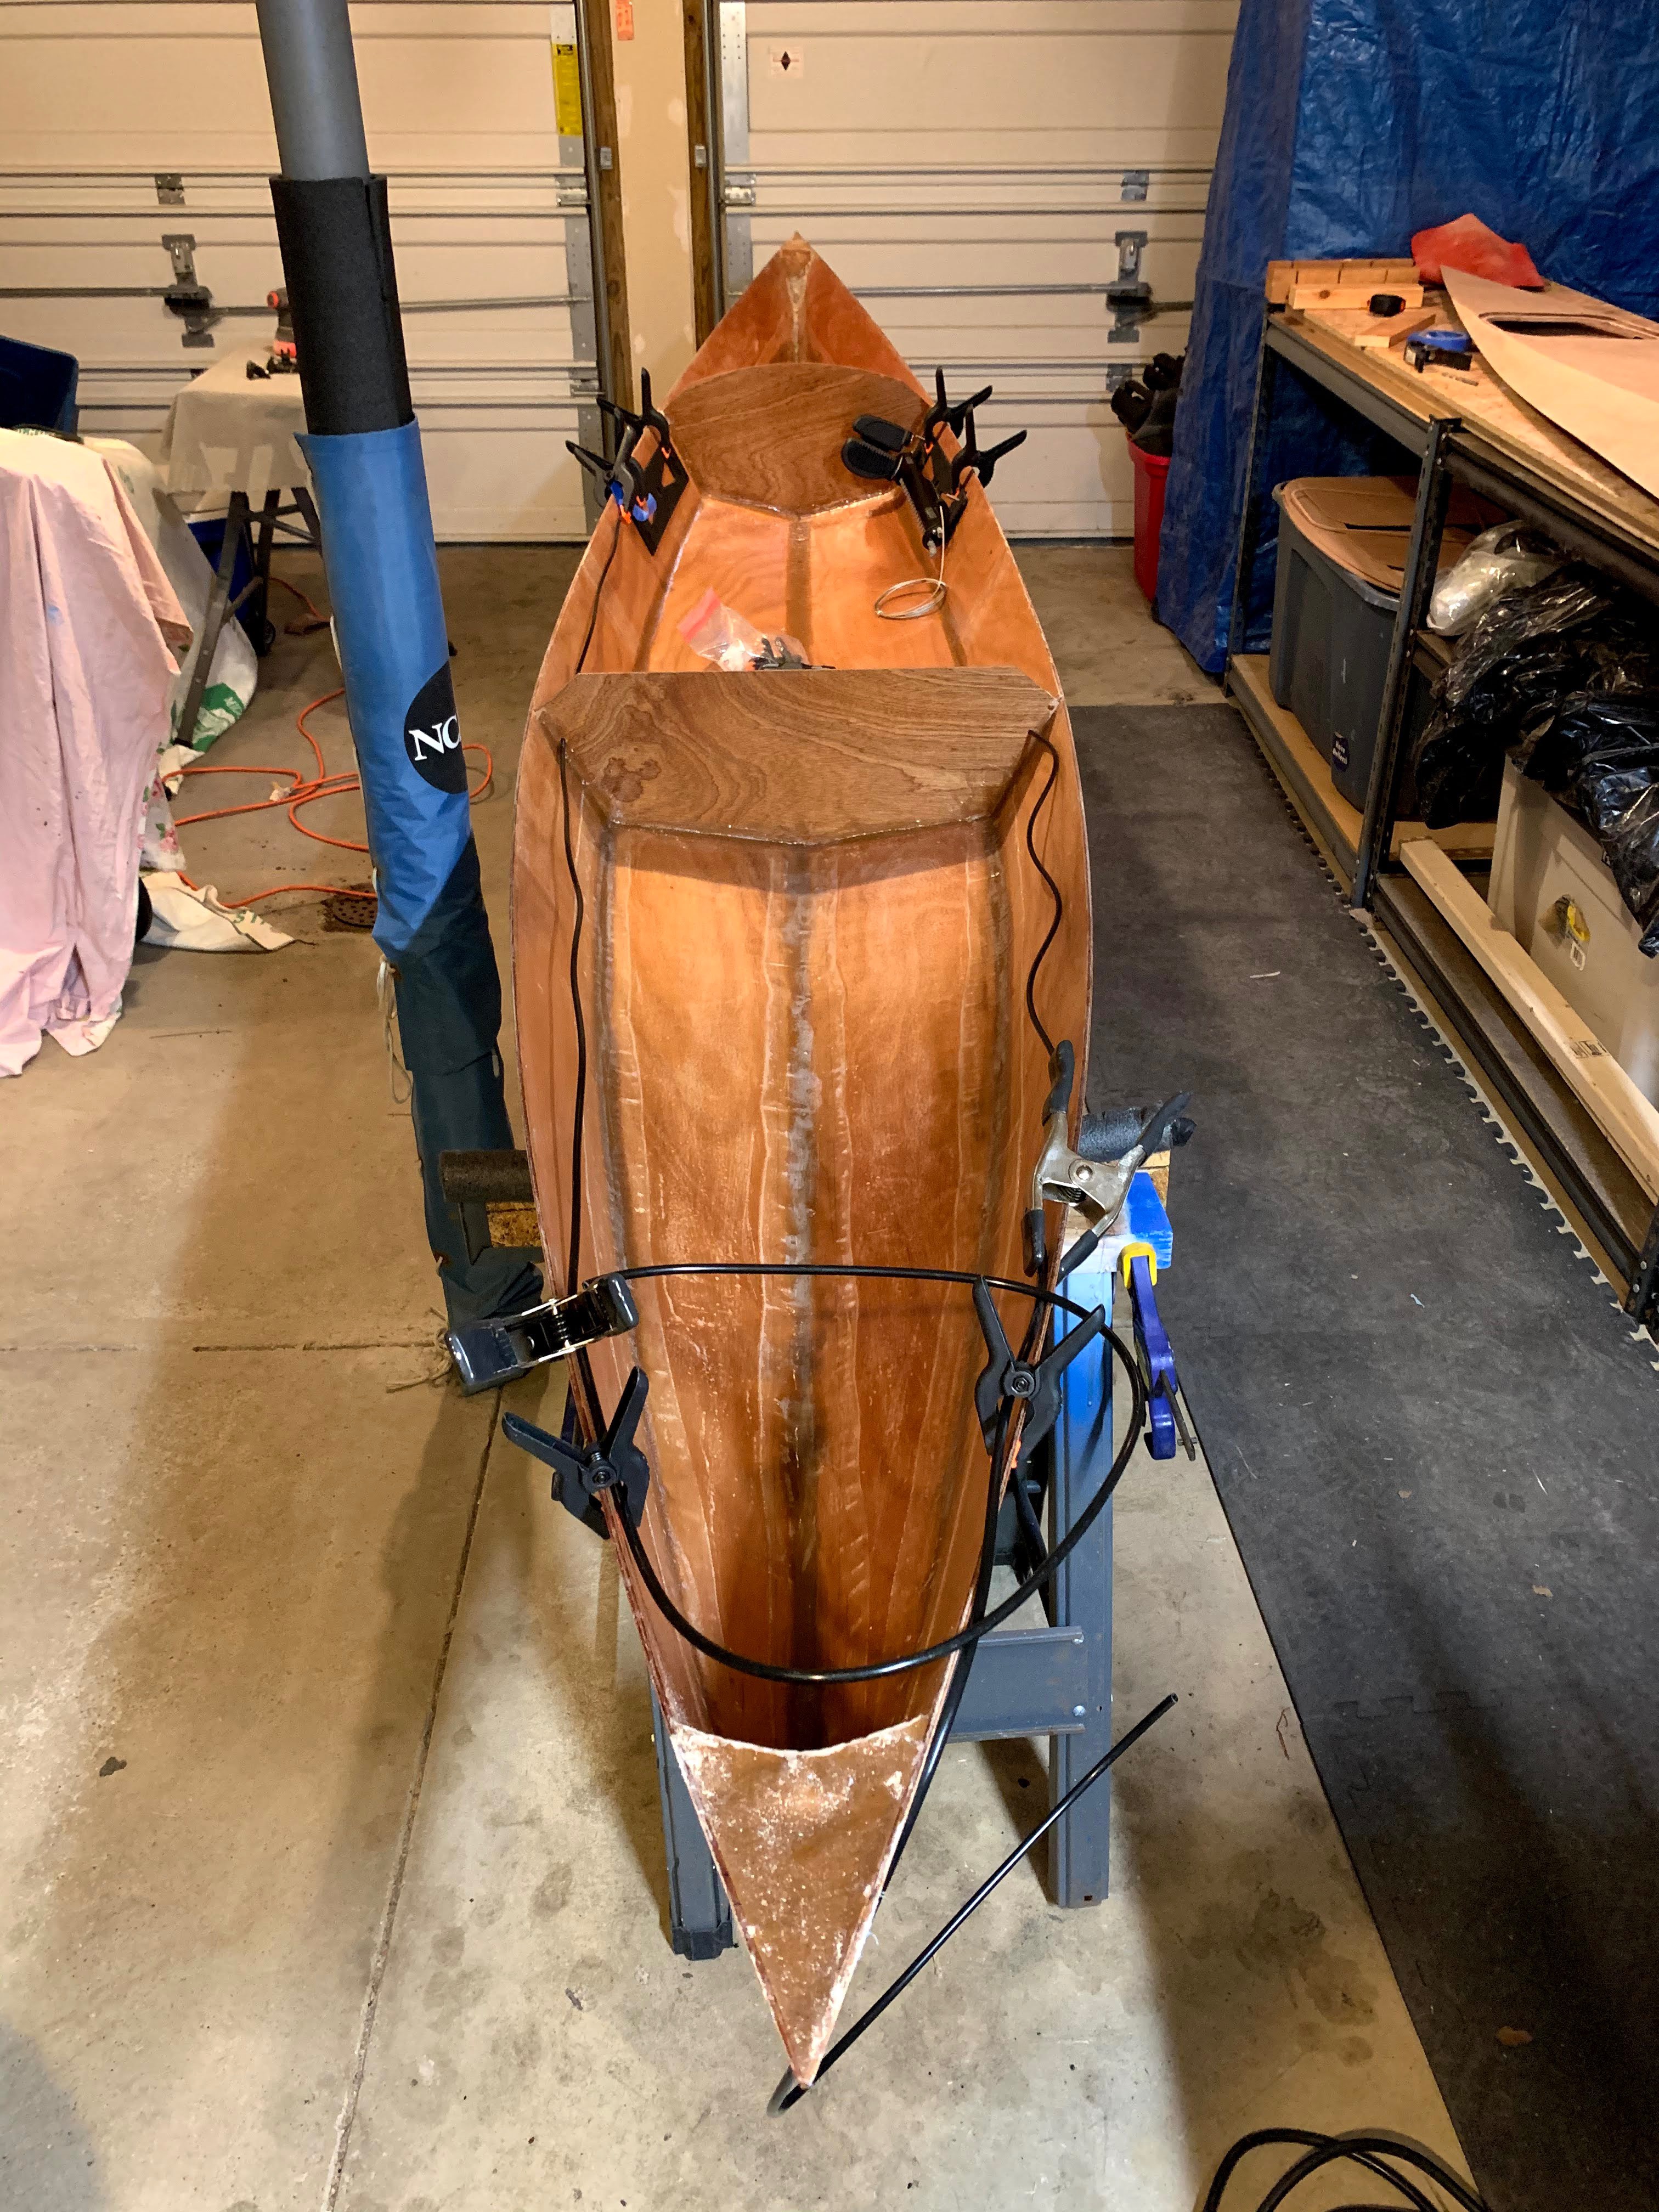
The cockpit coaming is applied in three steps; glue in the coaming spacer, glue in the coaming, then fiberglass. The coaming spacer comes in two halves that fit together with a small puzzle joint at the front and rear of the cockpit. It is glued down with epoxy thickened with cell-o-fill, using as many clamps as one can fit around the perimeter. I took care to clean as much of the squeeze out to minimize scraping and sanding once the epoxy sets. Note the plastic inside the boat to protect the hull and foot braces already installed.


Next the coaming in glued using basically the same approach.


Before fiberglassing the coaming it needs to be rounded over on the top where the paddler will enter, sit and exit. Also all of the squeeze out sanded off and everything smoothed. Then a large piece of fiberglass cloth is laid over the cockpit and held in place with a few pushpins. The deck is masked to keep it free from drips. The cloth is epoxied in place, and cut out when the epoxy has hardened sufficiently.


Here the kayak is fully glassed and coaming applied, next comes sanding and lots of it.
Perhaps this section should be titled Sanding and Fiberglassing. Once the deck has been glued and taped to the hull it all needs to be sanded smooth, with all panel joints rounded so the fiberglass cloth will sit smoothly.

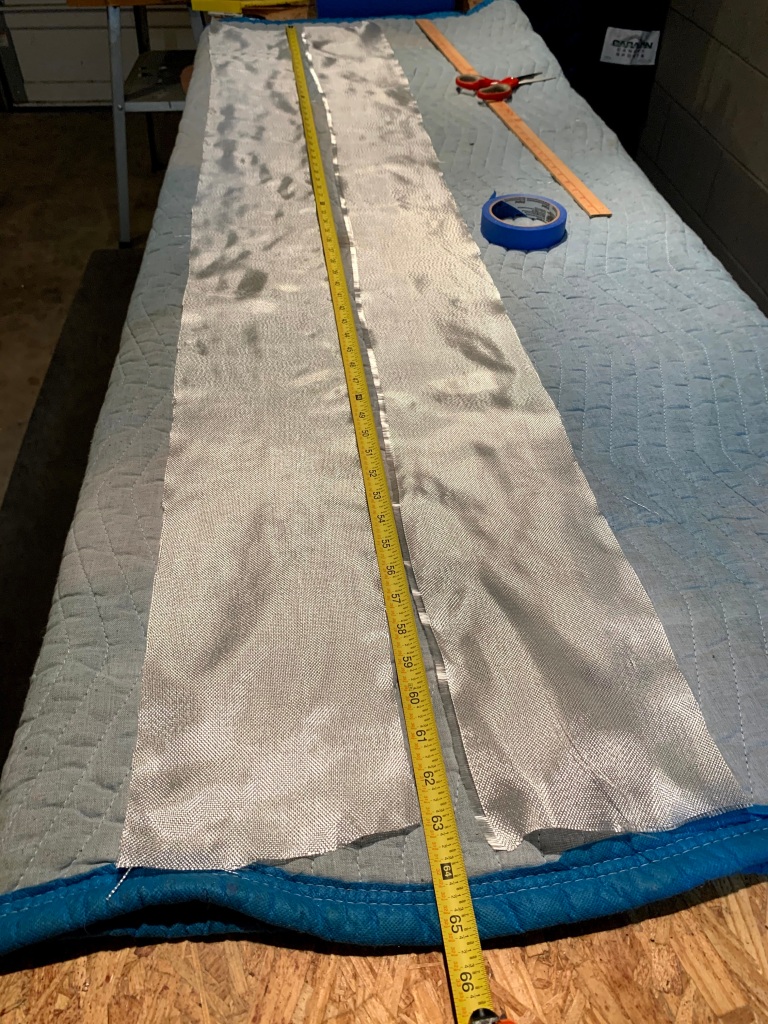
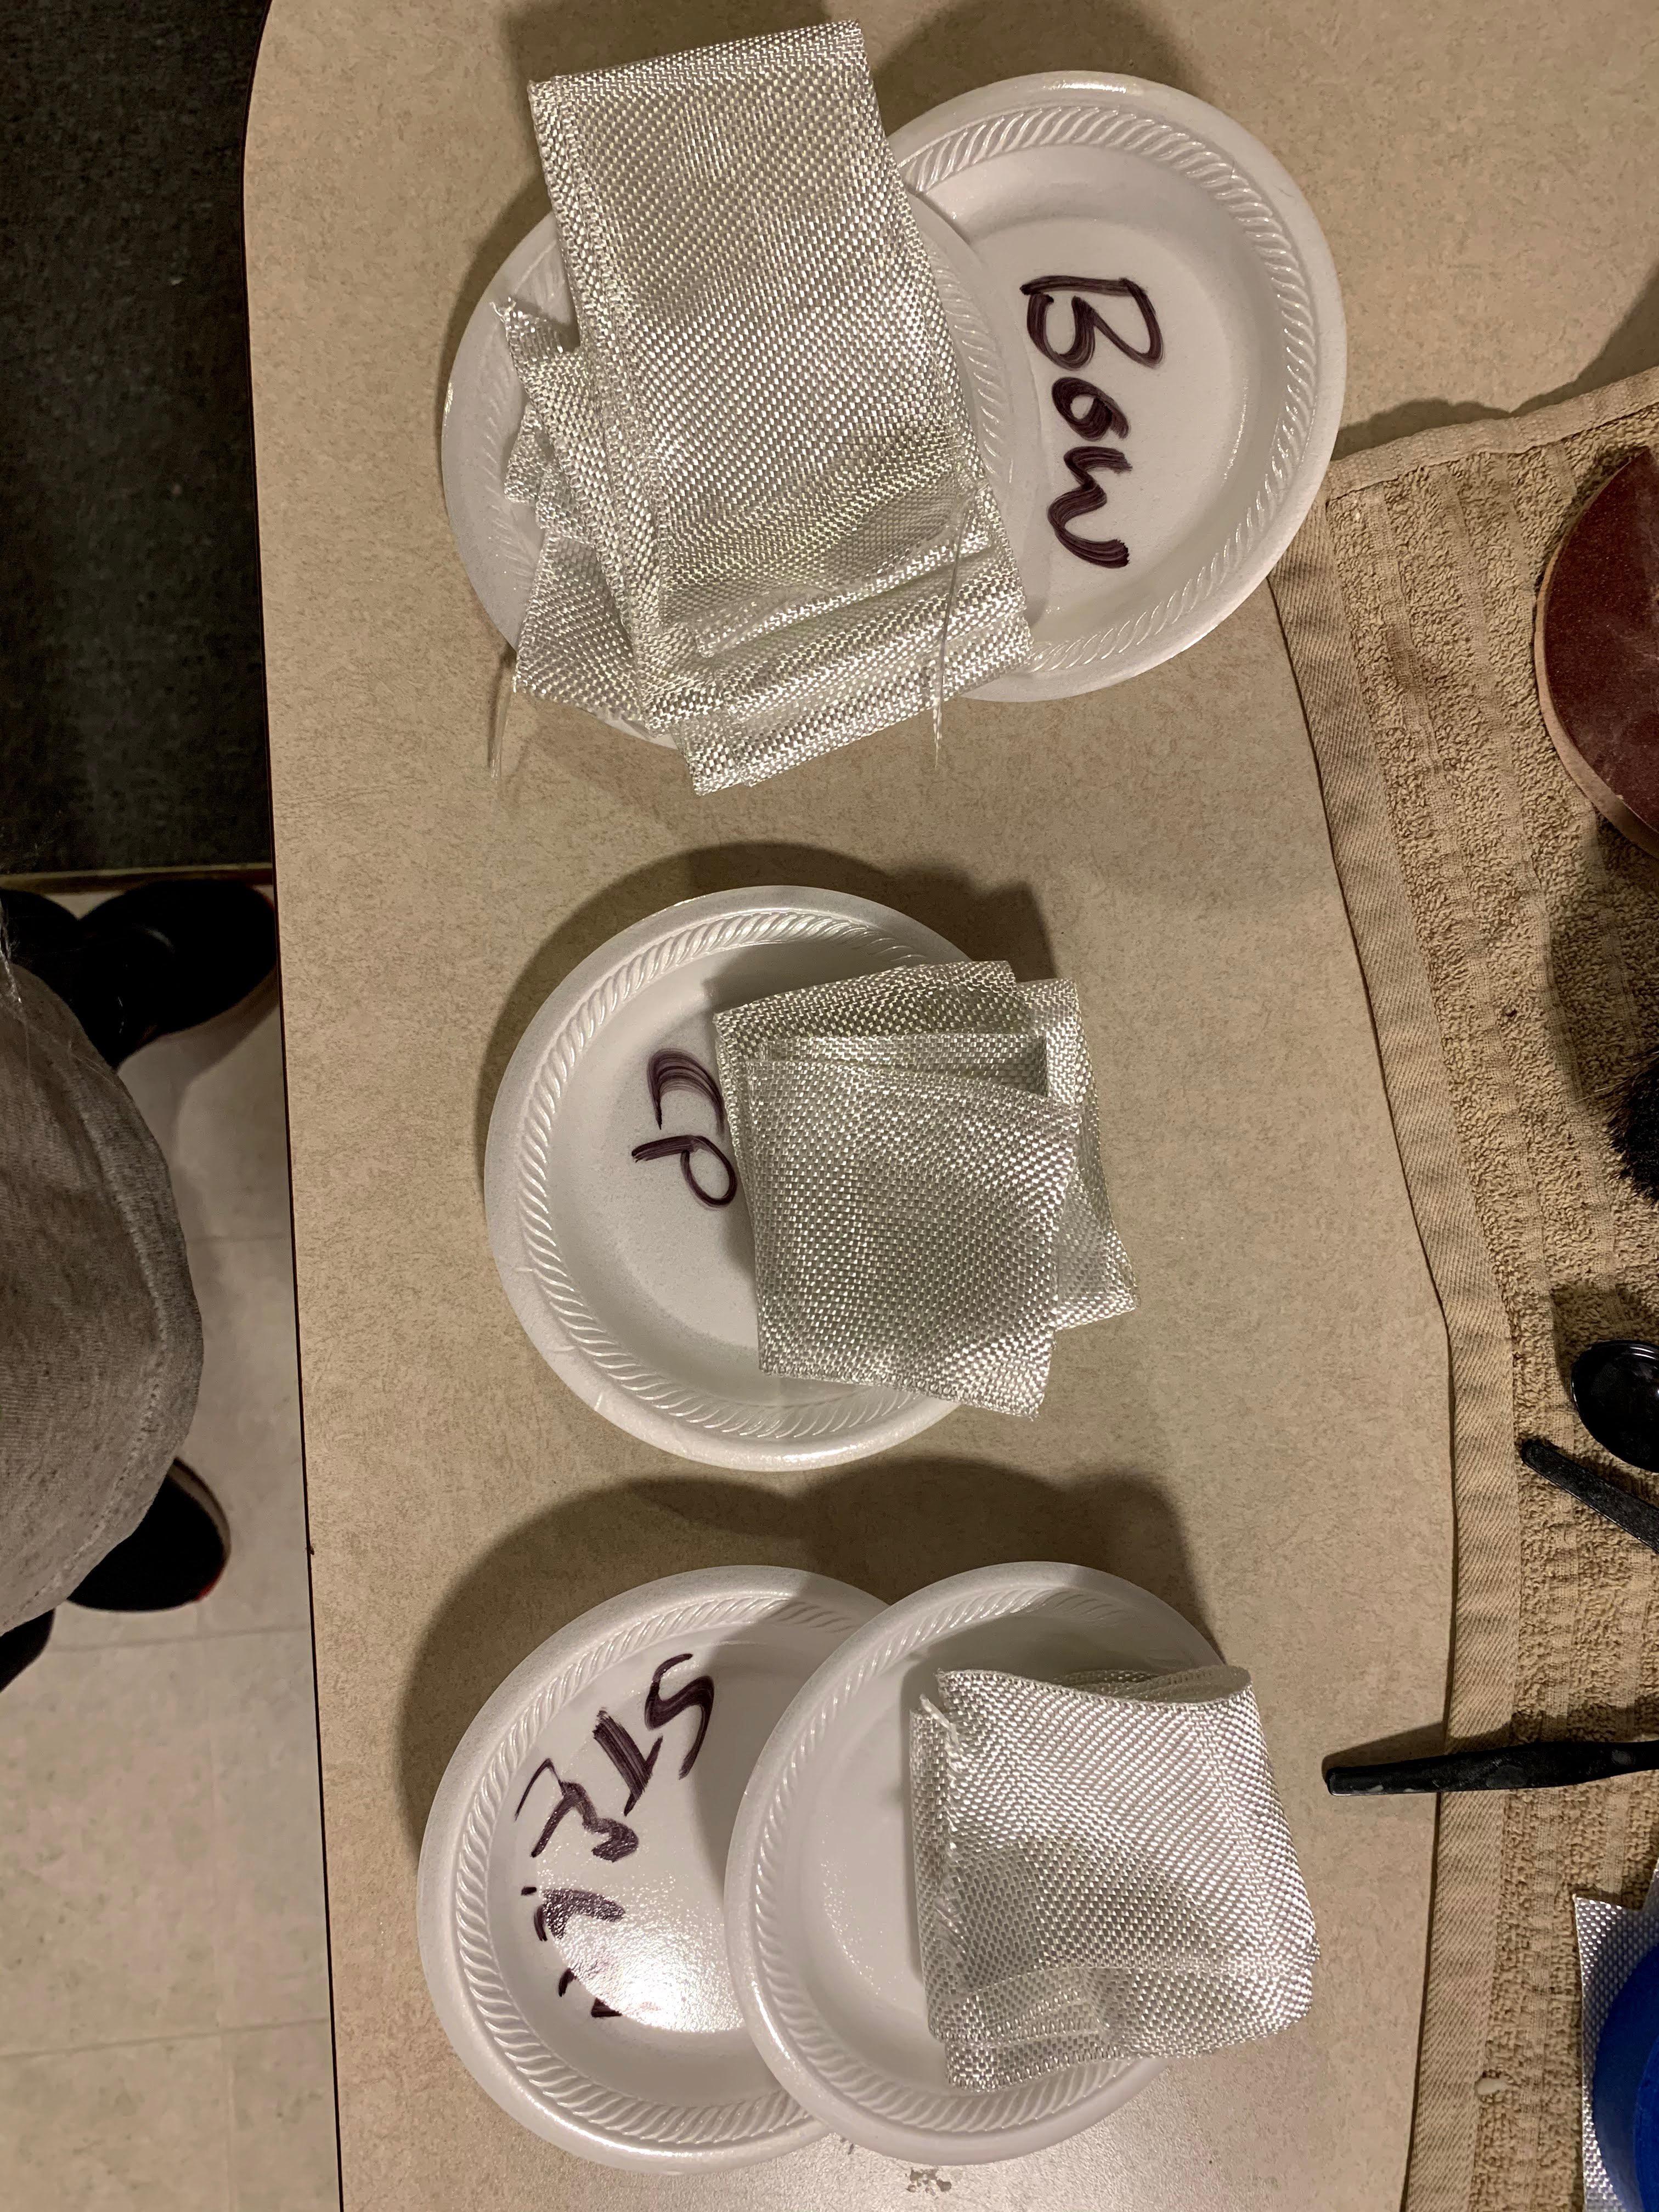
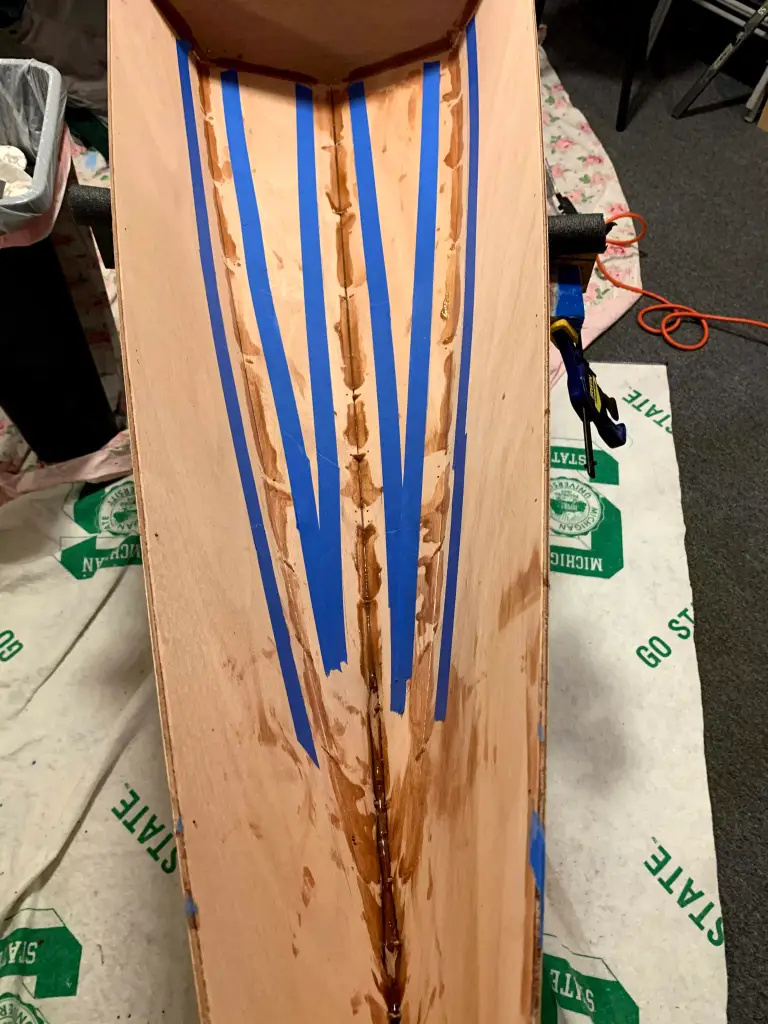
I started with glassing the bottom and sides. The instructions call for one full layer of cloth over the bottom and sides up to the hull deck seam. Then a football shaped piece that doubles the cloth on the bottom. Two 5′ long lengths triple up the cloth on the bow and stern bottom to help with abrasion on during launching and landing.
I laid a piece of cloth on the bottom and marked the bottom to side seam and this allowed me to the piece to shape.

Next I laid out the full piece to cut it at the hull and deck chine. It’s important to lay out to maximize the cutoff as it will be used on the deck.

Then the third layer strips were cut.
Here the cloth is laid out and smoothed prior to saturating with epoxy. Note the third layer strips follow the bottom and up the bow and stern for extra strength in these areas of high wear.

The epoxy is applied starting midship and working towards bow and stern until all full saturated.

The epoxy will set overnight and then another couple of coats to fill in the weave of the cloth before flipping and glassing the deck. Here the cloth is laid out on the deck. There are two pieces of the cutoffs from the bottom and the meet just behind the cockpit. The cloth is trimmed so that it overlaps the side by about three inches. The hatch and cockpit areas will be cutout after the epoxy has set a bit.

Here is the result after the glassing and the fill coats applied.


The general process is to lay the deck on the hull with support sticks, insert copper wire for stitching, but do not tighten. Next mix up some thickened epoxy and apply to the top of the hull sides here the deck will rest. Then remove the support sticks and tighten up the stitches. Then tack weld the deck to finish the first part.


Once the tack welds have cured and the kayak can be placed on it’s side without fear of the deck shifting. In the next step 3″ fiberglass tape is applied to the inside deck to hull seams. This was one of my least favorite parts of the build. The approach here is to cut the strips of fiberglass tape to length to fit in each of the three sections of the boat, fore, cockpit and aft. The tape is pre saturated in epoxy, and using a chip brush head on the end of a hockey stick reached into each area and did my best to reach and smooth the tape.

The foot braces, deck hold down blocks and end pours will be much easier to install before the deck goes on.
Here I deviated a bit from the plans and wanted to do my for and aft end pours with thickened epoxy, especially in the aft end where the rudder bracket will be mounted. It will be screwed in through the hull into the solid epoxy mix. I created a dam with a plastic McDonald’s tray and tape to hold the epoxy in place while it cured.

My second “enhancement” to the plans is installing blocks to the inside of the deck. These blocks will have lengths of bungee running through holes in the block to form loops that will hold down the hatches that will have brackets glued to their underside.

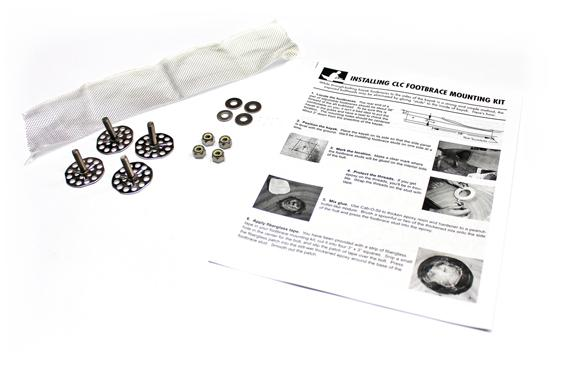
Enhancement number three, I went with a special add ons for the foot brace rudder controls. The first is a mounting stud that does not require any through hull holes. The foot brace mounting studs are epoxied in place with thickened epoxy and fiberglass cloth. The second is a vertical adjustment. The foot pedal assembly bolts the the adjustment kit, then using one of the three possible positions the adjustment block is bolted to the studs.


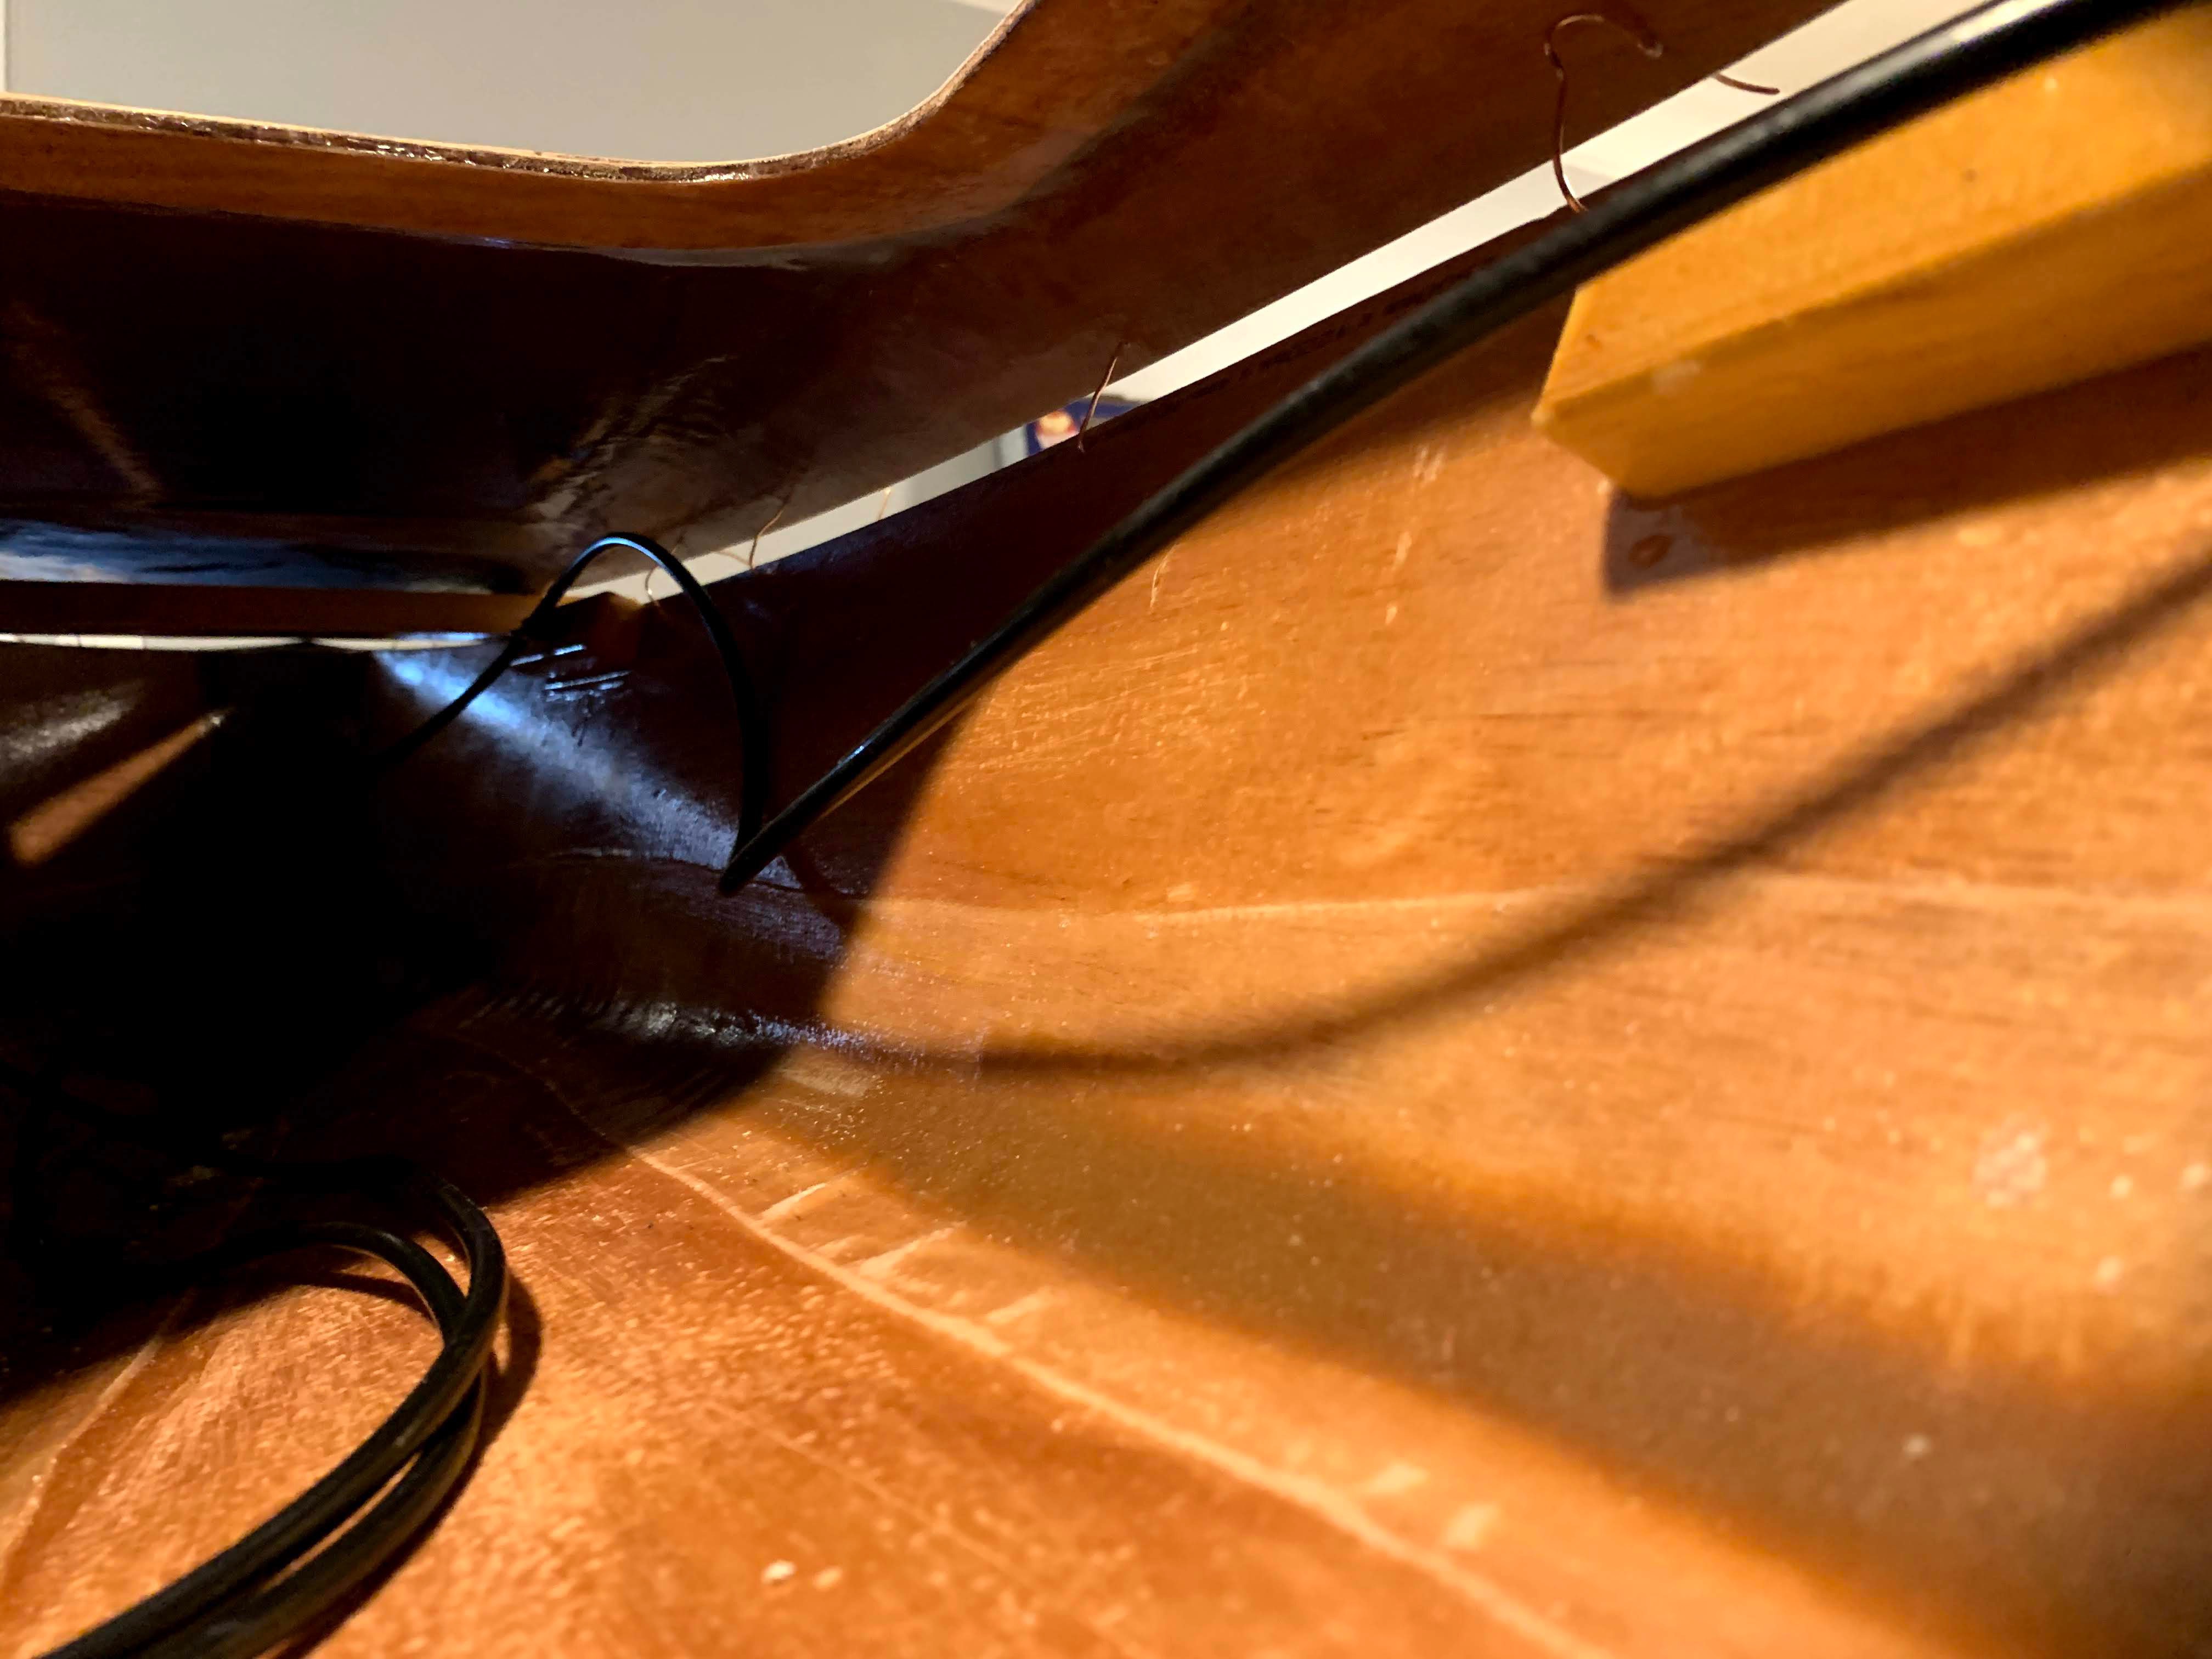
While I was taking care of the rudder foot pedals I figured it was a good time to run the plastic tubes for the rudder steering wires. To make installation easy and as much of a straight path as possible I did epoxy in some mounting blocks to which the tubes would be fastened. This also required two holes through the bulkhead behind the cockpit.

When the epoxy for the tack weld cures, the inside of the hull looks like this. It will hold it’s shape and is fairly rigid. It’s now ready to have full filets and glass tape applied to the seams and bulkhead joints.
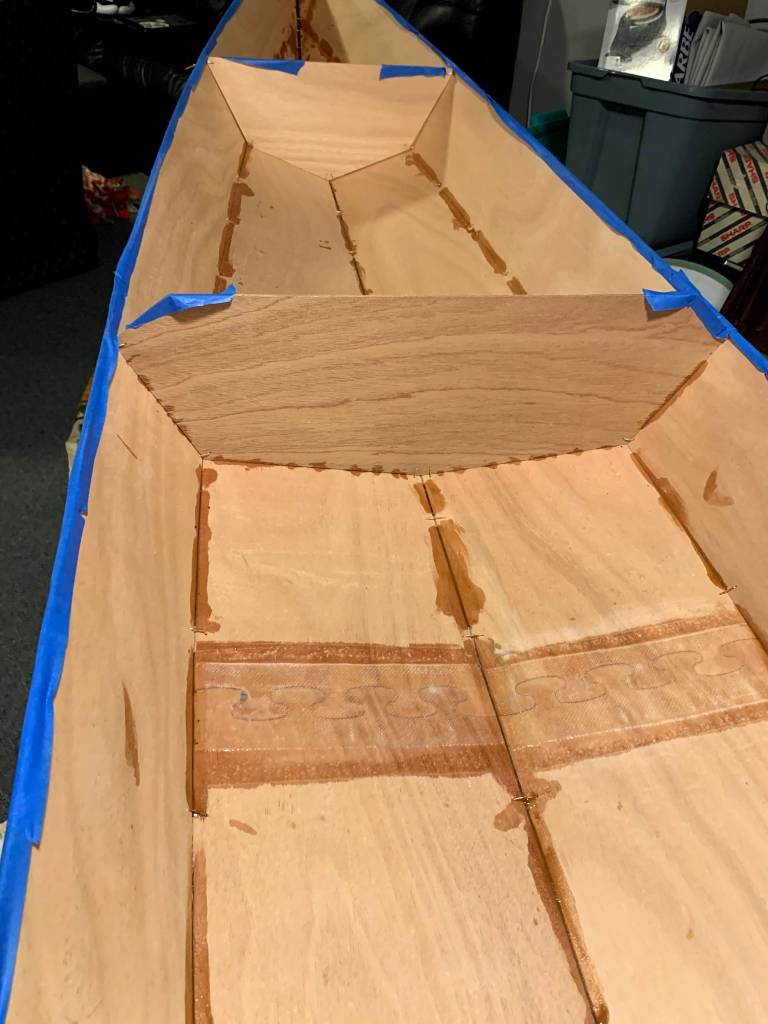
In order to keep things neat especially in the cockpit area where it full be fully glassed later on, masking tape can be applied to the joints before fileting and taping.


Next a batch of epoxy is mixed up thickened with wood flour and spread into the seam and smoothed with a fileting tool. Once applied and allowed to set a bit, but not fully set a length of 3″ fiberglass tape is applied atop of the filets in the fore and aft areas. The cockpit area if fully sheathed in fiberglass cloth. Allow to fully cure. The result is shown below.


After laying down the filets the underside of the deck is fully glassed and triple up in the area from the cockpit to the rear hatch. This is where one will sit entering and exiting the boat. This is tricky bit of fiberglassing, as the deck recesses and hatch sills prove to be challenging to get the fiberglass to lay neatly.

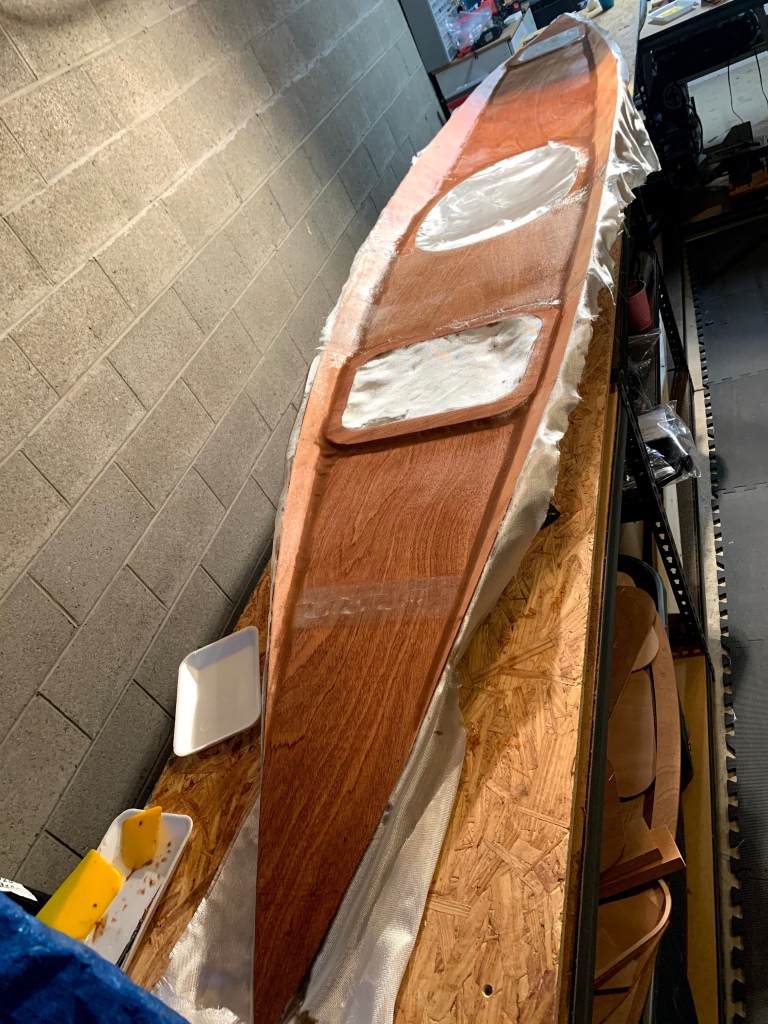
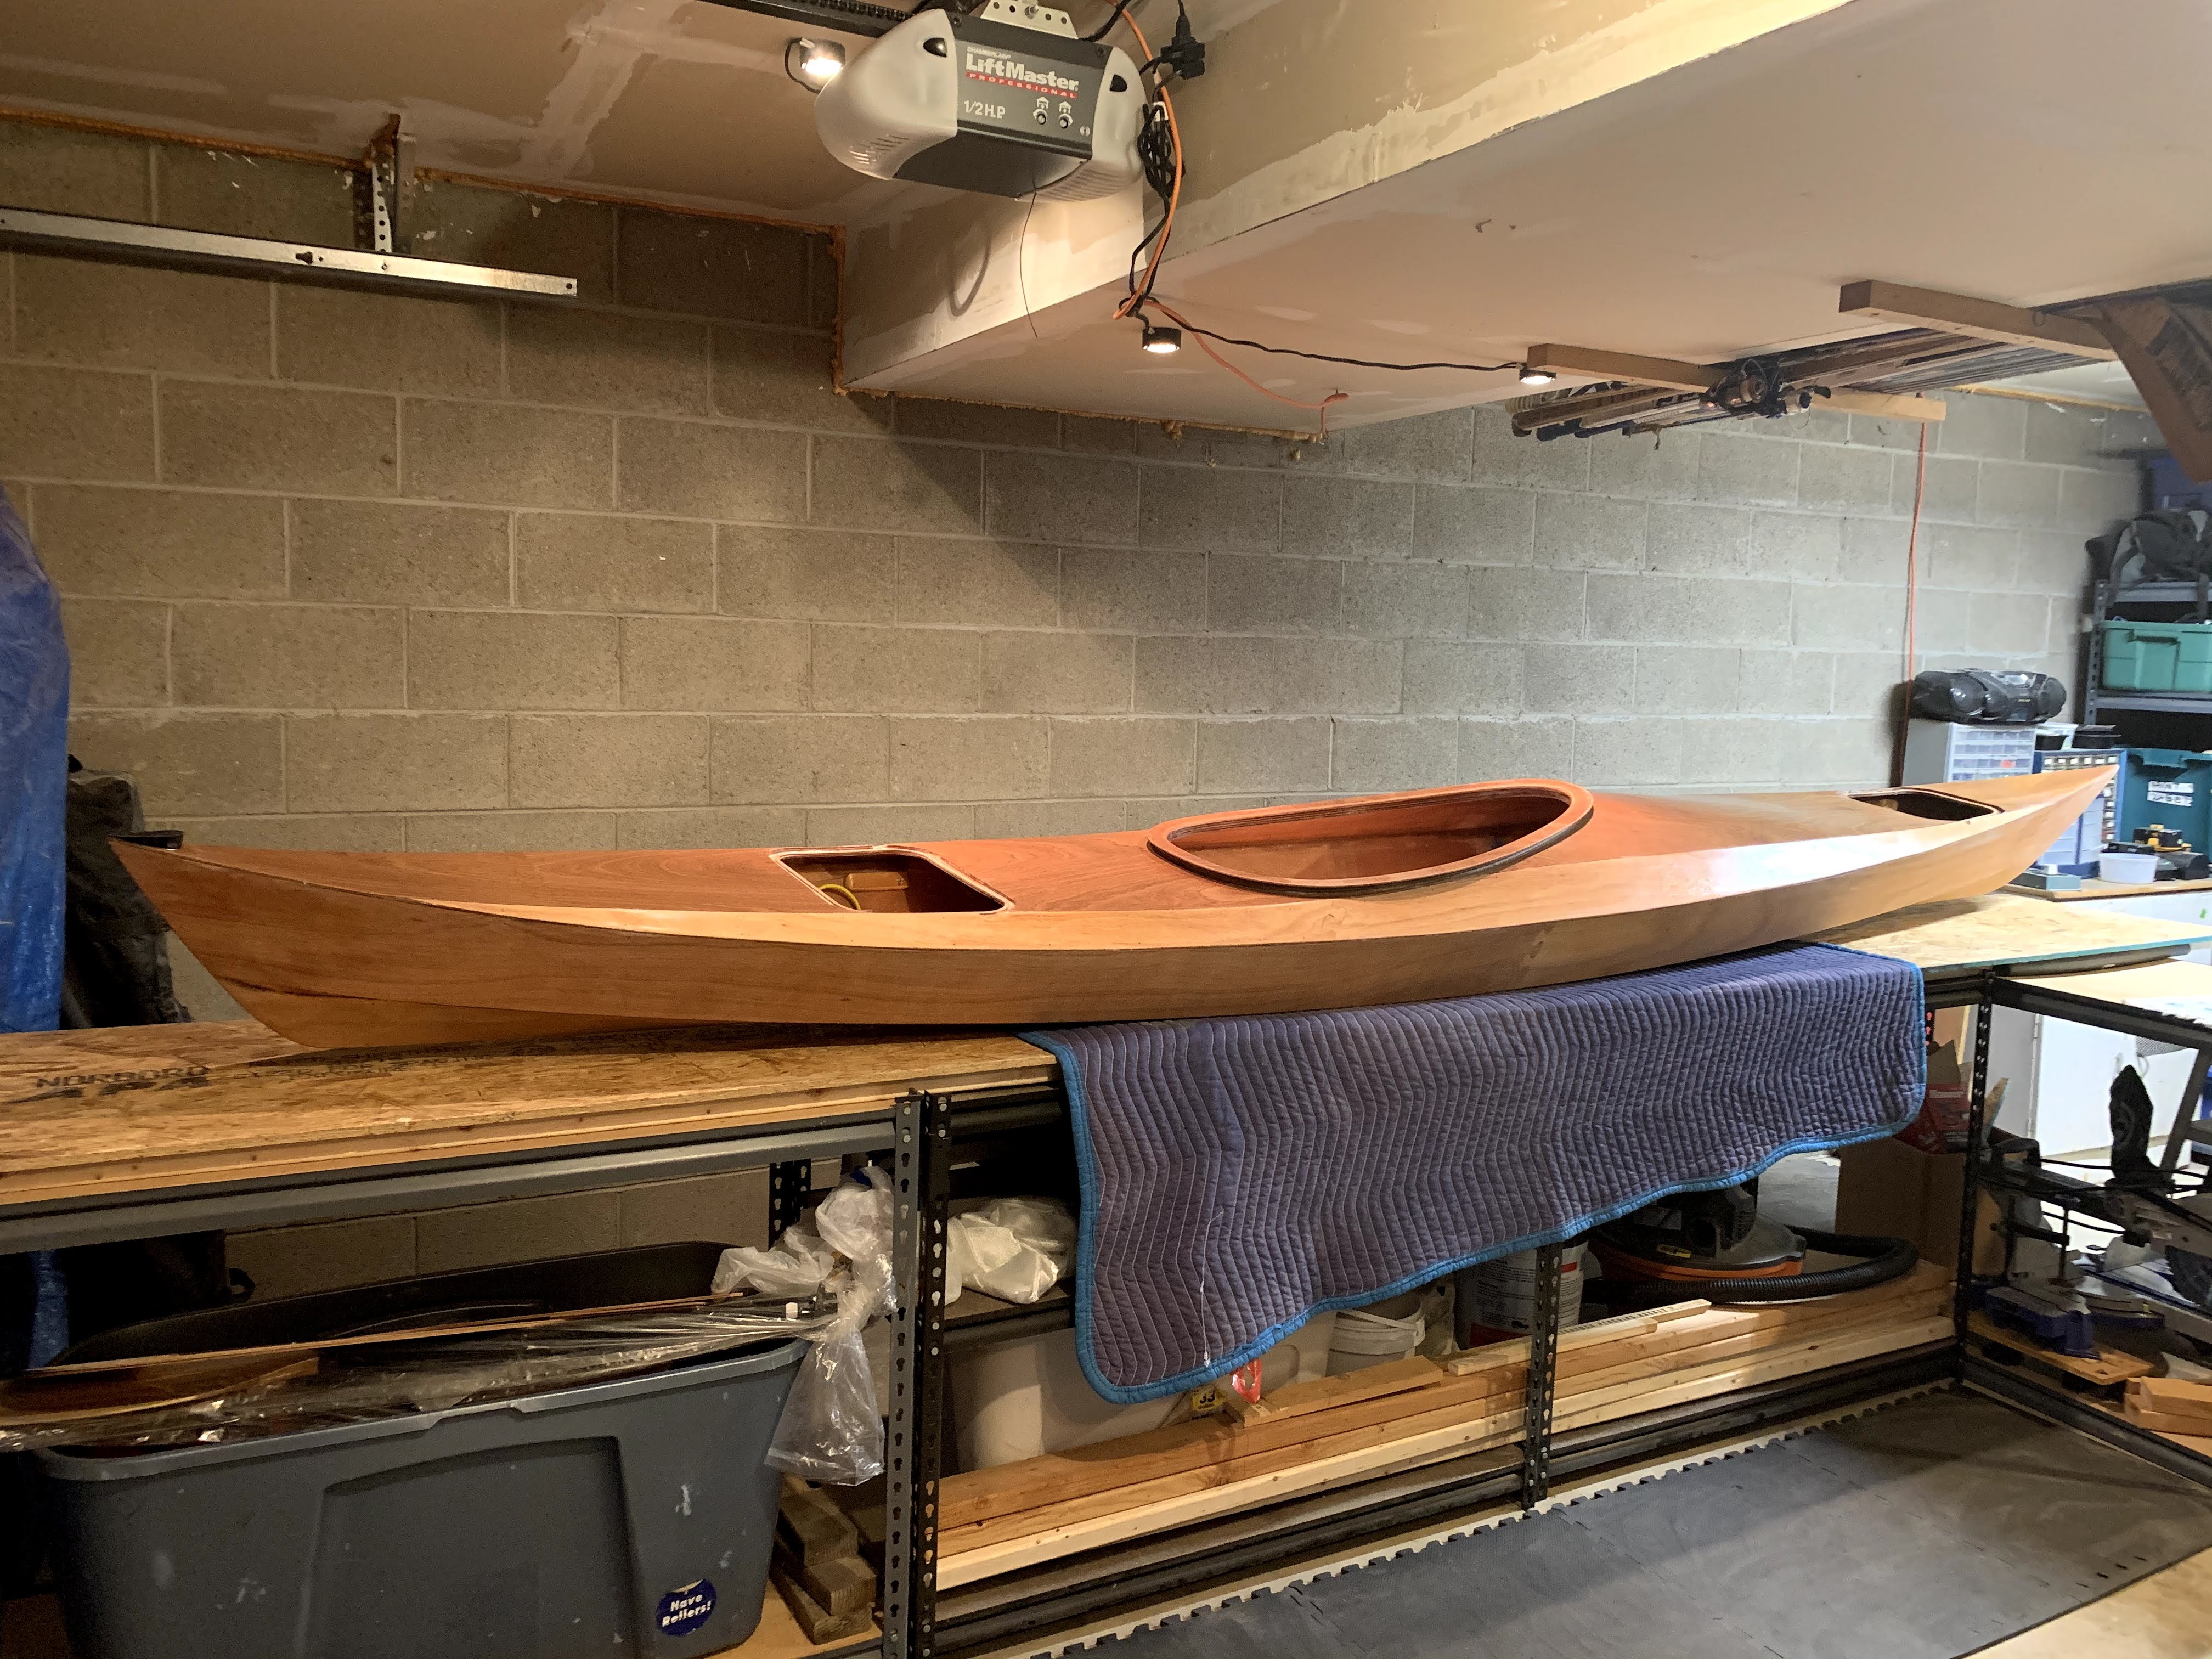
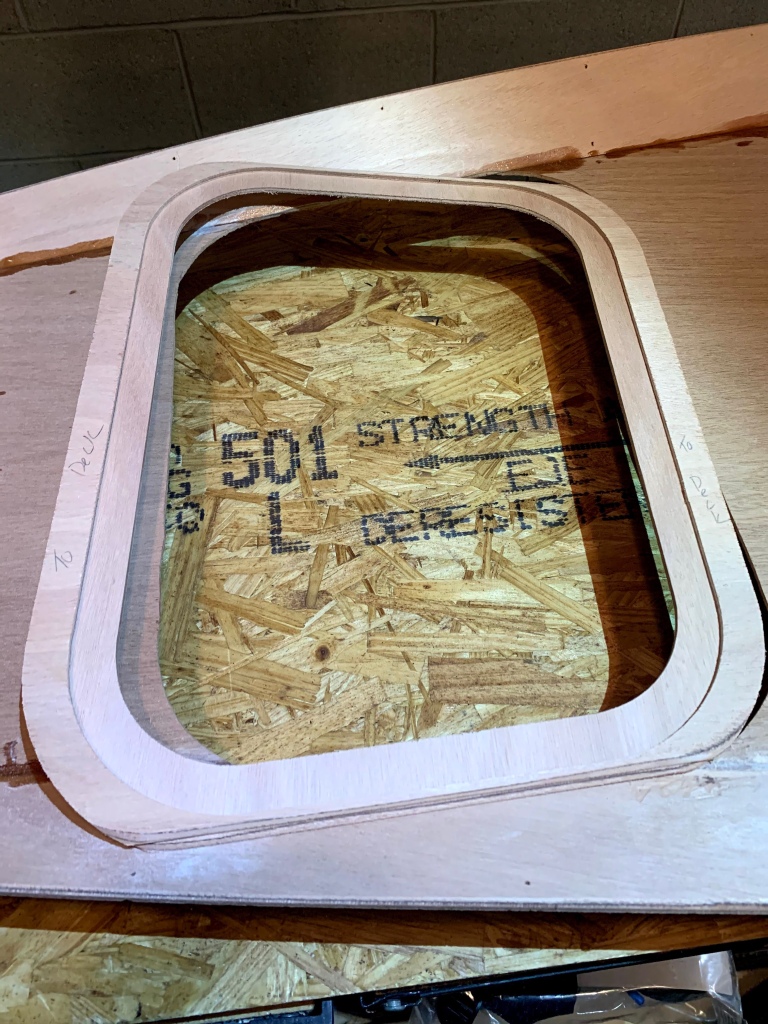
The deck hatches need a sill to set on. The sill is composed of three parts, the sill, a spacer and a rim to help keep things water tight.
The installed sill looks like this, the spacer is under the deck and not visible here, the rim sits on the inner most edge of the sill. (also visible is the invisible hold down modification which will be explained in a later post)
The sill installs under the deck and at a point where the deck begins to slope downward, so the sill and the spacer need to be beveled with a plane/rasp to fit. Once there is a nice fit the sill and spacer are glued in place.

Glueing into place


When the epoxy has cured and the sill/spacer are permanently in place the rim is glued in place.

The hatches are made up from the cutouts from the deck and a doubler included in the kit. In order for the flush hatch system to work correctly the hatch cut from the hull needs to be made stiffer. The hatch double, a piece of ply a bit smaller than the hatch is epoxied in place. One hatch is shown here, but a this is done to both.


Once the doubler is epoxy has cured a layer of fiberglass is applied to the top side of the hatch, and the underside is coated with epoxy. Once coated with three coats of epoxy, they can be set aside for now.


With the tack welds completed, next step is to cut out the hatches. The tricky part about this step is the cutouts are the hatches. So one cannot drill a big hole for the jigsaw blade, but rather a series of small ones just big enough for the blade to fit in.
At this point the deck is temporarily wired to the hull. This sets the shape of the deck and and makes it stable enough to cut out the hatches
But before any drilling or cutting the hatches need to be marked using the hatch spacers shown below.


Notice the position of the hatches lines up to the deck / sheer seam. A sill and spaces will be fitted into the cutouts and the underside of the deck reinforced with fiberglass cloth and epoxy.


Now it’s time to cut out the hatches, I moved the boat outside for this and thankfully it was nice weather.


Next steps are to assemble the hatches and glue in the hatch sills
